CPU coolers are an interesting section of the PC market. It is one of the few categories where, barring size restrictions, there is often a clear king of the mountain. Many PC enthusiasts spend hundreds on top contenders, but they often overlook the fact that they don’t need the premium performance nor do they need to pay a premium price. In the middle of the category you will find a small selection of relatively inexpensive coolers with near premium performance. One of these is Gelid Solutions GX-7 which can be found retailing for as low as $64.99 US. Let’s check it out!
Whats in the Box?
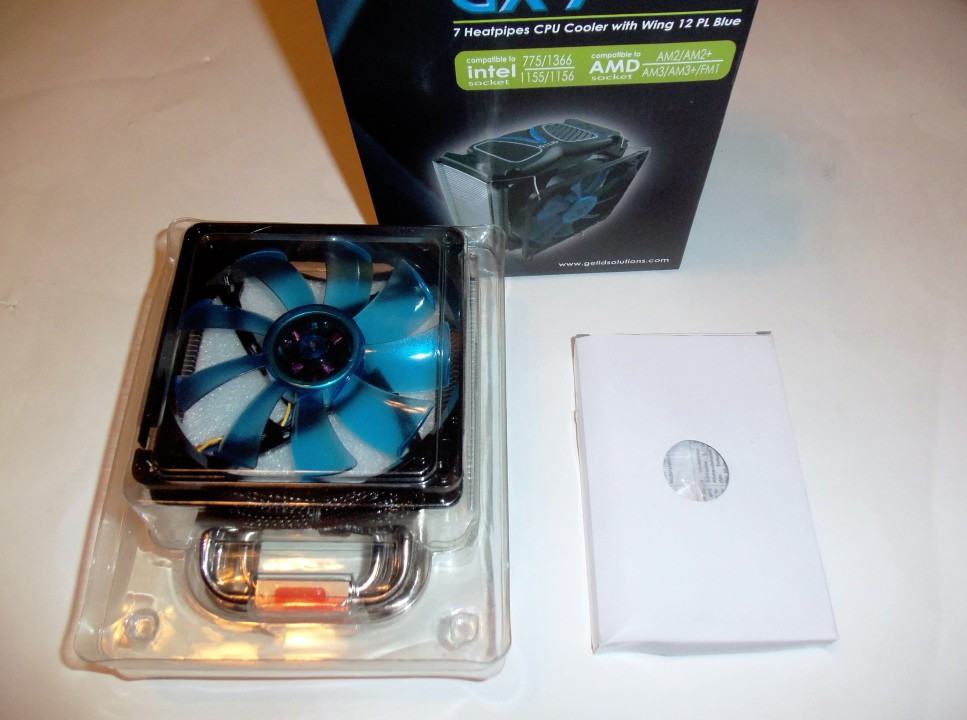
The Gelid GX-7 is very much like any other universal CPU cooler when it comes to contents in the box. The first thing you will find is a small white box which contains all of the accessories. We will get around to those in a moment. Underneath you will find a molded plastic container with the CPU cooler and Gelid 4-pin PWM 120 mm fan. These are both held in place by the molded container and separated by a piece of foam to prevent damage during transport.
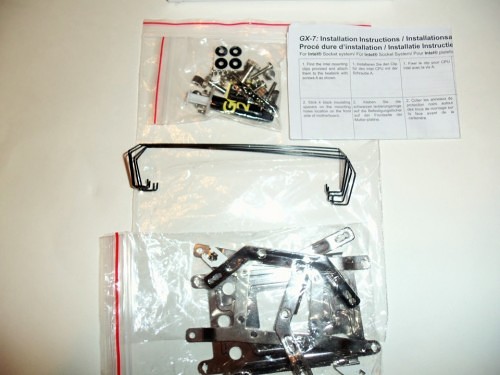
Once I had moved the GX-7 aside, I opened the white box with the accessories. This included two braces for the cooler, one universal back place, Gelid case badge, and a tube of GC2 thermal grease which is really quite good (reviewed here). You will also find four mounting screws, small tension springs, spacers, screws for the cooler braces, and fan retention arms. There are even two additional fan retention arms in case you want to use two fans.
First Impressions
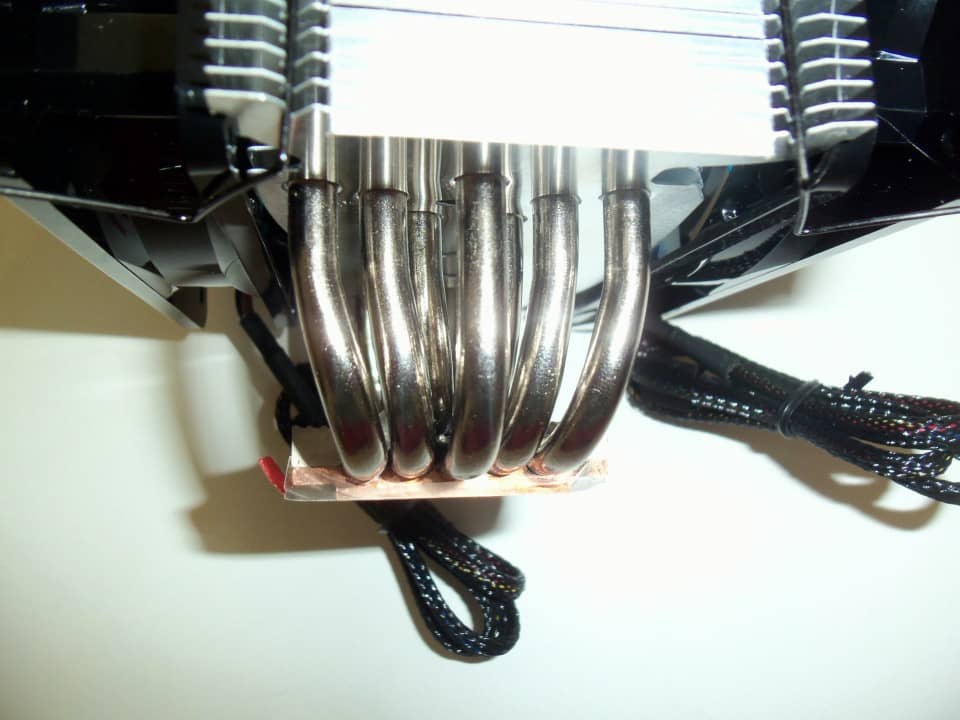
There is a point when you first open a box for a new product you purchase when you decide if this is something you will enjoy owning, or if it was something to just fill a requirement. I was not sure what to make of the Gelid GX-7 as it seemed to go against some basic principles I normally attribute to high end coolers. Coolers such as the Scythe Mugen II I and the Noctua NH-D14 that I normally use for my test setup are large, heavy, and spread out their heat pipes as far as possible. The GX-7 is very light weight, only about 50 mm wide, and has more heatpipes than both previously mentioned coolers (totaling seven). It was not discouraging, just different.
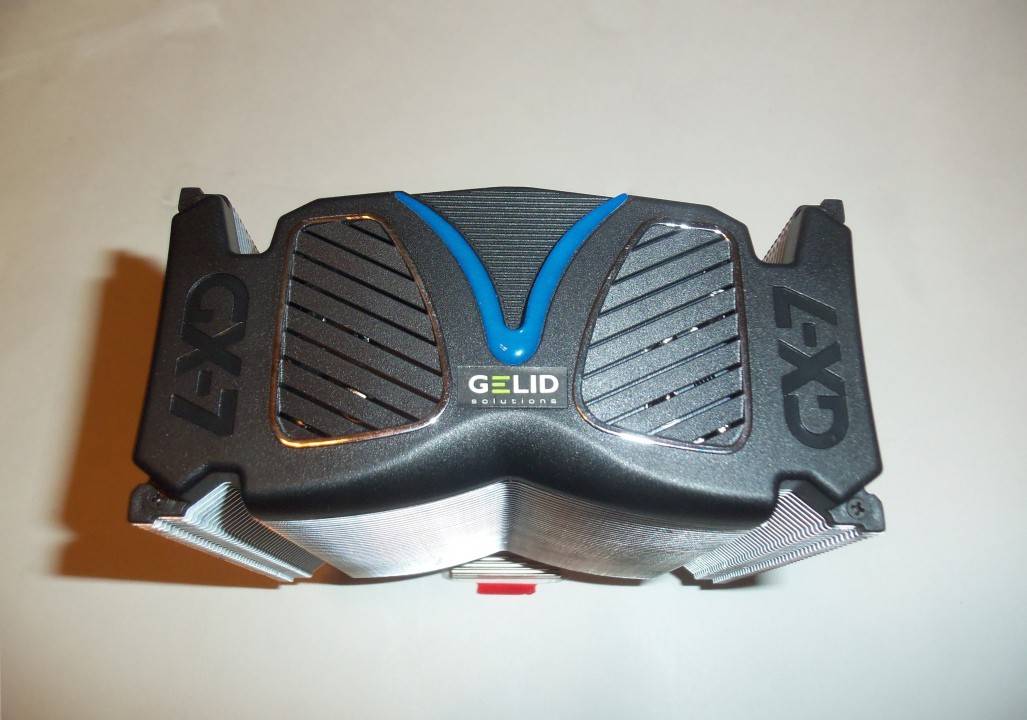
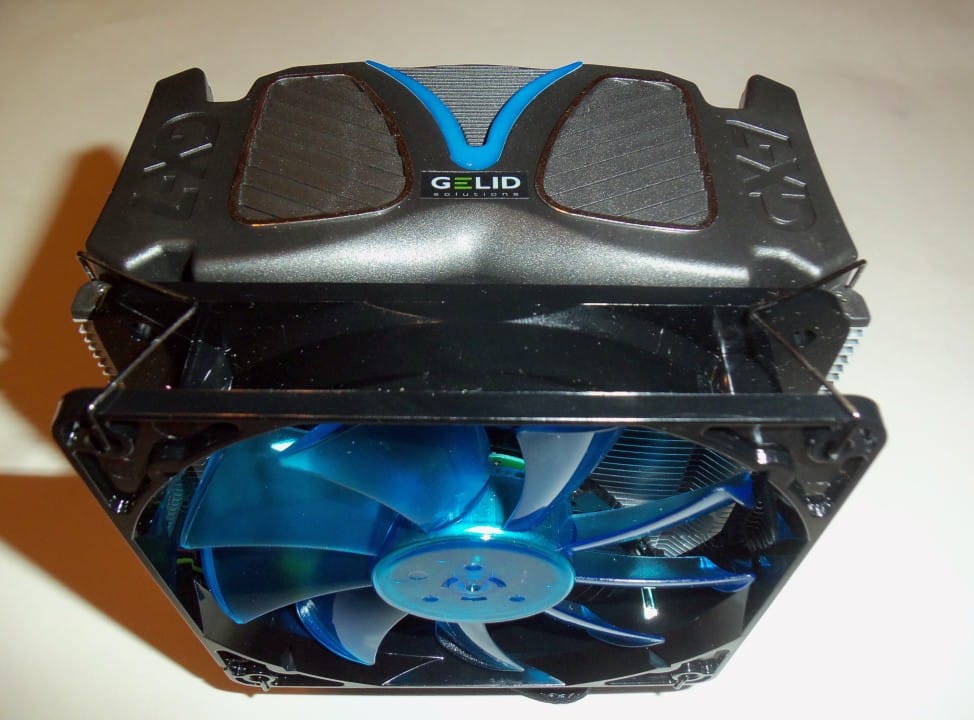
As I examined it a little more I notice the GX-7 also has a very distinct shape complete with some small “V” shaped cutouts in the cooler fins. The fins themselves have the tips bent to provide constant spacing between each and are thick enough to resist being accidentally bent during installation. Finally the top cover is a black plastic piece with chrome accents and Gelid logo. It is exactly as tall as any attached fans and should not increase the size of the cooler like some designs heatpipe end tips. Overall the Gelid Gx-7 is distinctly shaped with a unique approach of increasing the number of heatpipes, but not the size of the cooler itself.
Test System Setup
In order to assess the ease of installation of the Gelid GX-7, a system using the following components was assembled.
- CPU: AMD FX-8150
- CPU Coolers Tested: Noctua NH-D14, Scythe Mugen 2 Rev B, Gelid Solutions GX-7
- Motherboard: GIGABYTE GA-990FXA-UD5 AM3+ ATX
- HDD: Samsung F4 500 GB 7200 RPM & WD Blue 2 TB 5400 RPM
- RAM: G.Skill 8GB (2 x 4 GB) 2133 MHz @ 1866 MHz 9-10-9-27
- GPU: HD 5850 DirectCU
- Audio: ASUS Xonar DG 5.1 PCI card
- PSU: Antec High Current Gamer Pro 850W
- Case: Rosewill Thor V2
- OS: Windows 7 Professional 64-bit
Instead of testing the Gelid GX-7 on an open air testing bench, we will be testing it inside an enclosure. I believe this should give us a better idea of what practical impact this CPU cooler will have on performance as well as any changes in noise inside the system. The hardware will be a little different than my regular benchmarking setup due to the use of a different GPU, HDD, and the addition of a discrete sound card. Let’s see if any issues came up during the installation process.
Installation Notes – You Should Remove The Motherboard
This is one of those installations where it is all about the approach. While most motherboards have a large cut out to facilitate installation of coolers, it really didn’t help the Gelid GX-7.

Initially, I chose not to remove the motherboard from my case but found out later that this would have been much easier. Following the instructions, step three has us installing retention springs and long capped nuts. While this design does ensure even pressure across the CPU, you need to get one of your hands below the cooler to hold the pieces in place while securing them. While most cases have a huge cut out to assist in the installation of most coolers, it really wasn’t useful with this particular cooler due to the issues above. To be fair, this is likely not the only cooler on the market that uses this method of installation but a little fore thought can lead to less cussing.
While switching back to another test cooler, I did attempt an install of the Gelid GX-7 one more time with the motherboard outside of the case first. It was definitely much easier for all the reasons above. One thing of note is that the retainer arms that attach to the bottom of the cooler can be turned 90º, giving you control over the direction of the airflow in either a horizontal or vertical fashion. This is much easier to accomplish with the board out of course.