First Impressions
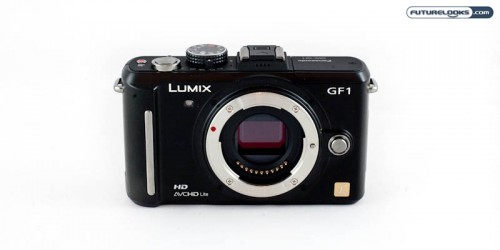
There’s no mistaking that the GF1 is a rather pretty package. The svelte body looks like many classic rangefinder cameras you might see in old movies or swap meets. The black version is definitely my choice although I had to admit that I think it also looks rather striking in silver and white as well.
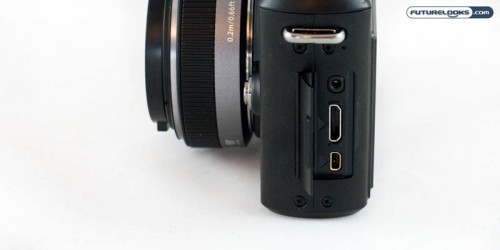
Build quality seems superb. The camera feels solid and heavier than it appears it would be. My only real gripe about the build quality is that the door covering the HDMI and USB ports isn’t held shut by anything but a spring and feels like a errant piece of equipment or flap would open it, leaving it vulnerable to breaking off. A solid rubber cap would’ve been better.
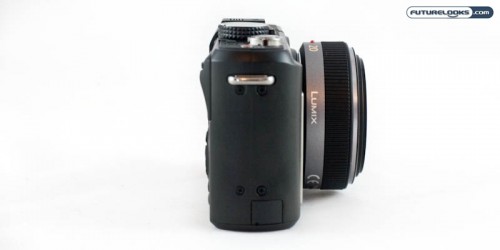
The body itself is 36mm and the thickness just about doubles with the pancake lens so it is too just too large to be pocketable like a compact digital camera. However, the extra weight and size may appeal to some who want some of the extra features only a DSLR can provide while others are better off with something they can carry more easily. Is a m-4/3rds camera right for you? Read on to find out!
Operation
The learning curve for using the GF1 varies according to the user’s experience with DSLR cameras. If you are familiar with all the different settings one might find on a DSLR, you’ll have no problems navigating the GF1’s functions as they are all clearly labeled as they usually are. However, if you come from using a simpler compact digital camera, then you may want to familiarize yourself with all the different buttons, dials and switches before taking the GF1 for a spin.
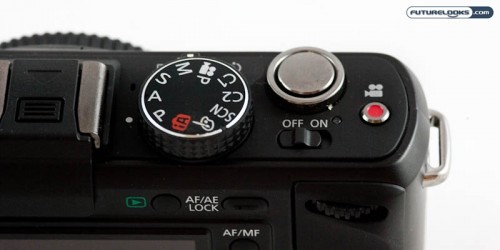
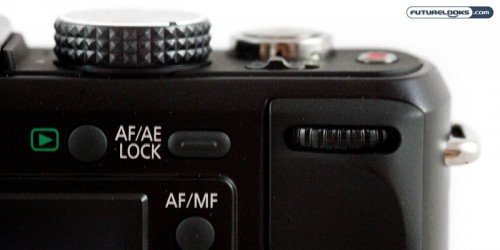
The top of the camera holds the on/off switch, the mode dial, the shutter release, and a button that triggers movie mode. Along the side of the mode dial is a lever that adjusts the camera’s drive, varying from single shot, multi-shot, AE bracketed exposure and self-timer. Pressing the movie mode button starts filming in any mode regardless of where the mode dial is currently at. This gives you a limited shooting mode with fewer options than you might get if you set the mode dial to movie recording. Unfortunately, in either situation, you are given limited control with aperture and other creative options.
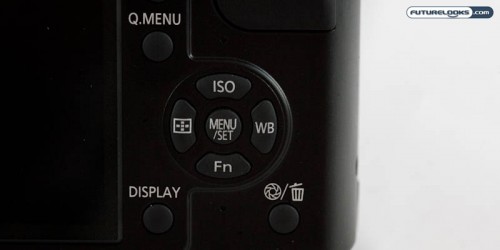
At the back of the camera, next to the LCD, you’ll find the buttons for navigating the on-screen menus. Most functions such as aperture can be easily changed with the Quick Menu button while others like ISO are given their own button. The play button brings up a display of all the pictures and videos stored on your memory card.
Adjusting shutter speed on the fly is done with the rear dial, which switches between that and AE compensation when you press on the dial itself. The dial acts as a button that mirrors the function of the SET button below. This system can be a bit confusing at first to use but most will find themselves getting accustomed to it quickly.