A Closer Look at the Define XL R2
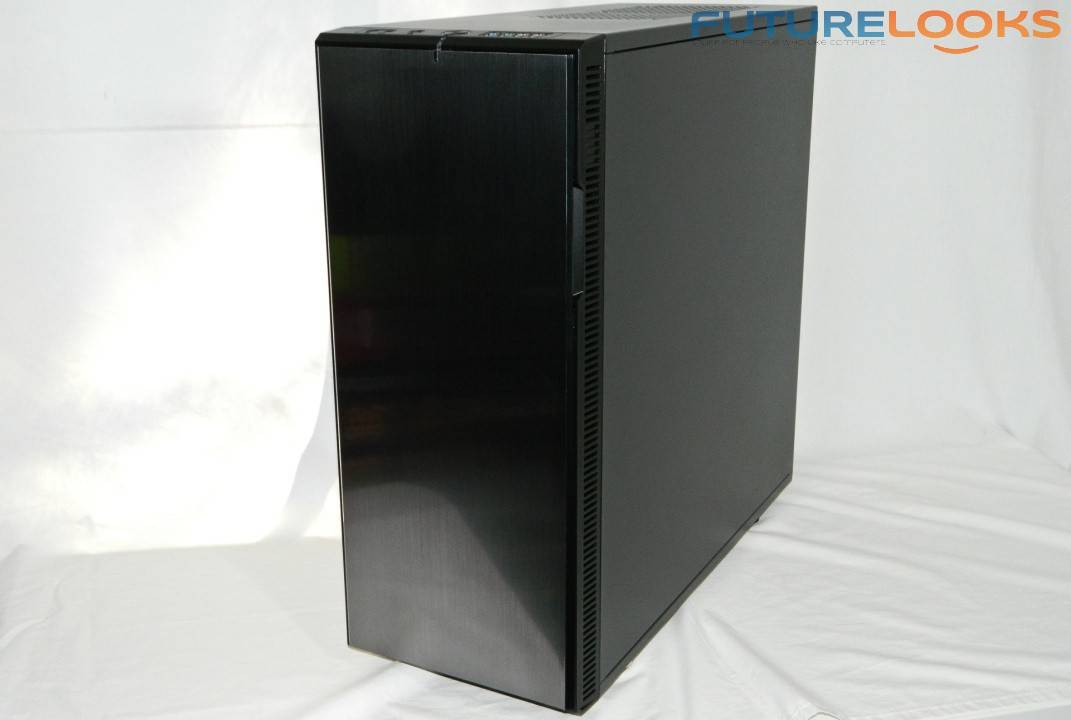
As you can see, the brushed finish and Titanium Grey bezel door actually presents a visible attractive contrast against the jet black chassis. In lighted situations, the door seems to blend right in to the rest of the case. The rest of the chassis is evenly painted black without any visible raw edges or missed corners.
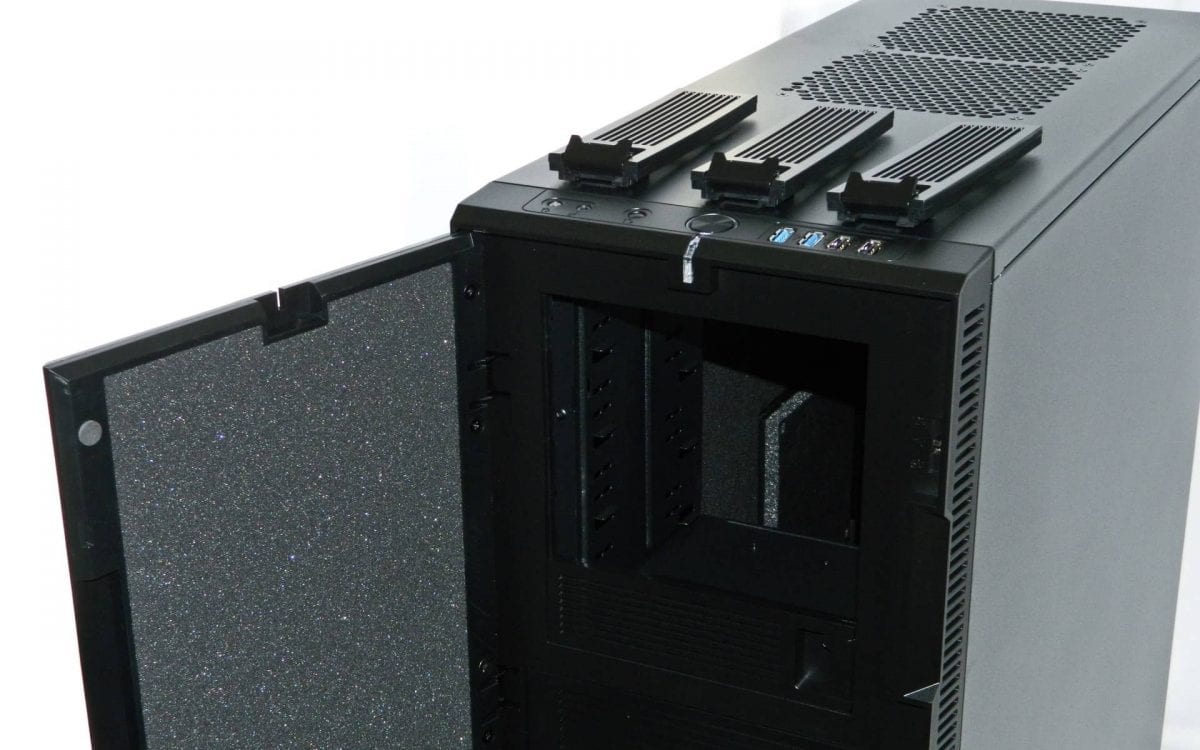
The front door is padded with sound dampening material. Basically, the door cuts down on any noise that can escape through the front of the chassis like most conventional enclosures. The bezel 5.25″ louvers easily clip in and out of place. They’re vented and freely allow air to pass through since the chassis doesn’t have any blocking plates inside.

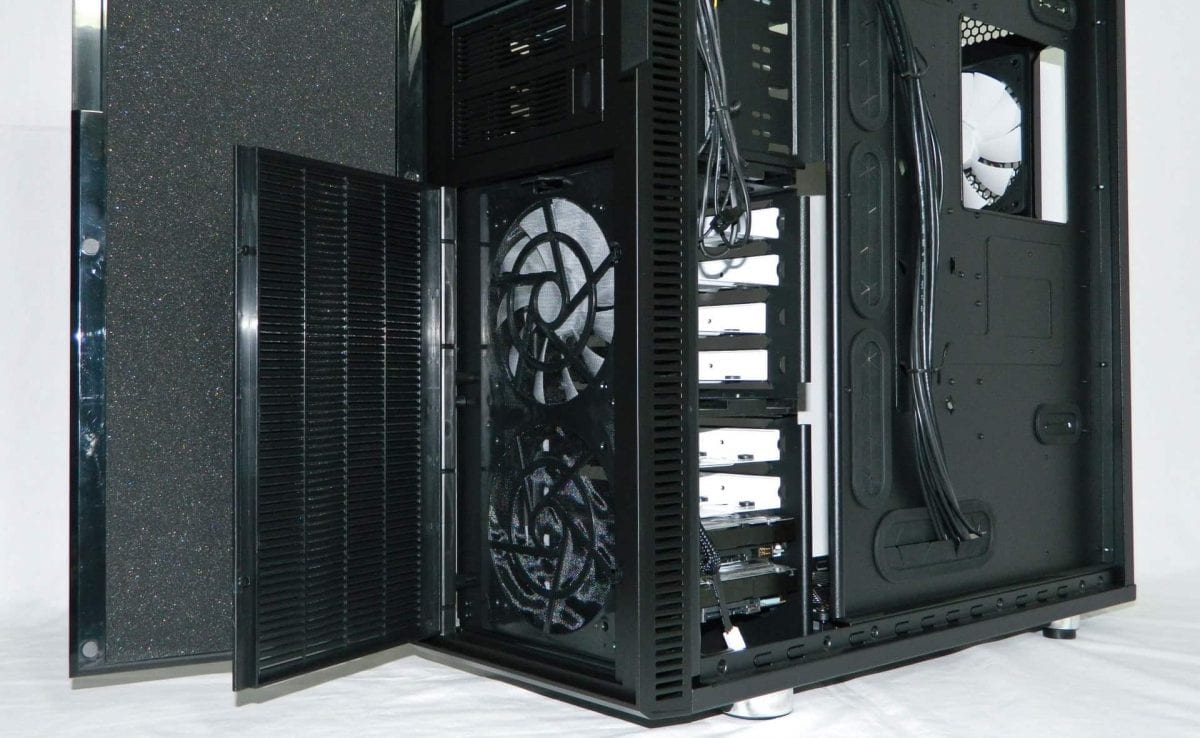
Removing the front dual 120/140mm fan cage involves pressing two points that click open allowing a swivel door. The cage is fastened by a single tab that pulls down and outward. Adding or replacing fans is as easy as sliding them out. Users will have to attach the two fans to your motherboard or fan bay to power them. You could connect them to the 3-speed front switch but the included fans aren’t all long enough to reach the mounted controller. You’ll need to purchase some extensions at additional cost.
A Look Inside the Define XL R2
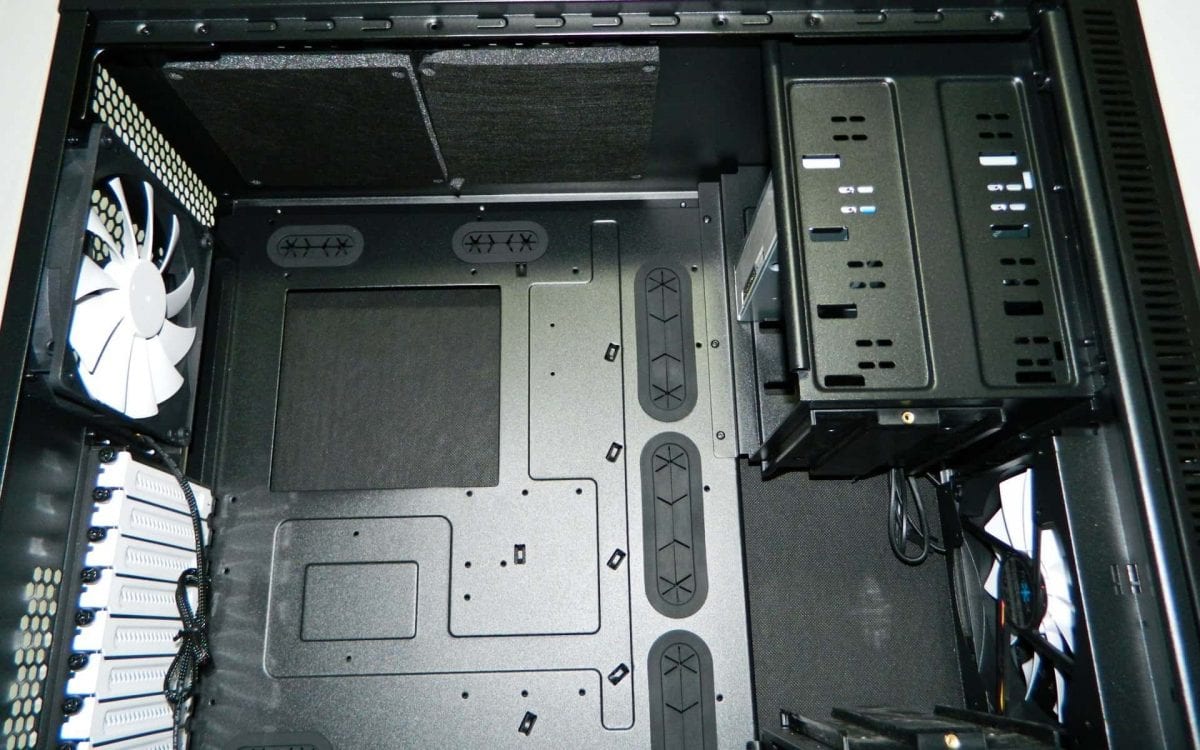
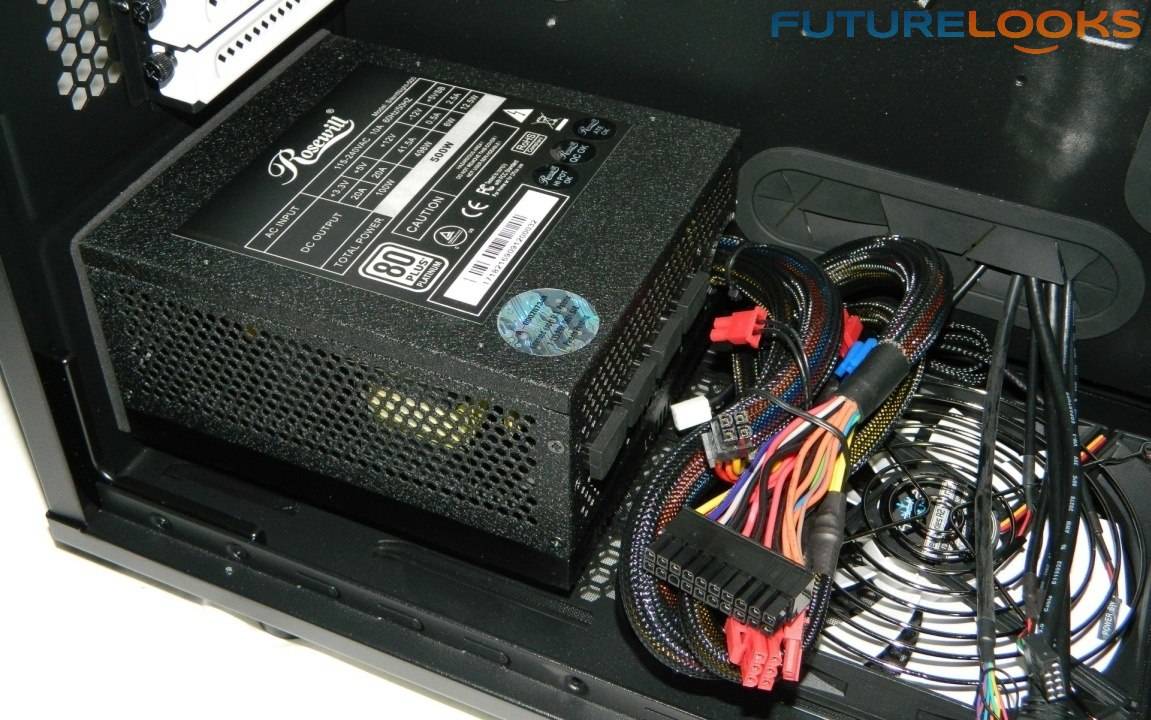
After removing the Bitumen lined side panels, you can see the internal chassis is very similar to the Define R4 enclosure. It’s jet black inside for the most part except for a few white painted PCI covers and fans. The PSU area has two 3/4 inch tall rubber standoffs for putting some air space between the PSU and chassis for better airflow. The rubber padding on the chassis cuts way down on vibrations too. A bottom mounted filter helps keep cut down on dust. A single 120mm bottom fan is installed in the middle. Still, there’s enough room for a massive power supply of any length or size.
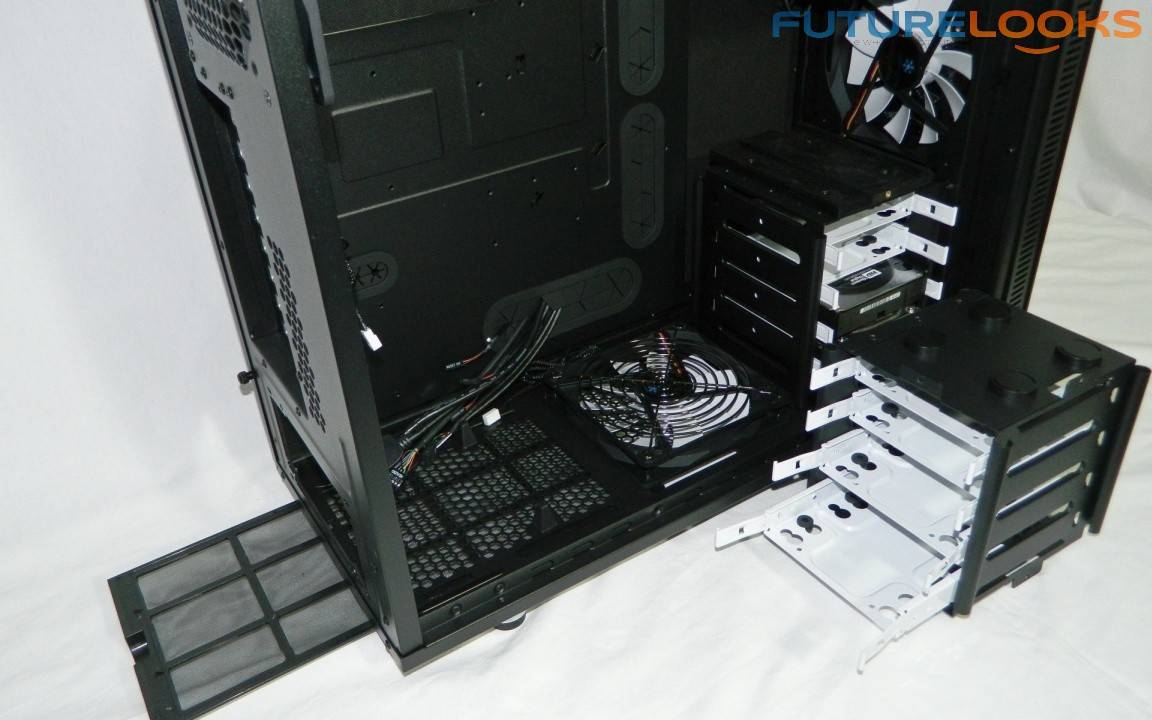
White HDD trays fill the two removable cages. Rubber grommets pad the HDD from the tray to cut down on vibrations as well. Special standoff screws are bundled with the accessories as well as screws for any SSDs. Thumb screws fasten the HDD cages in place. Unfortunately, the 5.25″ bays aren’t tool-less, however, black screws are included to fasten any DVD ROM drives. The top is pretty uneventful other than the two Moduvent fan caps.
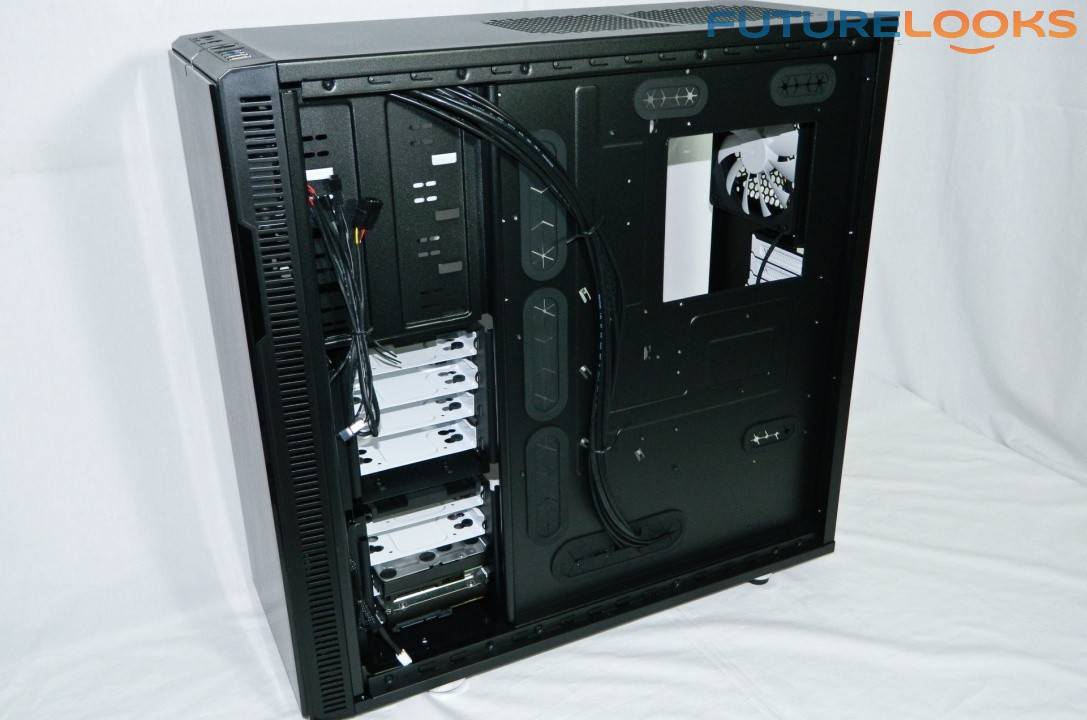
Finally, the back of the enclosure gives a better view of the wire management spacing as well as the huge cut out in the motherboard tray. That tray is so large, users can even install dual CPU motherboards. There’s a lot of space behind the tray for tons of wires. Other than some zip ties, there aren’t any Velcro straps or a lot of places to tie off wiring. Straps and more hooks would help manage larger systems better.
That said, let’s take a look at the three test systems and testing methods.
Test Systems Configuration
To ensure the system receives a good real world build and work out, we used three different test systems. System one is a stock AMD cooled ASUS build mainly focusing on CPU, chipset, and video card temperatures. The components are an AMD X4 965 (1.4V) Quad Core, ASUS M4A89GTD PRO motherboard, 8GB Corsair Dominator DDR3, NVIDIA GTX 8800 Ultra video card, and Antec 850 Watt Signature PSU. If the air flow is poor, the temps and air coolers tend to spin consistently at higher RPMs.
The second system is a high end GIGABYTE Sniper 5 gaming system with all the bells and whistles. I purposely assembled this build because it should be so silent that the only sound should be coming from the headset. The main heat producing components are an Intel Core i7-4770K Haswell processor, GIGABYTE Sniper 5 G1 Killer motherboard, an Kingston HyperX Beast DDR3 memory kit, GIGABYTE GTX 770 OC 2GB video card, and a Rosewill Tachyon Platinum 1000 Watt PSU.
And, finally, a dual Xeon E7-4830 build with standard coolers was built, which commonly get noisy, especially in rack mounts due to poor air flow. I only had a few hours to monitor temps and record noise from the admin system versus a 4U rack chassis. The goal was to determine if the Define XL R2 is a viable enclosure replacement in helping to eliminate noise.
Let’s see how the installation went next.