Fractal has continued to be one of the PC industry’s fast rising manufacturers focusing immensely on enclosures and power supplies. What stood out most about the Define R4 were the use of Bitumen sound dampening materials on both side panels and the front door. This is great for anyone with a need to quiet down their system. While the Define R4 enclosure is intended for regular end user purposes, the Define XL R2 has a larger (XL) role in supporting larger systems and a larger number of components as well.
I gave the Fractal Design Define XL R2 a shot at supporting a new high end Z87 gaming system as well as a housing a dual socket Xeon ASUS supported system. High end gaming systems often use high performance components which means louder video cards. Servers tend to require more seriously, loud CPU coolers and fans. Either way, I think you’ll be interested in the Define XL R2 and our results.
Features and Specifications
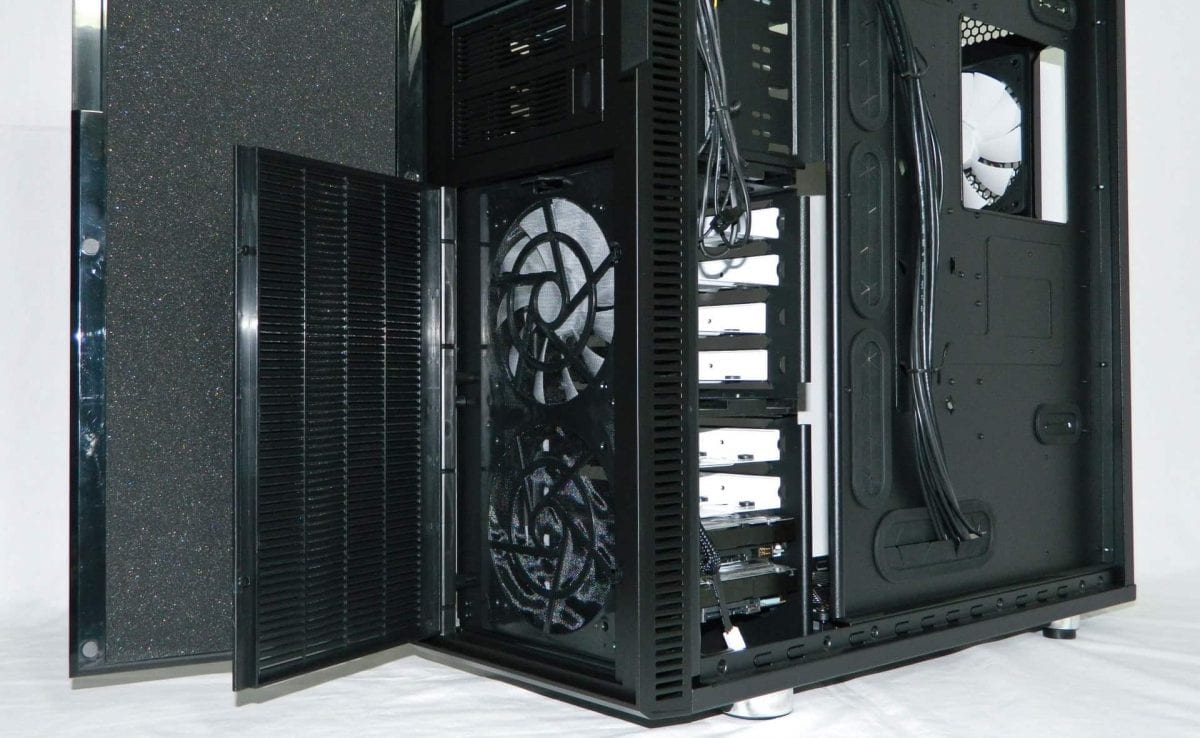
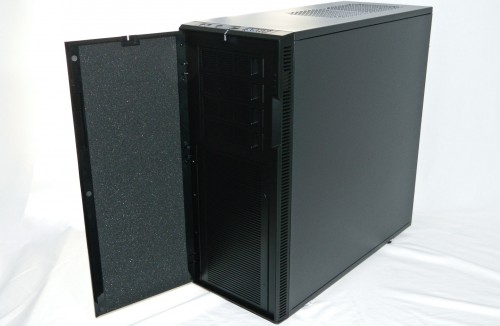
The Define XL R2 and Define R4 share very similar design and fabrication. The XL R2 comes in Black Pearl which essentially has a jet black brushed textured door and a Titanium Grey textured bezel door like the one shown above. Here’s the quick feature list broken down for easy consumption.
- Bitumen and dense noise reducing materials
- ModuVent design (foam covered fan caps) – 3 included (Side panel and two top)
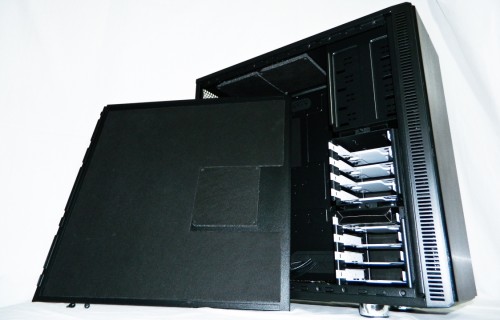
- Removable HDD cages – move bottom cage inward to support front dual 140mm radiator
- Space for single/dual 120 or 140mm radiator up top
- 3-speed fan control integrated in to the front panel – supports 3 fans
- Includes three Silent Series R2 chassis cooling fans (front, bottom, back IO)
- Tooless, removable front fan enclosure – easy maintenance
- Supports the largest power supplies available
- Supports the largest graphics card available
- Wire management – 1″ space behind motherboard tray
Overall, there are a lot of standard features that make the Fractal Define XL R2 competitive with a range of cases in a similar price range. And as eluded to earlier, the Define XL R2 really does share a lot of similarities with its smaller Define R4 brother. We continue to see a lot of great tool free features as well as increased support for larger power supplies and graphics cards and a generous 1 inch gutter behind the motherboard tray for easy cable management.
Moving on, the Define XL R2 supports a range of motherboard s including mini-ITX, Micro-ATX, ATX, E-ATX (extended), and XL-ATX (extra large) motherboards. And also has additional space for the following components.
- 4 – 5.25″ Optical/ROM bays
- 8 – 3.5″ HDD trays – compatible with SSDs
- 9 expansion slots (white PCI covers)
- 7 – total fan positions (2 front, 1 side, 1 rear, 2 top, and 1 bottom)
- Fan filters in front and bottom
- Rubber grommets support and silence the PSU
- Rubber grommets on all cable route holes
- Rubber grommets on HDD trays
- Roughly 36 pound (16.4kg) chassis
- 120/140mm top fans, bottom 120mm fan, rear 120/140mm fan, 120/140mm front fans
- 2 – USB 2.0 and 2 – USB 3.0 front panel ports, Audio in/out, power, and reset
As you can see, one of the things that makes the Define XL R2 an XL is its support for large XL-ATX motherboards. Although there are few current boards that use this form factor, what it will give builders with smaller boards is a lot more room in which to work in. There are also many features that make it quite ready and willing to take on the installation of a custom water cooling system as well.
Pricing for the Fractal Design Define XL R2 starts at $129.99 US/CA from the usual online retailers but can be as low as $99.99 US.
What’s In The Box?
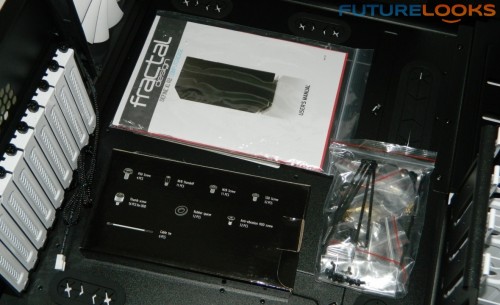
The bundle is somewhat basic but is always easy to figure out when assembling a system. The accessories box labels what is in each baggy. With the exception of the brass motherboard standoffs, all of the screws are black which blends with the chassis.
Special HDD screws work specifically with the trays. And, one-time use zip ties are there if you want to bundle up wiring. If you aren’t familiar with common computer installation, the manual will walk you through each step nicely.
Let’s have a closer look at the case…


