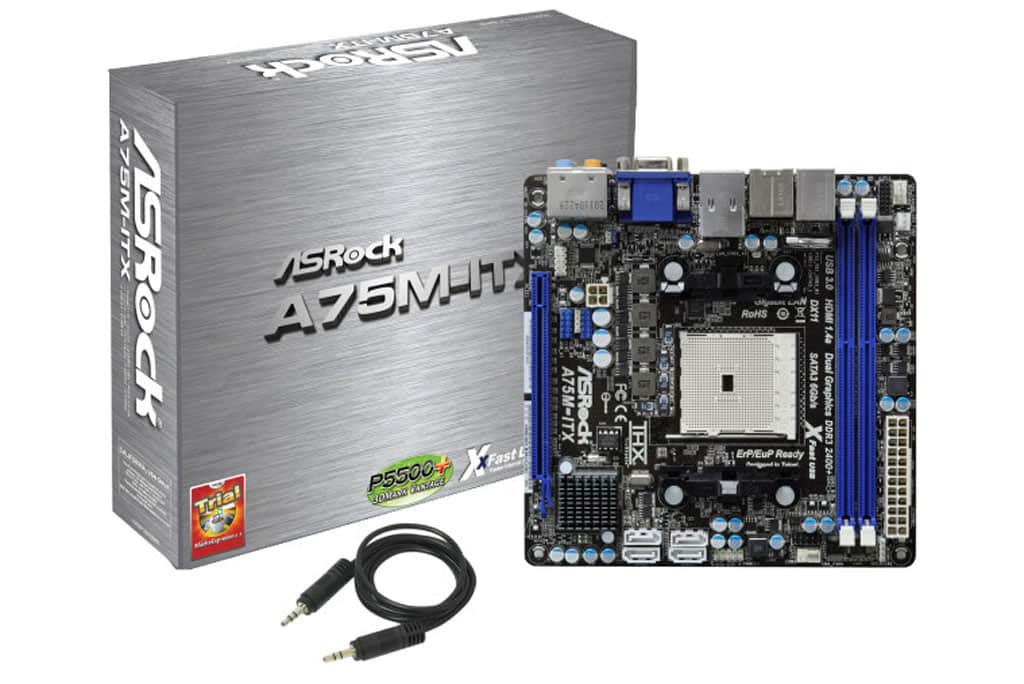

I believe that the AMD APUs are the only choice for a single chip HTPC solution and I stand by that statement. The best possible option would be paired with an mini-ITX motherboard and a very small form factor case. Using the right cooling solution, you could build a very power HTPC that is no larger than a Nintendo Wii and just as quiet, allowing you to enjoy all your media in your living room. Today, we are going to see if the ASRock A75M-ITX motherboard at an MSRP of $89.99 is the board to fit that role. Let’s check it out!
Features and Specifications
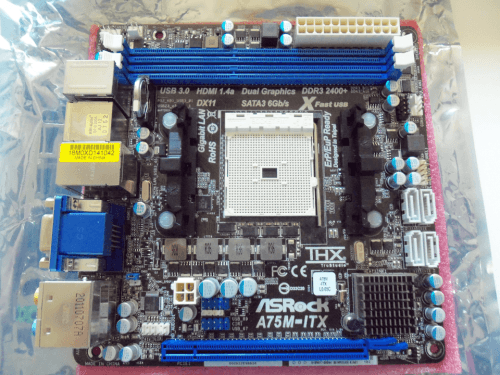
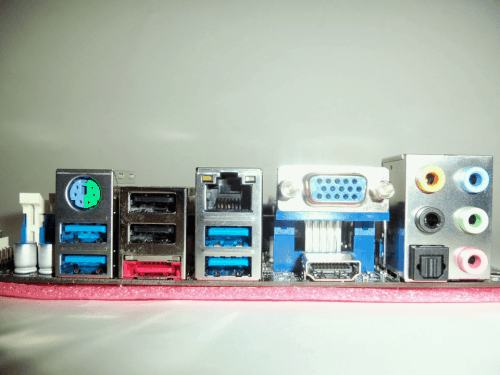
The core of the ASRock A75M-ITX is the same as other FM1 socket motherboards with the A75 Hudson D3 chipset. This includes native USB 3.0 support (up to 4 ports all found on the back IO panel), 5 SATA 3.0 (4 headers and 1 on back panel), FIS-based switching, AMD Radeon Dual Graphics, native CIR (Consumer IR) and native DDR3 support. ASRock states that this board will support RAM up to 2400 MHz in speed if stock performance is not enough. More on that in the coming pages.
The A75M-ITX has two full sized DDR3 slots, two USB 2.0 headers, CIR header, 3 fan headers (one 4-pin and two 3-pin), and 1 PIC-E 2.0 x16 slot. This is all natively support provided by the AMD A75 Hudson chipset. It’s clear that this board has a lot of features packed into a small space which is both good and bad.
The A75M-ITX uses ASRock’s Graphical UEFI BIOS and a large selection of software that is provided with this motherboard. This includes ASRock Extreme Tuning Utility, APP Charge, InstantBoot, Instant Flash, XFast USB, XFast LAN, ASRock On/Off Play, ASRock Magix Multimedia Suite, and comes with free trials of CyberLink MediaEspesso 6.5 and THX TrueStudio. The best part is that you’ll get all this for $89.99 or less at most retailers that are stocking ASRock boards. This number has been growing.
What’s in the Box?
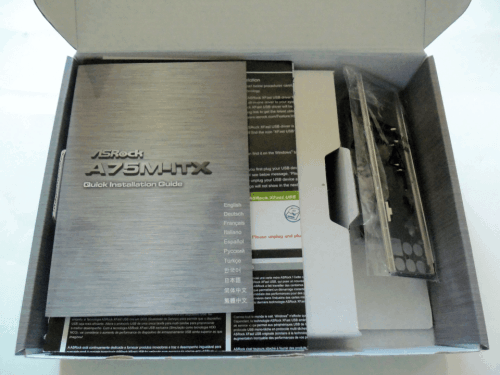
The box contains a very few physical pieces/compartments. Once opened, you will find the ASRock A75M-ITX motherboard, driver/software DVD, two SATA3 (6 Gb/s) cables, IO shield, and an audio crossover cable. The two SATA3 cables include one with two straight connects and one with a 90° connector. In addition to these items you will also find some folded papers that contain descriptions of the motherboard and its features. This keeps the price low and the value high. It’s worth mentioning that the quality of the documentation is also quite good now from ASRock, giving you all the information you need without a second translation.
Test System
In order to test the ASRock A75M-ITX motherboard, we have to build a system around it. Using many of the parts in our previous reviews of the FM1 platform, we’ve put together a somewhat standard setup to test boards based on this chipset.
- CPU: AMD A6-3650
- GPU: Gigabyte HD 6670 OC 1GB
- RAM: G.Skills Ripjaws 2133 MHz @ 1866 MHz 9-11-9-27
- HDD: Seagate Barracuda XT 2TB
- PSU: Antec HCP 850W
- Audio: Onboard Realtek ALC892
- OS: Windows 7 Ultimate 64-bit
- USB 2.0 Test: Corsair Flash Voyager 16 GB
- USB 3.0 Test: Samsung F3 1TB in a Rosewill 3.5” USB 3.0 Enclosure
Benchmarking Software
In order to test all the important functionality of this board, we’ll be employing the following software suites and programs.
- PCMark07
- 3DMark11
- Alien Vs. Predator benchmark
- Resident Evil 5 benchmark
- CrystalDiskMark 3.0.1
- OCCT
- FurMark Burn-in
- RightMark Audio Analyzer 6.2.3
System Build Notes and Software Bundle
There will be one very important fact that will come up over and over during any build using the ASRock A75M-ITX, or any other mini-ITX motherboard for that matter: It’s small. The overall layout can only described as the best we could do with the space that we have. The FM1 socket is surrounded by many things to keep in mind during your CPU cooler shopping.

Once you have selected a cooler that will fit the board without obstructing other components (or just used the stock cooler), I recommend installing it prior to install the board. I found the build to be much easier by simply installing the chip, RAM, CPU cooler, and front IO wires first. Once you have these wired up, clamped down, or otherwise tucked away, you can secure the motherboard into the case with four screws. If you are unable to do this due to the design of the case, you will most likely not have your PSU as close to the 24-pin power and CPU fan headers as I did.
When you have the A75M-ITX installed and the above components ready, move on to the USB and SATA connections. These are far enough away from the CPU cooler area to not give you many issues. Finally, finish your build by installing your expansion card in the PCI-e slot if needed. You may need to move the audio and USB wires around to give you the clearance for the card. These tips should give you a pain free installation.