Putting It All Together
It’s not exactly a daunting task to put together this notebook cooler stand, but it does take a few moments of your time. The provided screws are considered thumb screws, but you may be more comfortable using a standard Philips screwdriver instead. The choice is yours.
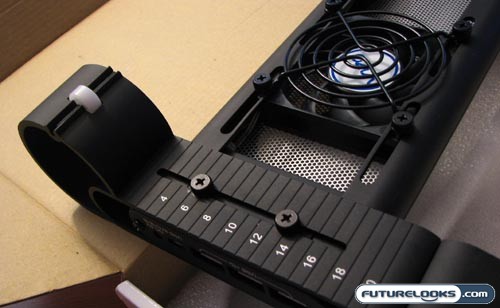
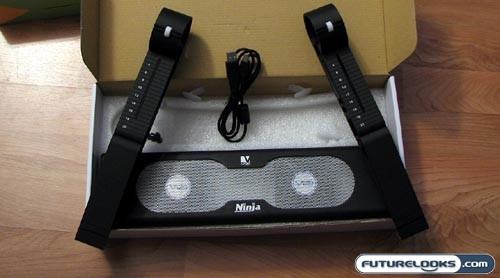
As mentioned, the Vizo HS Notebook Cooler comes as three main pieces. Basically, you line up the middle portion with the stands on either side. Checking out the underside of each stand, you’ll notice that there are a series of numbers. These are there so that you can effectively line up the two stands. You wouldn’t want a lopsided notebook cooler. There are two screws that need to be inserted on either side. Also in the above picture, you’ll notice that there is a small wheel at the back end of each stand. This is so that you can more easily move the Vizo HS if you need to move it. The underside of the front ends have small grippy pad, so you need to lift the front before sliding the Vizo HS forward or backward.
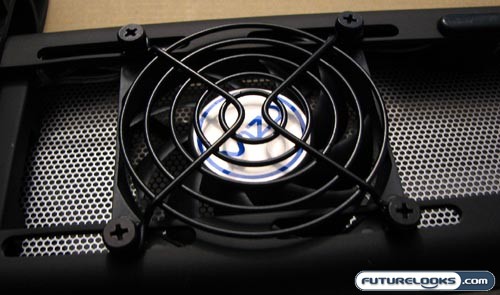
Next, you can adjust the position of the fans horizontally. Each of the two fans is held in place by four screws, so you can just undo these, slide the fan over, and screw it back in. Vizo recommends that you find the “hot zone” on the underside of your notebook, lining up the fans with this area so that you can get the best cooling experience possible.
And that’s the completed product. It looks pretty funky, if you ask me. The aluminum material is exactly the same as previous Vizo Ninja notebook coolers, so while it looks like it scratches easily, these imperfections rub out also as easily. Having said that, having aluminum to metal contact between your laptop and the cooler could lead to some unsightly marks that may not be as easy to buff out. This is more of a concern with laptop users of the MacBook Pro variety, with that aluminum casing. A stop to your hardware store for some sticky rubber feet might allow you to separate the two surfaces better, but Vizo should have included some to ensure their product isn’t to blame for cosmetic blemishes to one hardware.
USB Bonus Hub
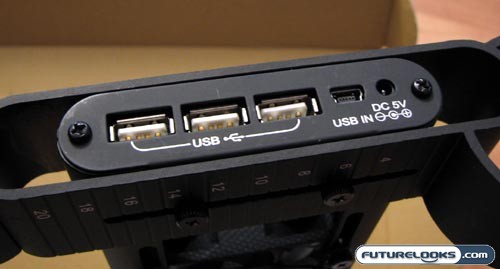
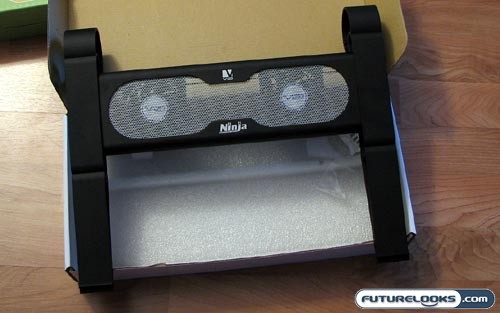
The version of the Vizo HS notebook cooler in this review carries the model number NCL-251-BK. This is the one with three built-in USB 2.0 ports. Model number NCL-250-BK is functionally identical to this notebook cooler in every way, except it does not have the USB hub on the right side.
This hub is where you insert the mini-USB cable, providing power to the dual fans. Next to it is a port for DC power, but a DC power cable is not provided. As far as I can tell, each of the three USB 2.0 ports offers 5V/500 mA, so they should be enough to power most of your USB peripherals. I think this is a better solution that the USB pass-through cable offered by the original Vizo Mini Ninja. Subsequent versions of the Vizo Mini Ninja also now include this hub.
Real-Time Price and Stock Check – Find More Notebook Coolers