The one trait all PC enthusiast share is the desire to do things their own way. All those who have taken the time to research, select components, wait for parts to arrive, build, and bring a new PC to life will tell you they enjoyed every minute of it. It is about putting the “Personal” back in a Personal Computer (PC). BitFenix is a company that truly understands this idea and designs their cases with the end user in mind. Today we will be looking at the BitFenix Outlaw case which does everything its own way.
Features and Specifications
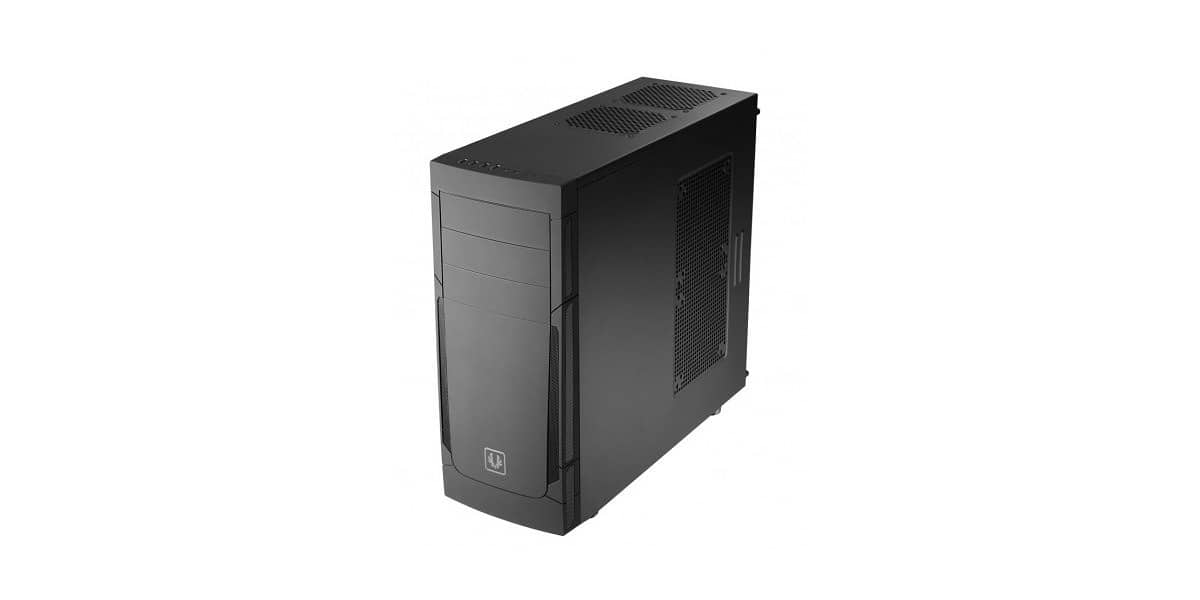
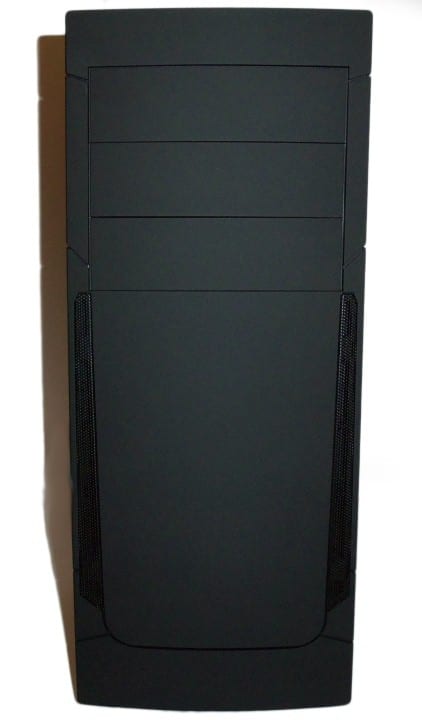
The Outlaw chassis has a nice list of features you may find on other cases but not implemented in the same manner. The first thing that catches my attention is the MSRP of $49.99 for a mid-tower case. Constructed of steel with a plastic front panel is the norm for this price segment and the Outlaw is no different; however, it does have the unique BitFenix Soft-Touch coating to hide the plastic. This gives the case an interesting look as the plastic is not apparent until you remove the front panel.
Standing at 17.24 x 7.08 x 18.82 inches (Height x Width x Depth), the Outlaw has room for four 5.25” external bays, four 3.5” internal HDD bays, one SSD mounting point, eight fan locations (1 included), seven rear expansion slots, and four front panel USB 2.0 ports. The PSU is mounted at the bottom of the case either with the fan facing down or up. There are also 8 rubber grommets in 4 of the HDD mounting section to absorb vibration and a huge CPU cooler cutout.
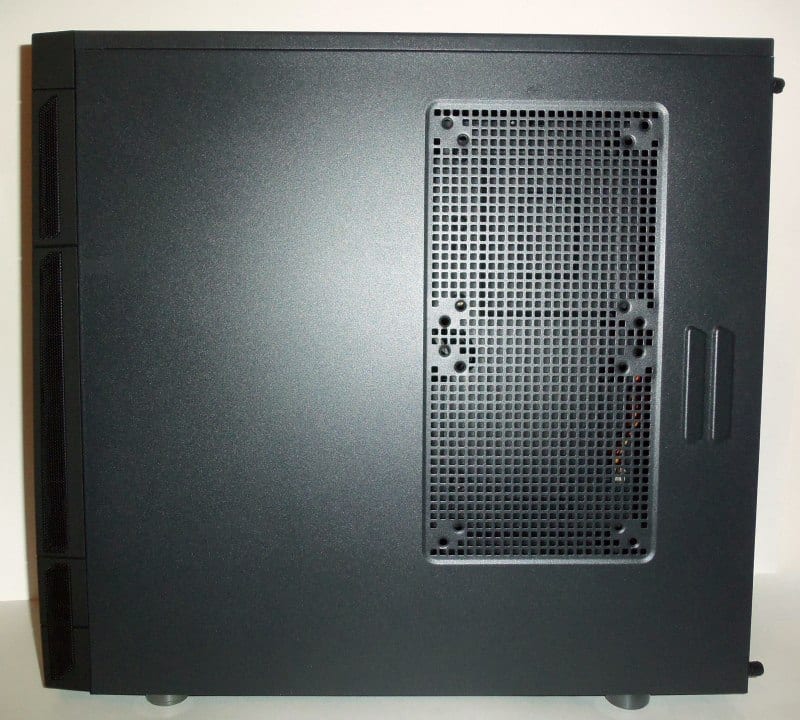
While a standard Mid-tower in form, the Outlaw is a reverse ATX case. This means a standard ATX motherboard will be mounted to the left panel up-side-down. At first glance it seems odd, but this would done to relocate the GPU area to line up with the 5.25” bay. This allows the Outlaw to house a GPU nearly as long as the case. A GPU up to 11” will fit without obstructing the 5.25” bay, but should handle a GPU up to 14.5” by sacrificing a 5.25” slot or two. No big deal for most modern builds that may be “optical drive free” as more and more enthusiasts take to loading their OS from a USB drive.
What’s in the Box?
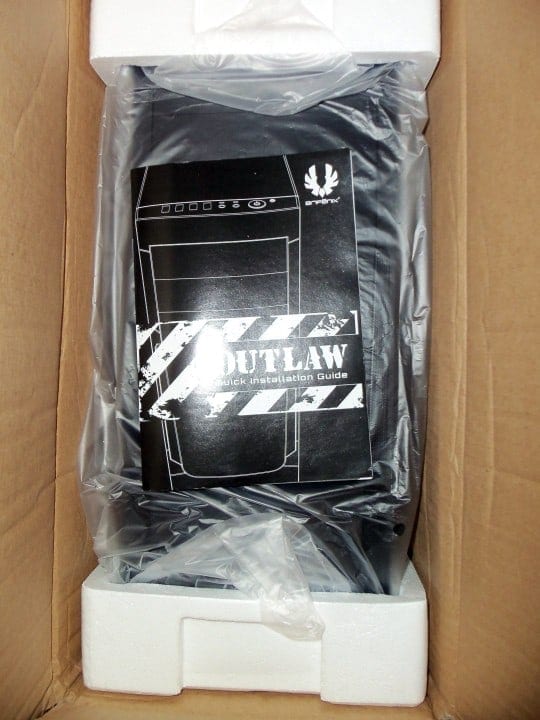
In the box you will find the Outlaw case, a quick installation guide, and your standard packaging foam. Once you open the case itself, you will find a small box that contains various screws, BitFenix logo sticker, and ten zip ties. The screws for this case includes security lock screws, four PSU screws, and motherboard tray screws. There are also a total of 39 thumb screws for your HDD, optical drives, and rear expansion cards, making it easy to install and remove components when needed.
First Impressions
The Outlaw has very underwhelming appearance with few curves or sharp angles. Excluding the Soft-Touch coating on the front face, it is a standard box design. It is very clear at first glance the Outlaw is for those who prefer understated case style. There is not much to say about the exterior of the Outlaw, but the interior makes up for that in spades.
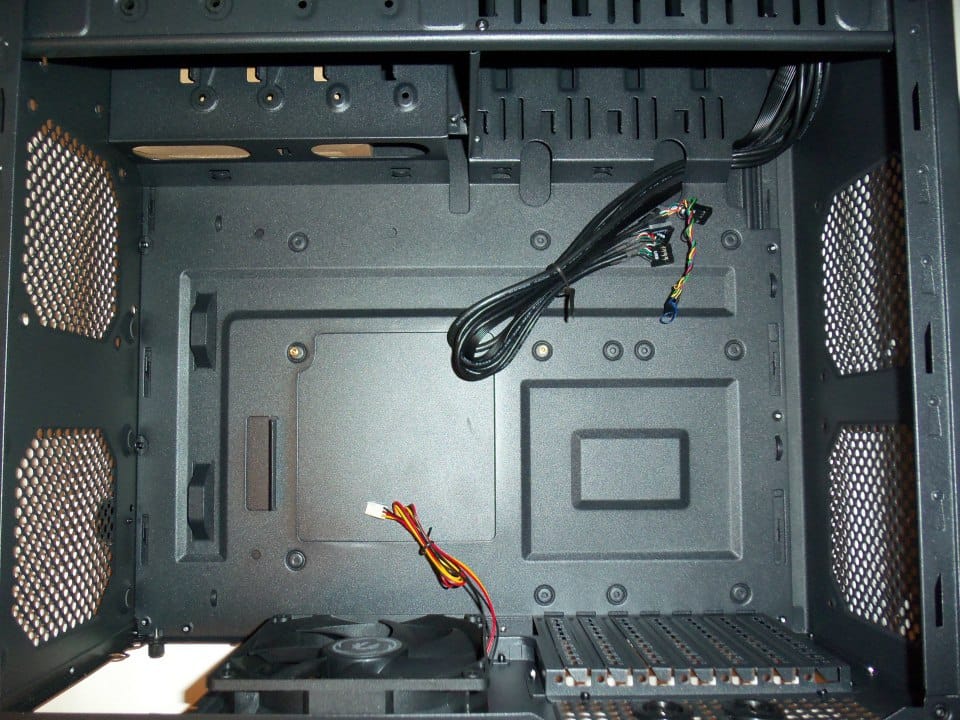
Once you open the Outlaw case from the right side using the rear thumb screws, function takes the front seat. There was clear effort to get more out of standard features than other cases in the same price and size. The steel is fairly sturdy, especially the side panels. Both side panels combine for more than 50% of the total weight of the case which is no surprise as they have more steel surface area than the rest of the case. Everything is black and well painted. There is not a single square inch of the Outlaw that has not been painted. While the overall look of the case’s interior is great, there are some issues I noticed.

The first thing that struck me as strange was 4 drill holes for a single SSD at the bottom of the case, just under the HDD mounting area. This was clearly a move to save a little money and to reduce the size of the case. It is often the norm of more expensive models to either have a way to use any 3.5” slot for a 2.5” drive (those with drive trays), or provide a 3.5” to 2.5” adapter. This is actually a good idea for this size case as you could use an SSD and still maintain your four 3.5” drive bays to bring your total drives up to five.