Thermaltake Urban T81 Interior
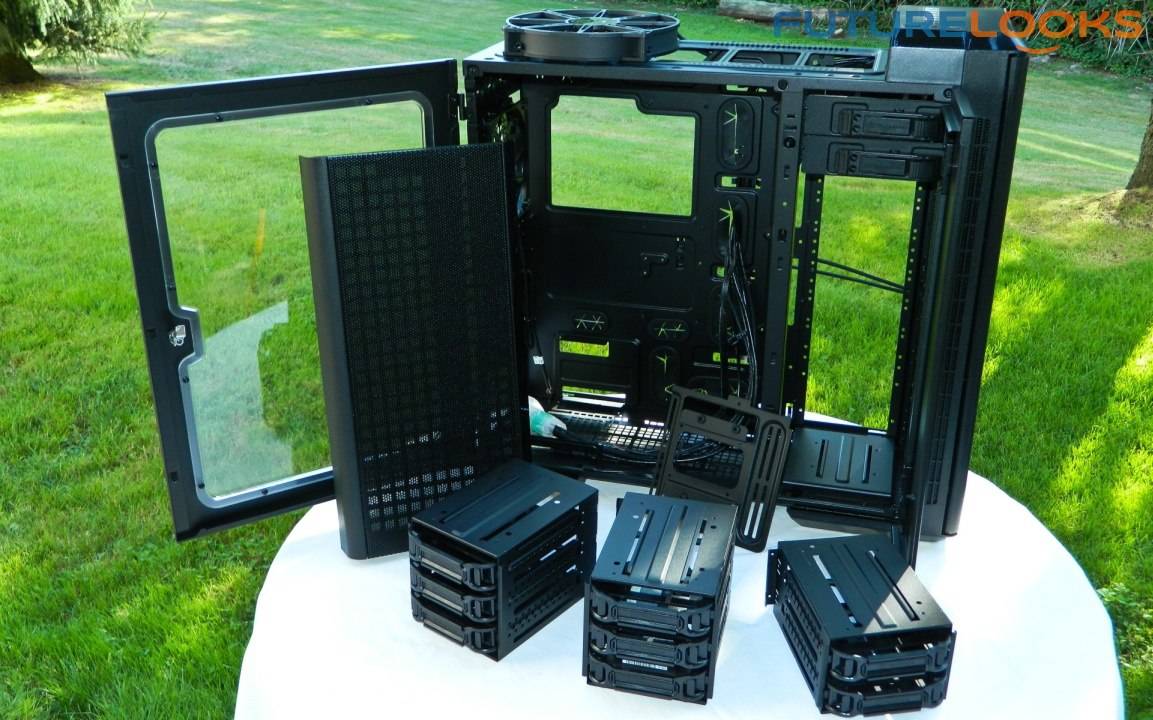
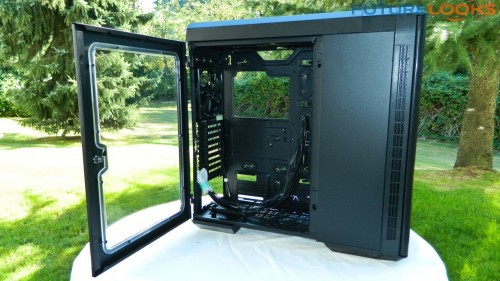
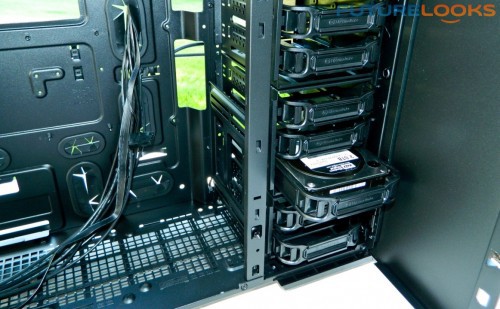
Two lock washer thumb screws secure the left panel. Behind the motherboard tray is plenty of space for routing wires from the PSU or plugging in whatever custom cooling fan users may add. The fan hub is securely fastened. Users will use this side to access or install hard drives or SSDs in the tool-less bays. An SSD or two can also be installed on a vertical panel next to the bottom hard drive bay, facing the motherboard.
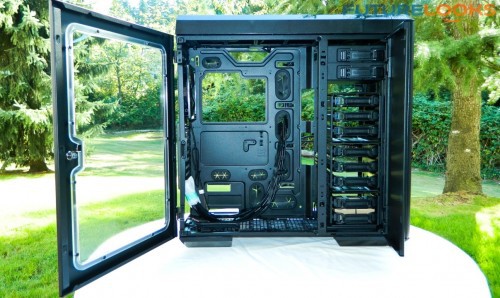
Moving to the right side via the acrylic door, users are greeted by order. We can see the rubber lined motherboard cut outs. The CPU cut out is very large which is perfect for those uber huge air coolers that have wide standing back plates. Any cut outs without rubber edge liners have very well machined bent lips. There isn’t one sharp edge anywhere!
Ultimate Drive Bay Customization
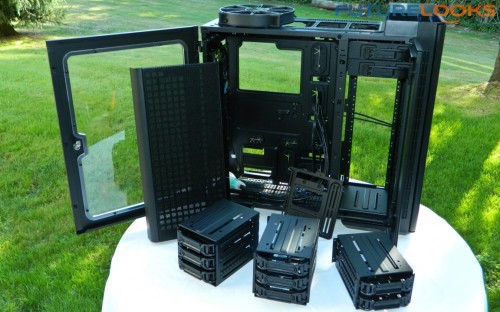
The hard drive bays are just about as modular as it gets. Even the vertical SSD slider is removable, which frees up a great deal of space for more creative builds, or at the very least, more options for cable management. As mentioned, the drive bays are semi-tool-less, meaning, that two clips lock them in place, but you still require screws mounted through rubber grommets to support hard drives. SSDs mount with four screws a piece, using the holes on the bottom of the drives.
If you remove all of the cages, there is quite a bit of extra space for liquid cooling, or for inserting the most powerful graphics cards without interference. There is enough room for another triple radiator added to the front chassis, with a little patience, thanks to plenty of screw points. Just pull the two front cooling fans and replace them with two or three smaller fans. It’s a case that’s truly built for large water cooling projects.
Unfortunately, any elite custom items you install in that space won’t be seen unless you open the side door. Or, if you’re adventurous, you can make some “modifications” on your own. Hopefully we get a chance to push this functionality in an upcoming article.
Test System Installation Specs
Typically, we use a be quiet! Dark Rock Pro 850W 80Plus Gold power supply for our power source. We’ve found the units to be very resilient even against some of the lab accidents – which are few (knock on wood). However, for the enclosure evaluation, Thermaltake sent us their Toughpower TP-1200AH series 80Plus Gold power supply to show off and push around.
Here is a list of the other components used to heat up this system and check for PC DIY friendliness…
- Processor: Intel Core i7-5960X Haswell-E
- Motherboard: GIGABYTE GA-X99-UD4
- Graphics: NVIDIA GeForce GTX 780 3GB
- Storage 1: Kingston HyperX 3K 240GB SSD
- Storage 2: Western Digital 2TB Caviar Black Hard Drive
- Power: Thermaltake Toughpower 1200W 80Plus Gold
- CPU Cooling 1: Thermaltake Water 3.0 Ultimate
- CPU Cooling 2: be quiet! Darkrock Pro 3
- Operating System: Windows 7 Pro (patched)
- Monitoring Software: GIGABYTE Easy Tune
This test system is a good representation of what the enclosure is meant to support. Granted, we could use a quad-core system but we wanted to put something inside that would tax the enclosure’s features and function. Let’s get it built and see if any issues came up!

