- Quick setup
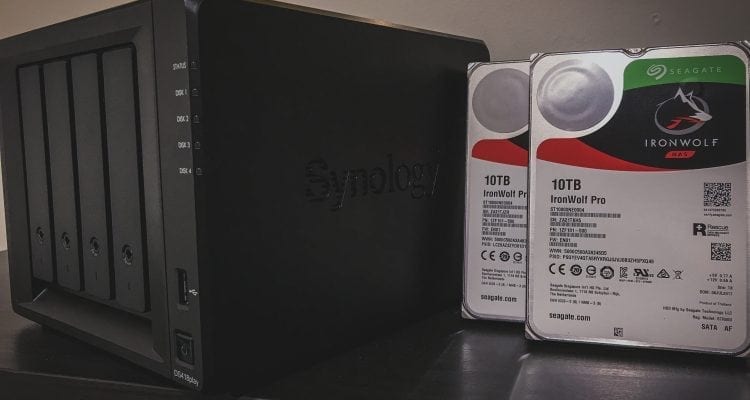
- 4 bays for maximum storage
- Expandable memory
- Don't lose the keys!
- No eSATA port
Migrating to the Synology DS418Play
The previous times I have set up a new Synology DiskStation, I just went with the typical install. This time, I wanted to be able to migrate my Synology DS216+ over to the DS418Play and Synology has this whole migration guide you can follow. In addition to setting up the DS418Play by migrating the DS216+ over, I also wanted to migrate my DS216se over to the DS216+. Confusing right? Sort of a Towers of Hanoi puzzle actually.
Backup Backup Backup!
The first thing you want to do it backup your older Synology unit. Luckily, Synology makes this super easy with their Hyper Backup solution built into the Disk Station Manager or DSM. In my particular situation, what I did was use Hyper Backup on the DS216+ with Hyper Backup Vault on the DS216se (see confusing, right?), though you could also backup to a non Synology based external hard drive too.
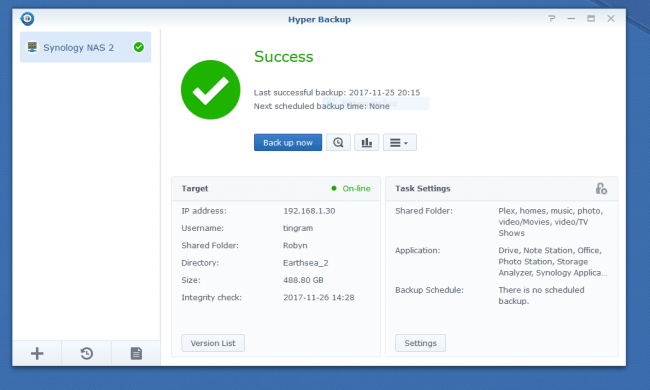
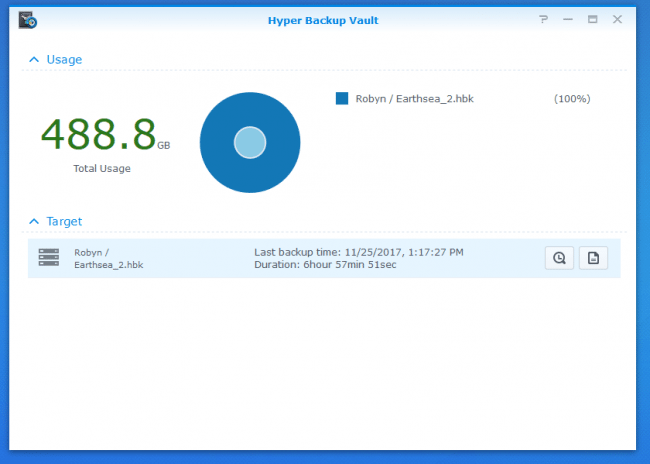
The backup took approximately seven hours.
What? Seven hours to backup roughly 488 GB worth of data?
Sounds a bit insane over a Gigabit Ethernet connection, right? Well in the case of the Synology units, the DS216se is an Intel based CPU whereas the DS216se is a Marvell or ARM based CPU, so there are some performance hits. The other thing is that the Hyper Backup is similar to an rsync. A database is created on the target location and a full database is done. This allows any subsequent backups to be minimal in size and only a difference is backed up. I could have just exported the data to an external drive and saved a lot of time but I wanted to see how Hyper Backup and Hyper Backup Vault worked.
While the backup was being performed, I set up the DS418Play.
Setting up the DS418Play

Pop open the drive bays that you require; the drives are sort of “numbered” starting from the left and going right. This can be important if you are migrating the physical drives between two Synology units. When you pop a bay out, the installation of a 3.5-inch drive is tool-less and easy. Remove the side rails, slide the drive into place, and replace the side rails. No screws!
If you are installing 2.5-inch drives, then you do need to mount them with the included screws. Slide the drive(s) back into place. Ensure the unit is plugged in to power, connect via Ethernet and then press the power button to power it up.
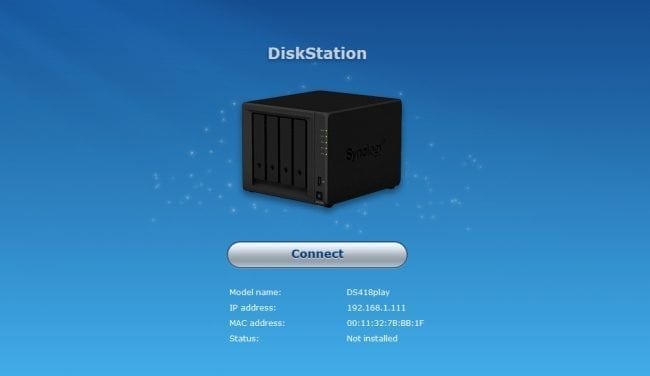
Once the unit is powered up, open your favourite browser and go visit http://find.synology.com. This will start the Setup Wizard that includes downloading and installing the latest version of DSM. Once the installation of DSM was completed, I skipped the recommended DSM App installation portion as my plan was to restore the backup I did recently. Now because the backup took roughly seven hours to complete, I assumed the restoring from the backup would take just as long, so I left it overnight.
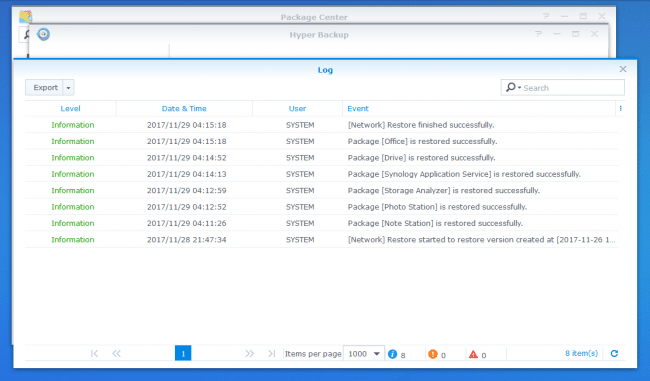
The next morning I checked on the progress and it was completed successfully. You can see from the above screenshot that the restore took approximately seven hours too. Everything was good to go from that point on! The only thing I needed to do was change the DS418Play’s IP from Dynamic to Static and I was good to go.
Everything was back to where it was and I was up and running with my files all intact and my settings all restored.
Performance and Usage
General Usage
The two main uses I have for the Synology DS418Play are the ability to store and transcode videos to my various video streaming devices in the home, and to store and allow easy access to my large photo collection.
The video streaming I do through the Plex server application. Synology does have an application called DS Video, but I have found that Plex has been able to handle the variety of video formats I have saved in conjunction with better compatibility on my remote devices (such as Roku and PS4). The DS418Play has been great at serving the videos quickly without any delay, stuttering or jitter with playback, even when streaming two videos to two different locations at the same time.
The other side of my main use case is the PhotoStation service in conjunction with the DS Photo app. This allows me to access my exported and ready-for-client images anywhere in the world that I have Internet access. I can give clients access to the images, in a Dropbox type fashion, or I can show clients the images on my phone or laptop in a nicely presented gallery. It also allows me to upload photos to my own personal cloud when I am not at home and in front of my main desktop. This is great for when I am traveling with the family.
There is one feature that is more to do with the Synology DiskStation Manager but is hardware related that I would like to look more into: the Synology Surveillance Station. This can be handy not only for a home but also a small business. The Surveillance Station can monitor video streams from multiple cameras in real time and I believe the DS418Play would be able to handle that sort of processing. According to Synology’s website, the DS418Play can handle up to 25 devices recording at 1080p at 375fps. Devices such as the DS418Play and others that Synology make are allowing people to set up their own security systems with more ease and great reliability.
Data Transfers over Ethernet
One important factor with a network attached storage solution such as the Synology DS418Play is the speed at which you can transfer files between the unit and a computer or other connected device. In my quick test, I am connected to the DS418Play via Gigabit Ethernet via a simple 8-port Gigabit switch. With my photography workflow, I always have one of the shared folders on the unit mapped to my machine, in this case it is drive “P”.

The outcome is typical of most Gigabit Ethernet storage devices I’ve used. The Synology DS418Play allowed for a 118.5MBps read with a 107MBps write. This works out to be about 47 seconds to transfer a 5GB file from the unit and about 52 seconds to send a 5GB file to the unit. If you are not running Gigabit Ethernet at home, you really need to look at updating your home network!