- Quick setup
- 4 bays for maximum storage
- Expandable memory
- Don't lose the keys!
- No eSATA port
How are you for digital storage? Are you lacking some space and wish you could add a bit more usefulness to your network at the same time? Synology has a great solution for the home user and or small business owner with the Diskstation DS418Play.
The DS418Play not only can support up to 48TB worth of data across its four drive bays, but it also has the power to transcode 4K video if you stream video to a capable device. Small business owners will probably love the DiskStation Manager OS with its plethora of applications from collaborative office type productivity tools, to web servers and email servers to backup solutions; there is a lot these little units can do.
Features and Specifications
The Synology DS418Play is a 4-bay Network Attached Storage (NAS) solution with a lot of extra features thanks to the Synology DiskStation Manager (DSM) operating system that accompanies each unit. The DS418Play has an upgraded Intel Celeron dual-core J3355 CPU running at 2.0GHz with burst capabilities up to 2.5GHz. The upgraded CPU will help with transcoding 4K video on the fly as well as any encryption that you might want to do.
- Intel Celeron J3355 at 2.0 GHz (64-bit)
- Hardware Encryption Engine (AES-NI)
- Hardware Transcoding Engine
- 2 GB DDR3 (expandible to 6GB)
- 4 Drive Bays capable of up to 48TB (hot swappable)
- Dual Gigabit Ethernet (Link Aggregation / Failover Support)
- 2 USB3.0 Ports
- Power Consumption: 29.01W (Access) with 5.57W (HDD Hibernation)
You can read the full specification list here.
What’s in the Box?
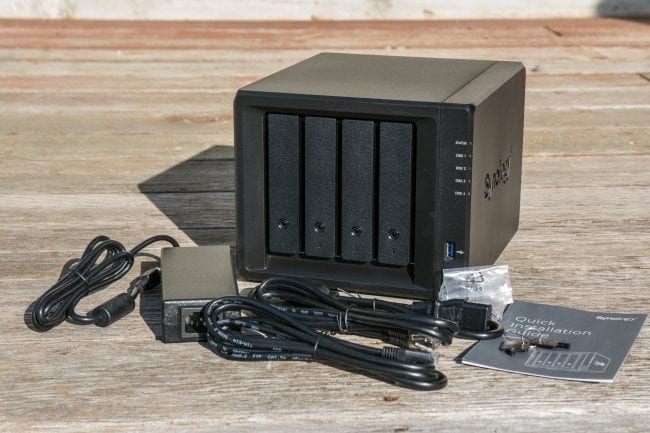
The nice thing about Synology is that their packaging is simple and secures the unit while in transport. The following is included when you open the box:
- DS418Play Unit
- Accessory Pack (screws for mounting SSDs, Drive Bay Keys)
- AC Power Adapter (90W)
- AC Power Cord
- 2x RJ-45 Ethernet Cables
- Quick Installation Guide
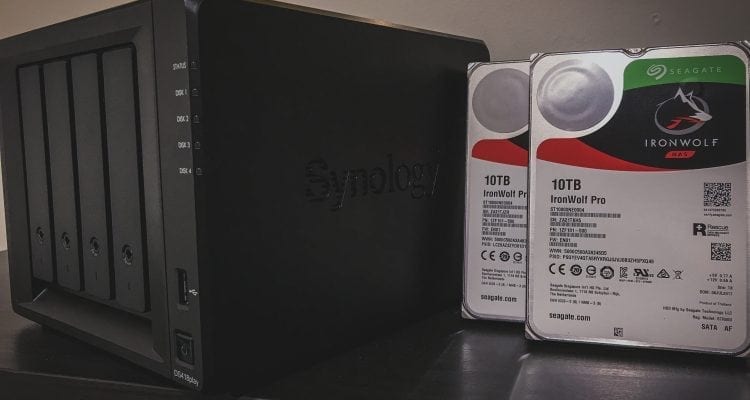
The Synology DS418Play does not ship with any hard drives, like most NAS type products. You’ll need to source your drives separately and I would recommend at least two to begin with. You can add the additional drives later. We’d like to give a special shout out to Synology for providing two 10TB Seagate IronWolf Pro NAS drives for this review.
Synology always includes decent Ethernet cables with their units which is why I use them. They are just the right length for me in my particular setup. Depending on where you place your Synology unit, you may need longer cables. My Synology units are located no more than three feet from a Gigabit switch.
First Impressions
I continue to enjoy checking out the Synology DiskStation product line and watch the products grow and evolve. In the past, I have previously looked at the Synology DS216+ and the Synology BeyondCloud Mirror (or DS214se). For this review, I am going to look at migrating the data on the DS216+ to the DS418Play to see how well that process goes. I have always been curious how well an upgrade or migration would go between Synology units.
When you take the main unit out of the box, you might notice how light the DS418Play is. Without drives installed, it is essentially a shell with a small motherboard and a couple of rear-facing fans.
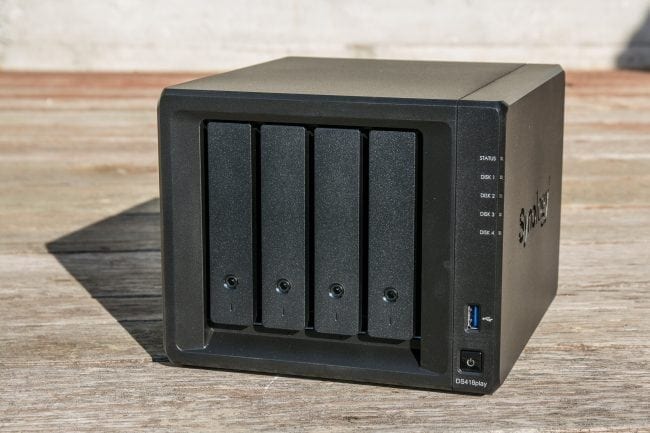
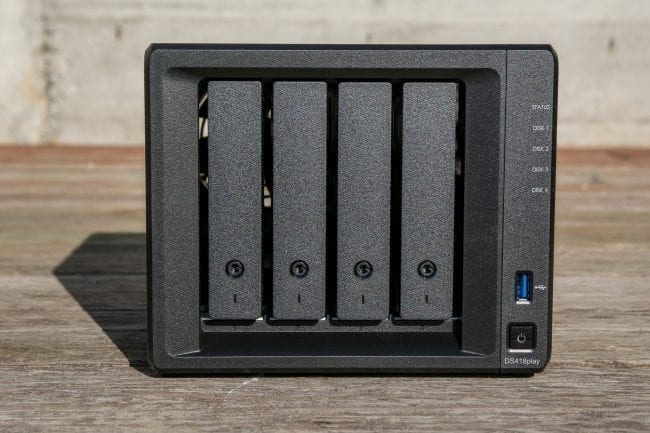
On the front of the unit, you will see the four drive bays.
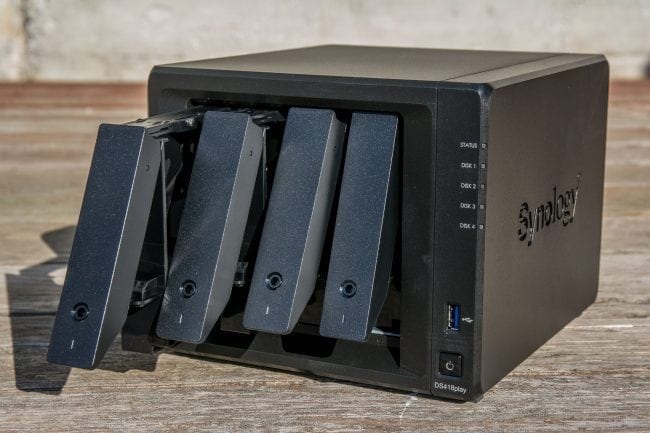
All you need to do is lift the bottom of any of the drive bay panels and it will slide the drive caddy out with ease. Slide the caddy back in and pop the panel back down to lock it in.
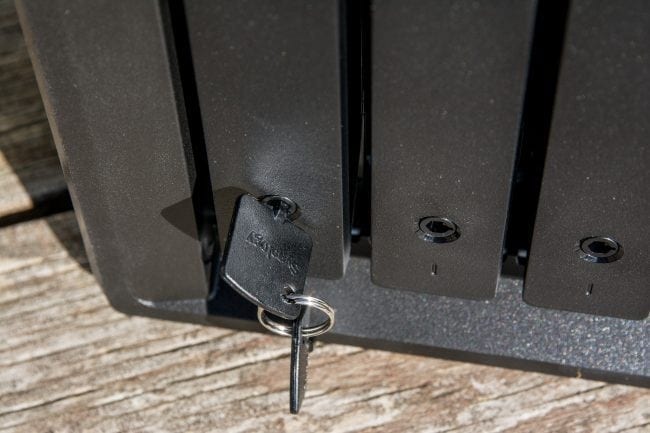
You can also make use of the included keys to lock the panels from being opened and the drives being removed. If you do lock the panels, make sure you do not lose the keys as you will have a really hard time trying to open the panels back up.
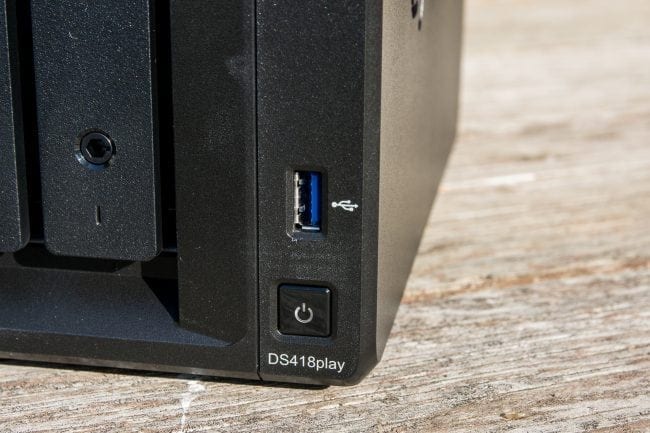
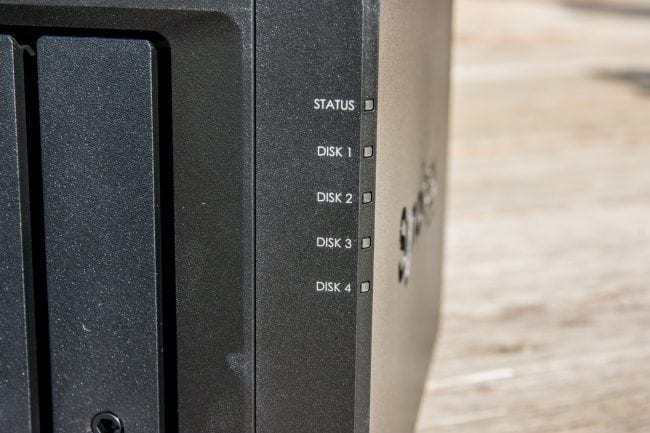
On the right side, you will see the power button, a USB 3.0 port and the status LEDs.
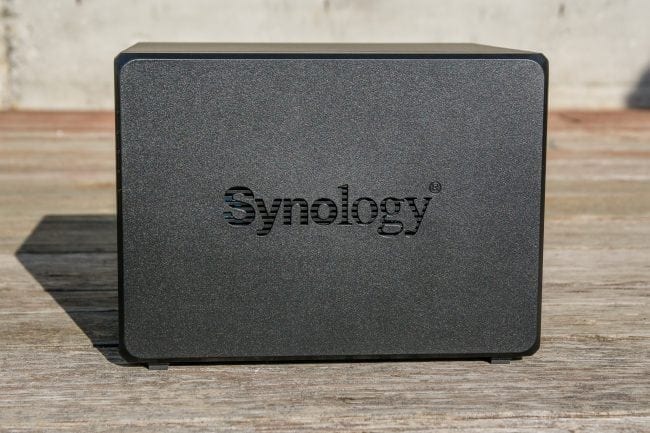
The sides of the Synology DS418Play are similar to the other DS units. They have the Synology logo etched into the panels which also act as vents. This helps provide a bit of air flow through the case and out the back.
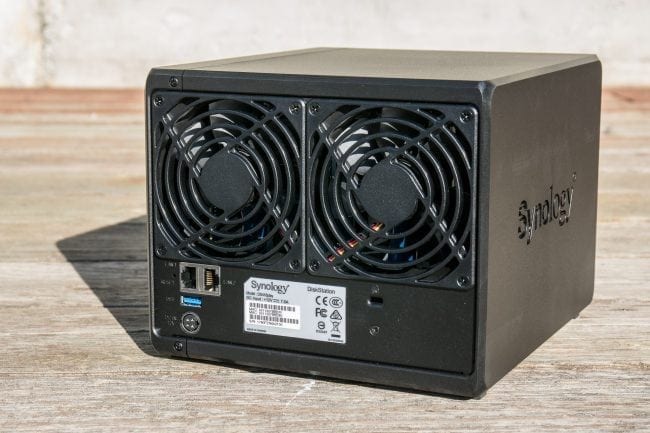
On to the back of the Synology DS418Play.
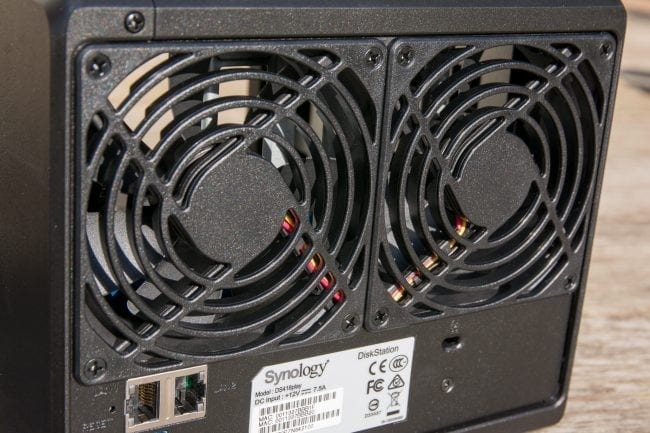
You will have probably noticed the dual rear exhaust fans which are used to suck the hot air generated by the up to four hard drives out of the enclosure. These fans can be controlled within the DiskStationManager (DSM) software.
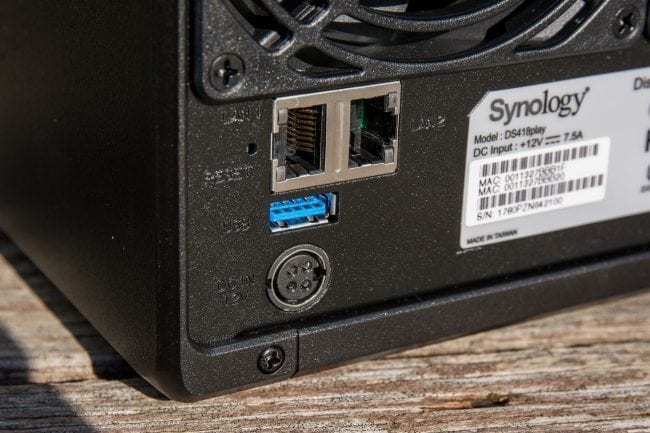
The dual Gigabit Ethernet ports are located next to each other. You do no need to utilize both ports, but you have the ability to create a failback connection or aggregate the connection. The USB 3.0 port at the rear can be used to add external storage to the DS418Play too, such as an external backup drive. There is a 4-pin power connector port as well.
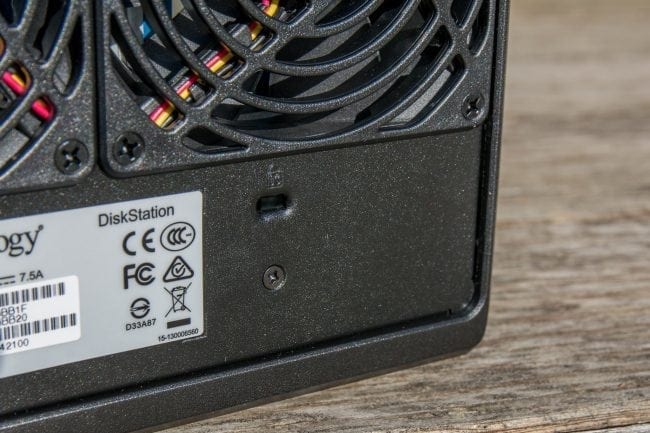
With most computer equipment, you have the Kensington Lock location. Here you can secure your DS418Play with a security cable so that it does not walk away from you. Great for small businesses that would like to ensure networking equipment, especially data storage, does not go missing.

A great feature, and what makes me happy to see available, is the ability to add another RAM module into the DS418Play. Synology says it will support up to a total of 6GB worth of DDR3 RAM and the unit ships with 2GB. I went out and picked up an additional 4GB DDR3 module by Crucial and installed it giving me a total of 6GB. I find that networking equipment tends to perform better when you give it more RAM.
The DS216+ does not allow users to easily add additional RAM and to do so voids the DS216+’s warranty, so since the DS418Play is designed to have more RAM installed by the user, I definitely make use of it.

