
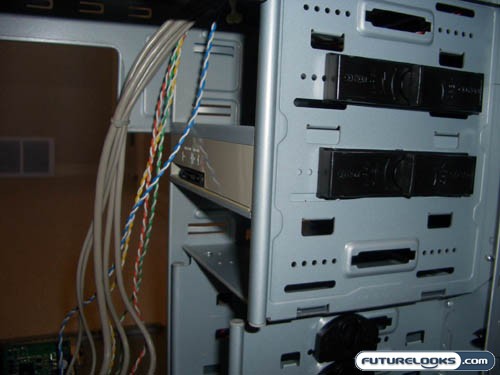
As with many cases, installing drives into the 5.25” drive bays requires a bit more work. First, we had to remove the front bezel. Then we had to bend away the metal cover to expose a slot. Following the “tool-less” theme, we opened the optical drive bracket, positioned the drive into place while lining up the screw holes, place the drive bracket back into place and voila! DVD drive installed!
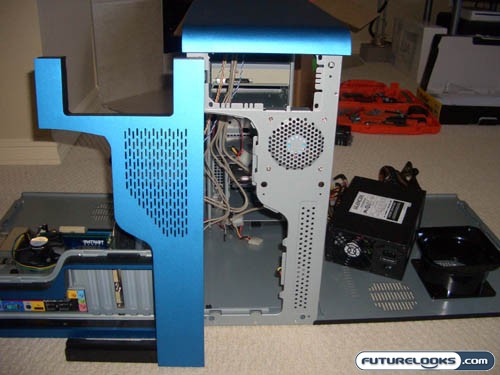
When installing the power supply, we found it easiest to just pop the whole rear bezel off. Once we did this, the PC Power and Cooling 610 Power Supply screwed down easily.
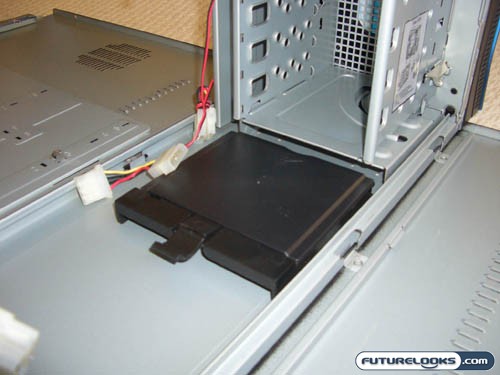
With all our power connections completed, we proceeded with returning the accessory kit back into place. I personally really like this idea as I usually misplace these screws and miscellaneous pieces. I now know where to find all these pieces when I need them for next time.
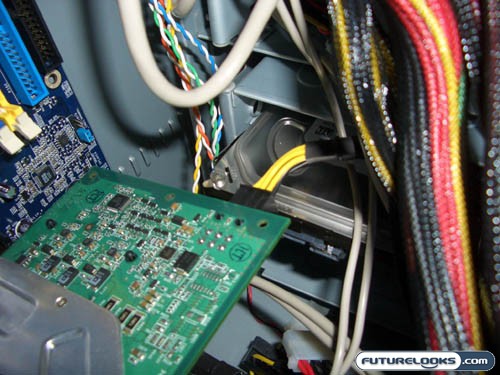
Now with all of our components installed, we started to close up the case. First, making sure that we were clear of any obstructions, we flipped up the motherboard back into the case. However, we ran into a bit of an issue with the HDD location and the videocard. Being in the second slot, the HDD interfered with the PCI-E power connector of the video card. The solution was pretty easy though: Move the HDD one slot down. Luckily (or not so lucky) for us, we only have one videocard. Those with an SLI configuration may be required to install the HDD lower down on the cage, or use the fixed 3.5” drives above. This may cause some issues with people running multiple drives that require the use of all the bays.
Real-Time Price and Stock check – Shop Like a PRO!