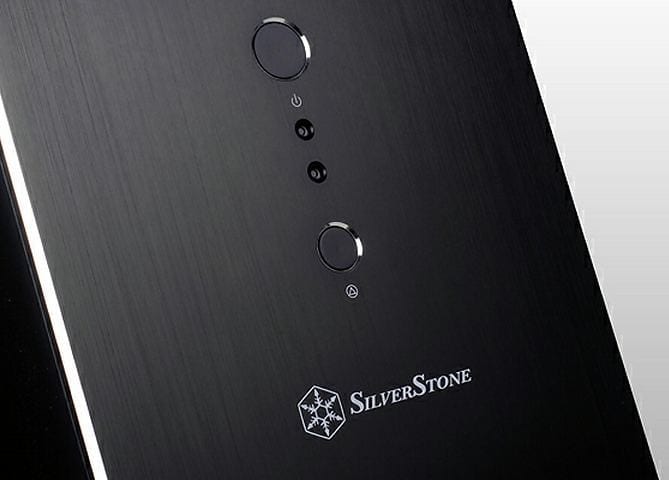
Build Log and Design Notes
If you are like me, you spend some time just looking over a new product before you move on to installing it. For me, this goes without saying so lets look at what you will find during a once over on the TJ04-EW.
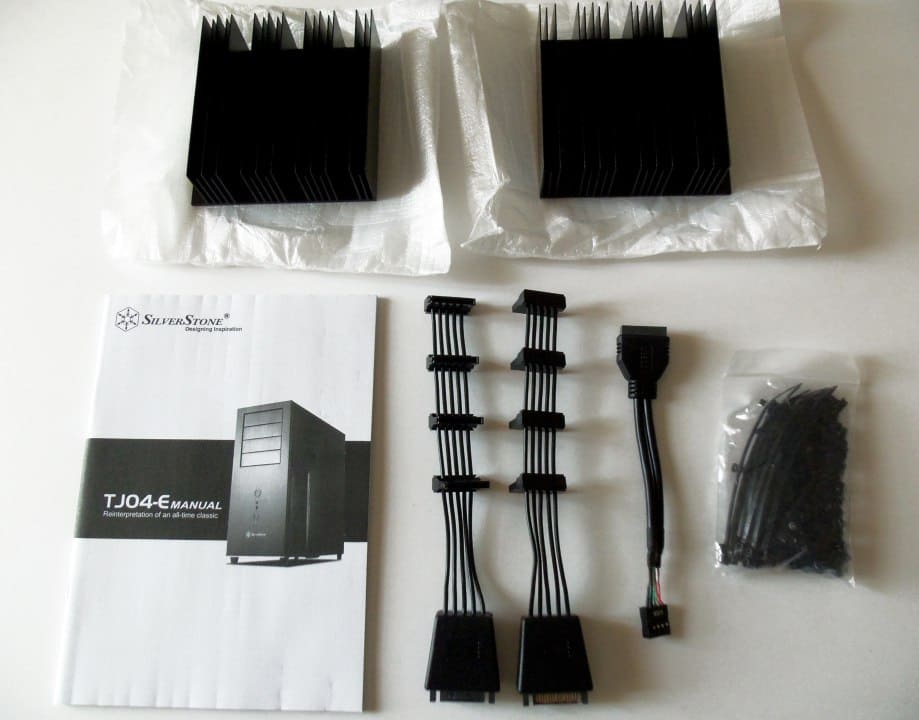
Lets just start with first thing anyone who buys this case will notice, the 5 lb white brick. The accessory box contains more than just a bag of screws and the instruction manual. I mean you will find those two, but it is the large metal grill plates that will catch your eye. I admit I was confused as to what these were for until I took a second look at the HDD cage. These two plates are heat sinks for the HDDs. Fully loaded, eight HDDs this close to each other will restrict airflow and create a heat zone which these two heat sinks should help manage.
If you are concerned about how you power that many HDDs, this is also solved by SilverStone with a 4-to-1 SATA power adapter. You get two of these adapters so you can use two SATA power plugs to power up to eight drives. In addition to all this, you will also find a USB 3.0 to USB 2.0 converter if your motherboard does not have a USB 3.0 header. This will leave you two front USB ports at USB 2.0 speeds, but will still be perfectly usable.
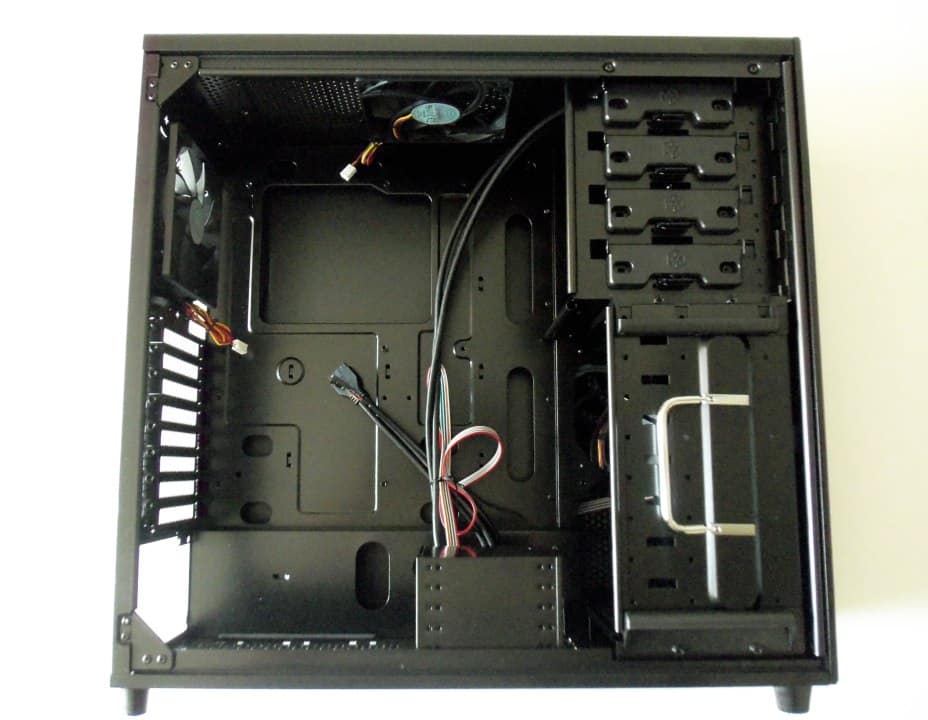
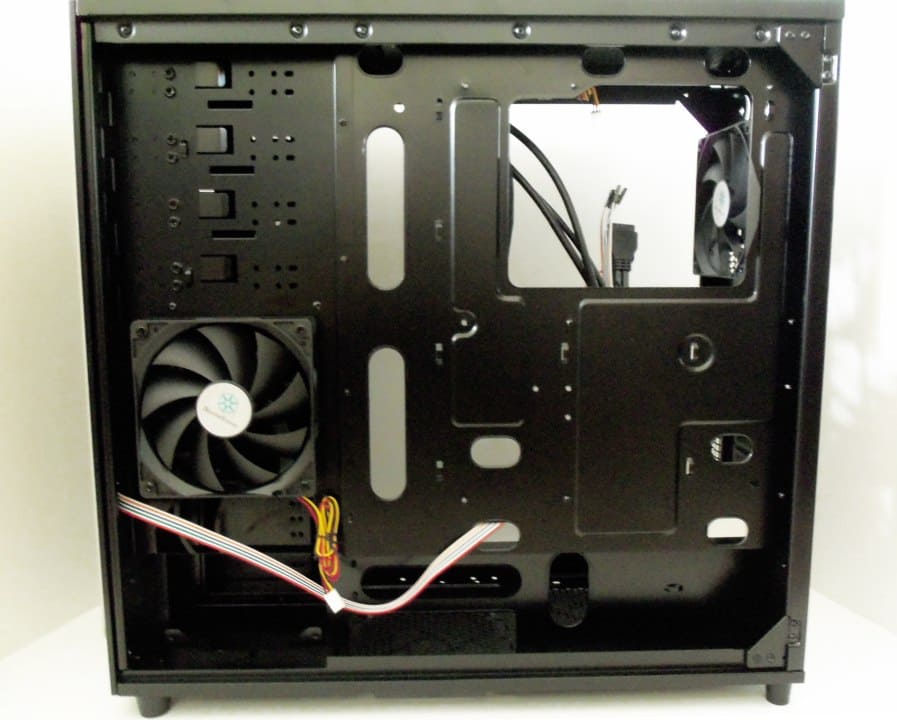
There are a lot of little nuances to the TJ04-EW you can only smile at when you see. As there is nothing on the left side panel, you can remove the door without fear of damaging a fan header or wires. Behind the motherboard you will find what I will call a two stage wire management path. There is roughly an inch of clearance behind the motherboard. In addition, there is a slot at the bottom that has an additional 1 1/2 inch of space. This is great for the initial cluster of wires from your PSU.
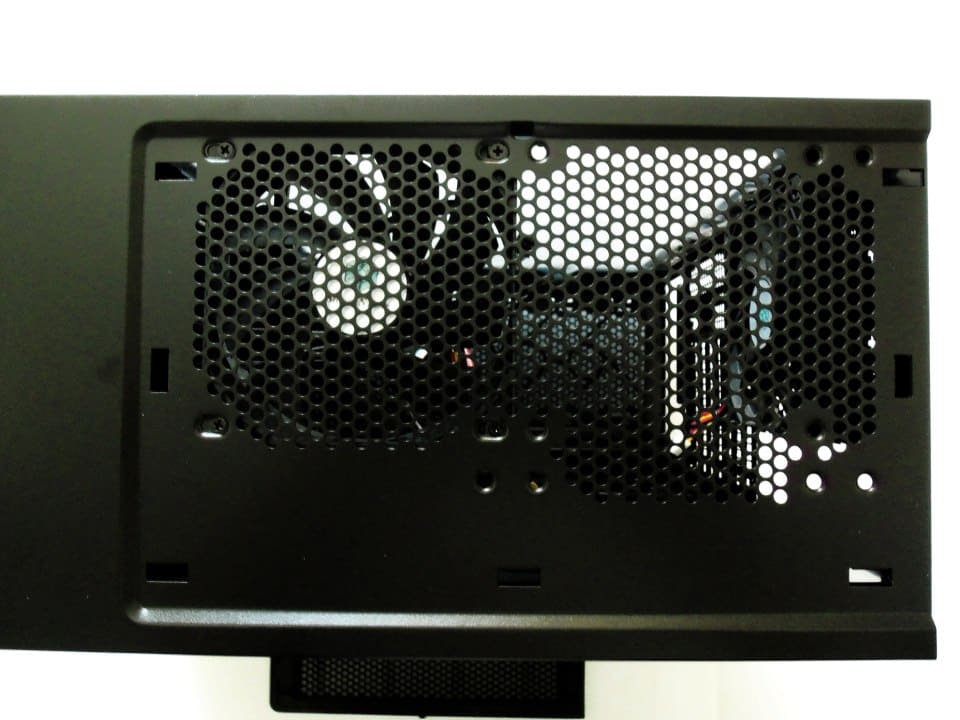
As I stated before, there are no additional ventilation slots with the exception to the expansion slots. To take full advantage of this, SilverStone put filters on all intake areas and the top of the case to prevent dust from entering. All of these filters are easy to remove for cleaning. You may have noticed I have not said much about building the system into the TJ04-EW. This is because I did not run into any issues once I figured out how the HDD cage works.
I started this build by installing the motherboard and then the PSU. Once these two items are secured into the case, I recommend you do some wire management. Spend a few minutes getting wires behind the motherboard tray, fan wires routed, and move on to the HDD cage.
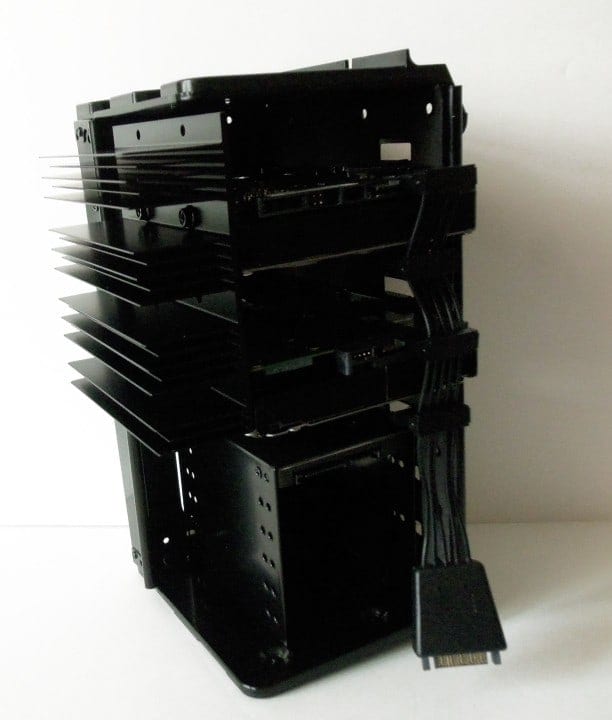
First you need to be aware there are two drive cages in the TJ-04. The first is a standard brace for the 2.5″ SSDs/HDDs. This is will hold up to six of these drives. The primary HDD cage has to be removed by taking out 4 retention screws, flipping up the handle, and pulling it out. Once out, you will notice it is lined with vibration absorbing material. You install these drives with 3 screws on one side, and 1 screw on the other. Then attach the HDD heat sinks as needed. Once you have the primary cage ready, you can slide the entire array back in.
If you do need the space for a large PSU or don’t need to install 10 drives, the SSD cage will attach to the inside of the primary cage. It limits the 3.5″ slots to only four. This still leaves you one hidden slot below the primary HDD cage’s slot. This hidden slot can hold either a 3.5″ or 2.5″ inch drive, but it is important to know it’s there. I personally overlooked it until I saw the diagram in the instruction manual.
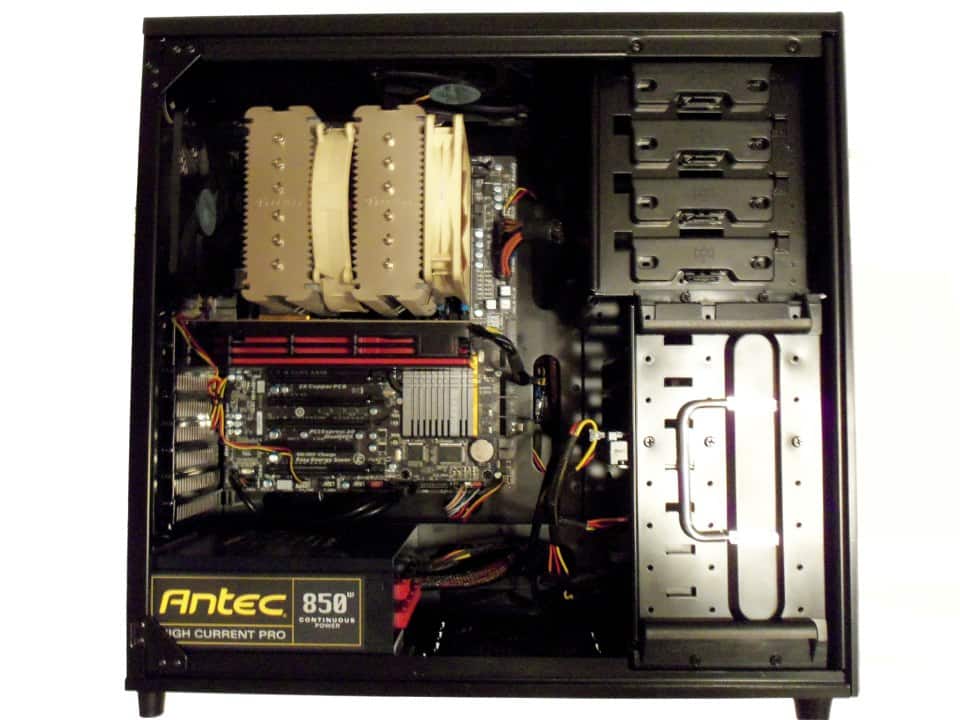
After I was done getting the drives into place, everything else was a breeze. While the TJ04-E is a mid-tower, it has the space where you need it. I could even fit a Noctua NH-D14 into the case by simply moving the 140 mm fan down to even with the front 120 mm fan. It is almost mind boggling to think how easy this case is to build in. I don’t recall running into a single problem once the HDD cage was figured out.
Design Shortcomings
I can only really come down on two problems with the SilverStone TJ04-E. The first is obviously the confusion of the HDD cage. This is a minor annoyance at best, but it will require time to figure out. The manual is a big help here, but it is still confusing even after you figure it out. With two cages, so many slots, huge heat sinks, and unique installation using the drive system, setup can be complex and time consuming. This is not the case to buy if you change HDD’s a lot.
The TJ04-E is not designed to use a water cooling system. I am sure you could fit a single fan cooler on the back and possibly a dual fan cooler on the top with the cover removed. There are two pop outs in the back of the case to route tubes, but these are almost 3 times larger than the tubing you find on single and dual fan coolers. It just seems to me that liquid cooling was an after thought in this design. With that said, lets move on to testing which include acoustic and temperature testing.