
You may notice that at the bottom corner of the door, you can see the wiring entering the case. This is a pinch area and it looks like the case I received had wires that might have already been pinched. Running a wire sheath could easily improve this potential problem area. The door also makes use of magnets along its frame to ensure it stays closed.
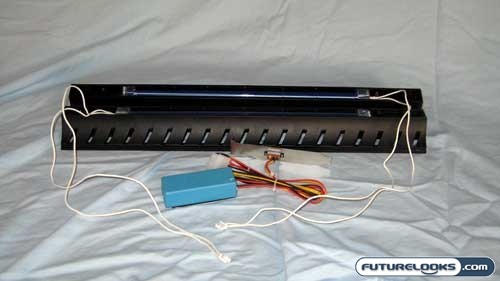
A feature that is pretty unique to the Tuniq 3 case is that it has two blue cold cathode lights (CCFLs) in the feet. The feet are slotted along the length of the base of the case which of course would allow the light to shine through on either side and adds about an inch in height to the overall height of the case.
Interior
Included on the inside of the case is the box of goodies. The goodies are the typical hardware mounting items such as screws, motherboard standoffs and the tool-less drive rails. The manual that is included is a bit different than other case manuals I have seen; it shows the various configurations for the Core-Fan Bracket and how to set them up in great detail. Since the Core-Fan Bracket is a unique selling feature of this case, I would expect no less.

You can see immediately that the main focus of this case is the Core-Fan bracket. This bracket is mounted on a steel girder and includes two 120mm fans. My first thought was if my components will fit properly with this Core-Fan bracket installed. This Core-Fan bracket also allows you to execute some customization in placing the two 120mm fans which will help with different hardware configurations.
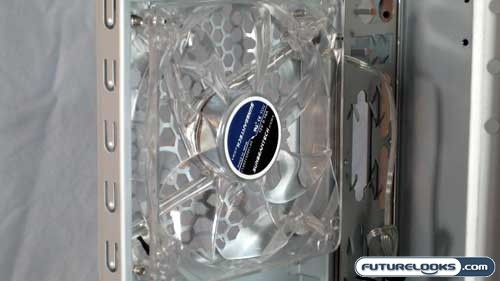
The other 120mm fan that is included is for the rear of the case to exhaust the air. Each of the included 120mm fans come with the basic 3-pin connector with Molex adapters as well as blue LEDs. I am curious to see how much noise these three 120mm case fans produce, though at 1,000 RPM I am hoping they are not too loud but will still provide decent air movement. Below the exhaust fan are 7 slots for your various internal expansion cards.
Being a tool-less design, the Tuniq 3 allows you to put away your screw driver (for the time being). One of the 7 slots is already taken up for the light switch that turns on cold-cathode lights. It’s placed in the bottom most slot so it’s fairly out of the way. It also has an attached inverter that you can install pretty much anywhere due to the good length of power cable that is included. If you are worried about how to attach the inverter so it does not slide around, do not fret as a strip of Velcro is included.
Real-Time Price and Stock check – Check More Products