Fractal Design Node 304 – Interior
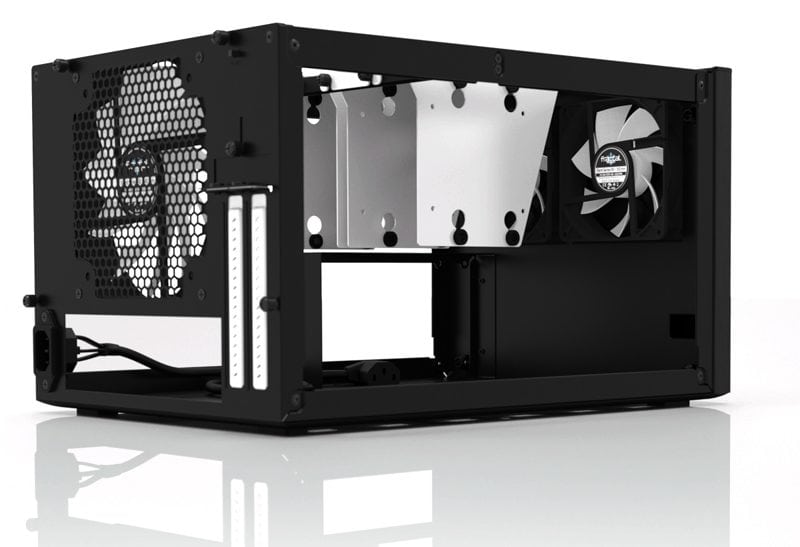
Once your open the Node 304, the white accent color will jump out at you. All of the Silent Series R2 fans have white impellers, and the modular storage drive cages have a glossy white surface. These are nice touches, but we think it is wasted when you can’t even see these details unless the case is open. Fractal Design may want to consider a version of the Node 304 with a window to make better use of the great color choices.
Everything in the design of the case is well thought out. The power supply bay is positioned below the hanging drive cages and reaches the rear of the case via an extension cable. This keeps your PSU from hovering over your CPU, depriving it of much-needed airflow, as is the norm for many SFF cases on the market.

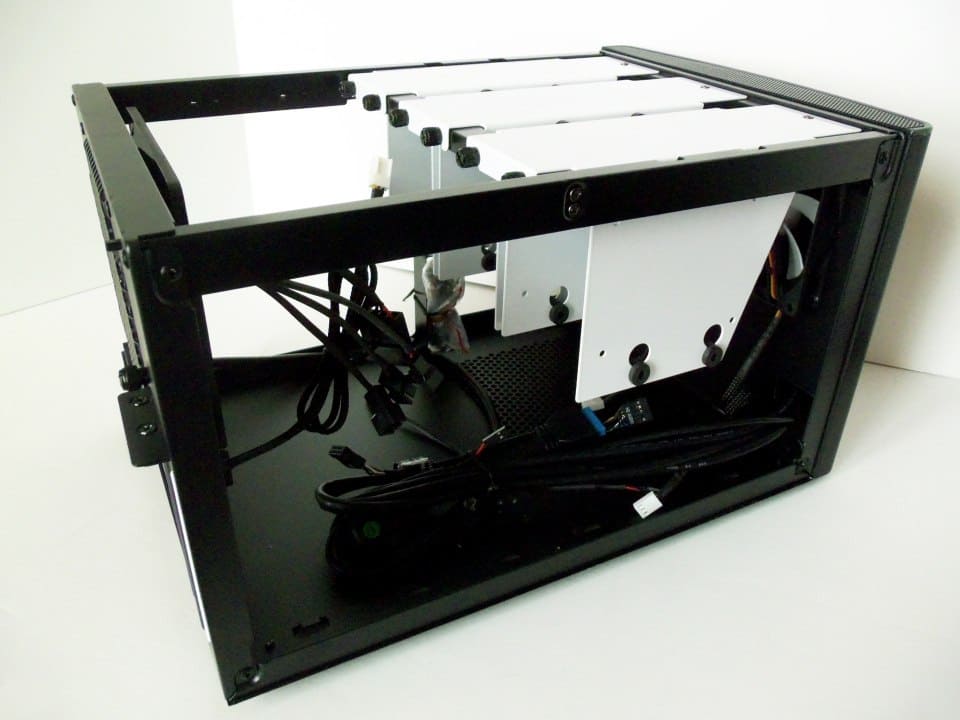
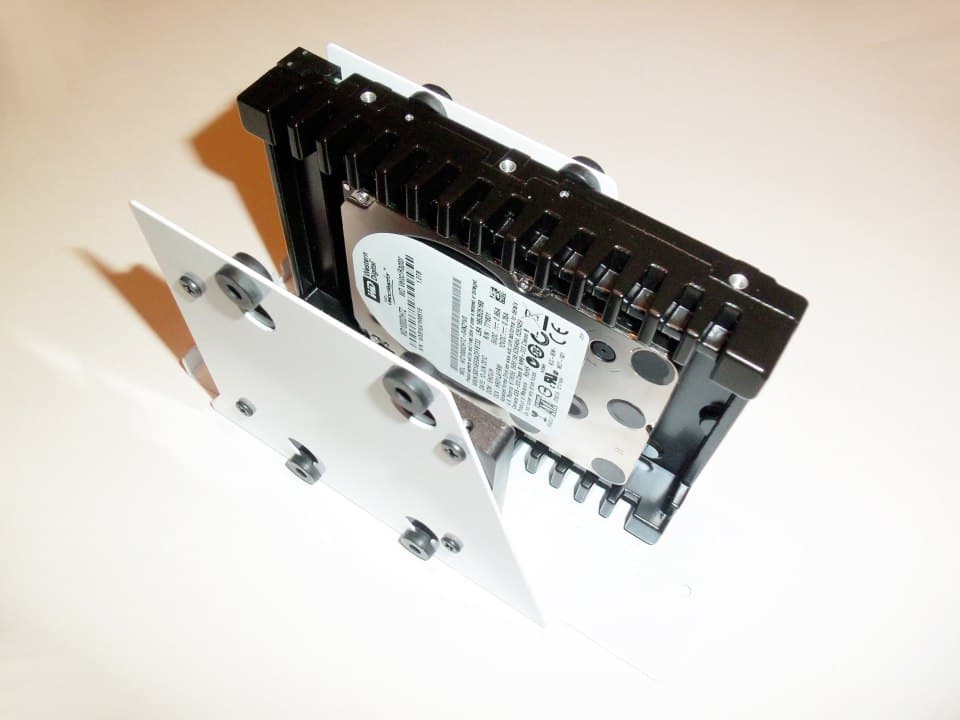
The hanging drive cages themselves allow for up to 6 total storage drives of either 3.5″ or 2.5″ and can be removed if you need more space to work with inside the case. We found these cages to also be very well constructed with some flexibility. In addition to the rubber grommets, the cages absorb most vibration and help to minimize drive noise.
The mini ITX or mini DTX motherboards install at the bottom with no obstructions, so you can fit a tower CPU cooler in the Node 304 up to 165mm in height. The issue here is that mini ITX and mini DTX motherboards have a non-standard layout where the natural position for a CPU cooler goes from left to right, not front to back. This means the cooler will pull air from a side of the case with no accessible ventilation for it. There are some coolers that have more directional mounting options to help improve the airflow though so we recommend checking out your options.
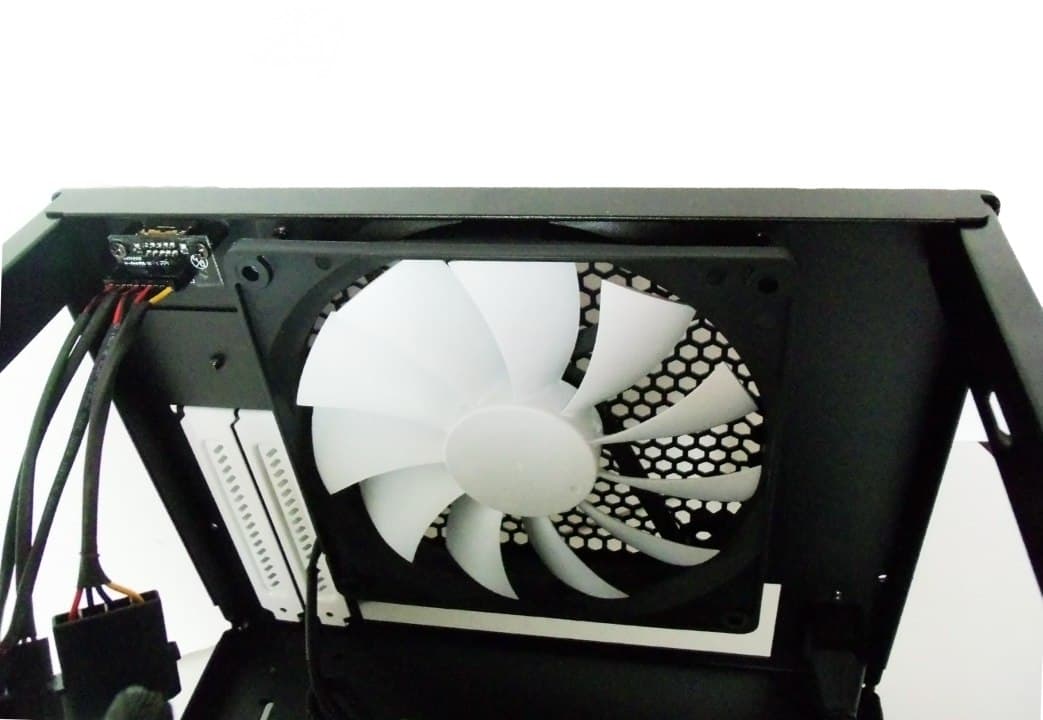
It is not noticeable until you open the Fractal Node 304, but everything has a compartmentalized airflow. The power supply has a dedicated intake and exhaust vent to ensure it gets cool air from the bottom of the case. The GPU side is designed to allow for your graphics card to pull in air from the side and exhaust it out the rear. This leaves the three provided Silent Series R2 fans to provide airflow to everything else. Lets install some hardware and see exactly how well it does this.
Test System Setup
We chose an appropriate list of hardware to best utilize the space given to us inside the Node 304 as well as appropriate software to test and stress the case under load…
Hardware
- Motherboard: ASRock FM2A85X-ITX
- CPU: AMD A10-5800K 3.8 GHz (4.2 GHz Max Turbo) Socket FM2
- GPU: AMD on-die Radeon HD 7660D
- CPU Cooler: AMD Stock CPU Cooler for 100W+ TDP (for testing)
- Memory: G.Skill Ripjaws X 2133 MHz (9-11-10-27) @ 1866 MHz (9-10-9-27)
- Power Supply: Antec 850W HCP 80+ Gold
- SSD: Patriot Pyro SATA III MLC 60 GB (Sandforce 2281 controller)
- HDD: Western Digital WD1000DHTZ 1 TB VelociRaptor 10k RPM
Software
- Windows 7 Ultimate 64-bit
- AIDA64 Extreme Edition
- OCCT
- FurMark GPU Stress Tester
We feel that the above components should provide sufficient challenge for the Node 304 as an HTPC or casual gaming system without a discrete GPU. With the rise of the APU and onboard graphics becoming more powerful, we can finally see this being a viable installation option. We might install a GPU for some additional testing in the near future as this would also be a great LAN party system on the go. Let’s address our current installation in more detail.
Installation Notes
Installing the power supply is very simple and should be done first. We recommend you only use standard ATX power supplies with modular connectors if possible. The longer PSU’s will get in the way of full-sized graphics cards as was the case with the Antec 850W HCP we selected for this build. Though I could still install a dedicated graphics card, I am now limited to a length of only about 7 inches. This is not a problem for us as we only intended to use the on-die GPU of the A10-5800K in this build, but could be a problem if you were looking to install a high-end graphics card.
Installation of storage drives was the easiest and is one of best “non-tool-free” systems I have ever used.
Next, we install the motherboard, RAM, CPU, and CPU cooler. The crossbar on the top of the case can be removed by taking out 4 screws to give you more room to work with if needed. This is great if your CPU cooler mount is easier to install outside of the case. In fact you may want to install all of the aforementioned components at once after assembling them outside of the case. They will not obstruct the four motherboard mounts on the bottom of the chassis.

Our motto for the Fractal Node 304 during installation was, “It will fit, but how much or what do you have to give up to install it?” Although we were even able to install the massive Noctua NH-D14 cooler and both of its fans, the cooler is so massive it blocked the use of the 4 center drive bays. There was no space for SATA cables once the cooler was installed and it required the removal of the rear fan. The best thing to do is to keep your CPU cooling options to AiO liquid cooling with 120 mm or 140 mm radiators or single tower air coolers with up to 120 mm fans if you want something more than a stock cooler inside.
The number one thing you need to be aware of with the Fractal Node 304 (as with most SFF cases) is how your size limitations work. The Node 304 limitations are more flexible than most because of its modular interior design; however, this often means you can’t install whatever you would like at the cost of something else. Or you may have to downgrade/upgrade/sidegrade a component to suit the build. Similar to what we found out about the BitFenix Prodigy when we built our Ultimate LAN Party System.
Now that we have everything installed, we will continue on with a test of thermal and acoustic performance with our chosen components.