Some Included Accessories
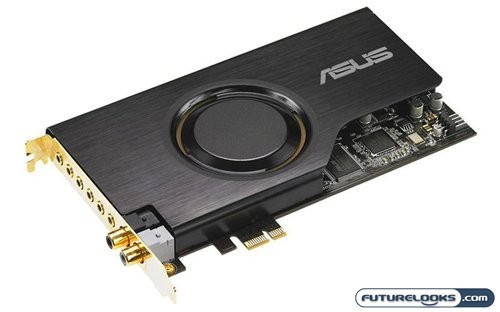
For your $200 you do get more then just a sound card. Asus has included a great deal of accessories with the Xonar D2X. They covered all the bases for this card, making it a good candidate for a content creation system, gaming rig, or HTPC.
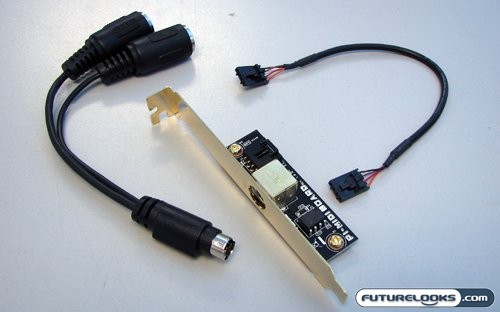
The Xonar D2X is actually a 2-slot card, in that it has an add-on that takes up an additional expansion slot on the back of your computer. That extension is a full MIDI port, which is connected to one of the ports on the top edge of the card. The port is optional to install, but this is great for professional music producers who need a decent sound card for their content creation systems at a reasonable price.
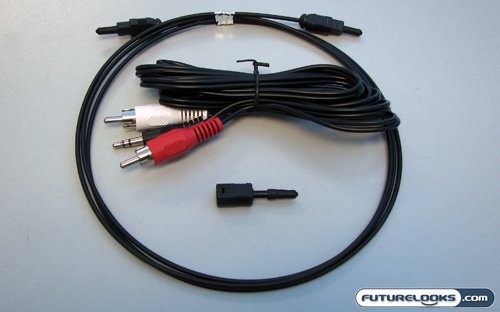
To serve those looking for a good HTPC sound card, ASUS includes a nice amount of cables with the Xonar D2X. Of those cables, the best inclusion is that of an optical TOSLINK cable to transmit digital audio signals from this card to your home theatre system. Though the S/PDIF ports on the sound card look to be Coaxial, they are actually dual mode and support optical connections as well. To support the full size TOSLINK connector ASUS has included adapters for those ports. ASUS also included several analogue 3.5mm to RCA cables, to facilitate analogue surround sound systems. This means you can hook up this sound card to a 7.1 channel receiver in both analogue and digital.
Installation or Ooh Pretty Lights
Installation of the ASUS Xonar D2X was fairly uneventful, especially is you are experienced in installing expansion cards such as this. The manual included only covered the basics of installing an Asus sound card, and actually showed instructions for the PCI version of this card. The only issue I had was locating a floppy power connector. Space in pretty tight in my case of choice, and I had to do a little rewiring to get the appropriate power connector to the proper slot. But once everything was connected and turned on, I treated to quite the light show.
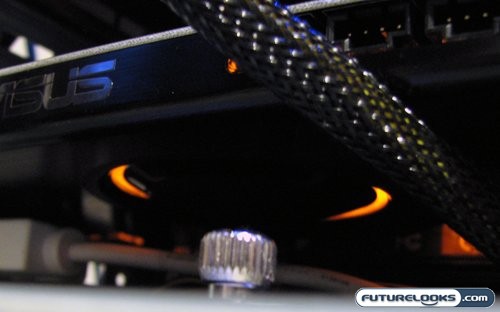
Unfortunately I was unable to get a really good picture of the main lighting on the Xonar D2X, due to it’s position in my case. However you can still get an idea of the light cast by the orange ring on the EMI shield. It even lights up the motherboard around the PCIe socket.
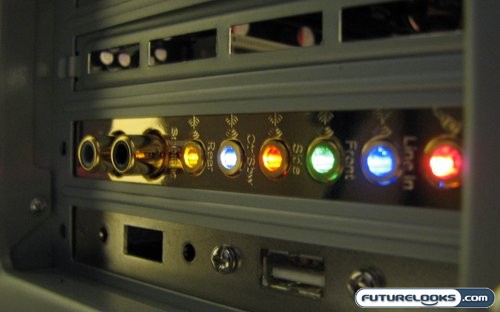
As for the ports on the rear of the card, I was able to get quite a good picture of it. The LEDs used in this installation are quite bright, and lit up the wall behind my case with a fair degree of vibrancy. As for the colouring, they follow the AC97 specification, which makes for both a cool effect and a handy way to find the port you are looking for when connecting stuff behind there.
Driver installation went off without a hitch. ASUS’ drivers disk is fully automated, and took care of everything needed to use all the features on the Xonar D2X. There were several other CDs that were included, but we didn’t really bother with them. However we do need to take a look at the software package, as it’s rather in depth.