Installation and Setup
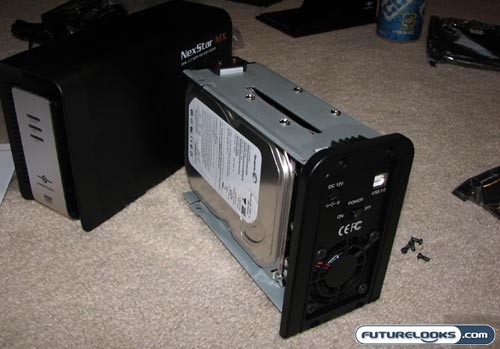
Seriously, the installation and setup of the NexStar MX dual hard drive enclosure is dummy-proof. There is no trick, no complication, nothing strange to worry about. Looking around to the back of the drive, you’ll find four small screws securing the external aluminum sleeve onto the main body. Remove these screws and slide off the sleeve. Your 3.5-inch SATA hard drives slide into place and get secured by four screws each (two on either side). Slide the cover back on, put the four securing screws back in place, and you’re pretty much ready to roll.
If only it were that easy. It almost is, but I ran into a couple of hiccups during the setup period. First, the four screws holding the sleeve in place were a little tricky and I think that the threading wasn’t up to spec. The bottom two screws came out fine, but the top two just kept spinning without getting any looser. It took a bit of a wobble and a shake to get them out. This is unnecessarily frustrating and could be solved with slightly better build quality.
The second hiccup came when it came time to initiate and format the new hard drives. When I plugged the enclosure into my desktop computer (via USB 2.0), the Windows XP Pro-powered machine told me that this USB device was “not recognized.” Surfing through the web, I found that I wasn’t the only one with this problem. However, when I plugged the external hard drive into my laptop (XP Home), it recognized it fine and I was able to do the formatting through the Windows Disk Management tool.
These were relatively minor issues, but they could prove problematic for any novices in the audience since not everyone refers to the power of Google as they are expecting that information in the manual. Thankfully, drivers are not really needed because the enclosure is plug-and-play otherwise.
The Secret Switch…Not Really…
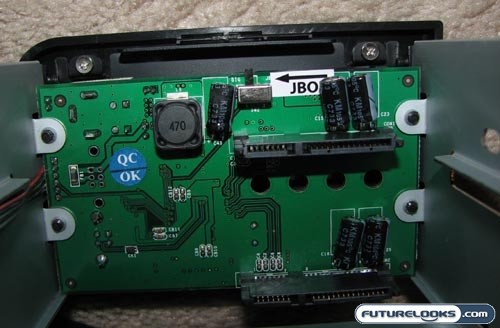
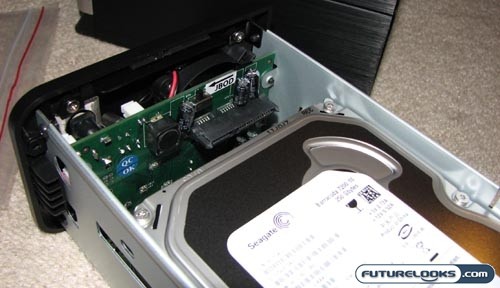
I should also note that on the inside, you’ll find a small switch for activating JBOD mode. If you are in JBOD mode, your computer will recognize the two hard drives as a single volume. Switch off JBOD mode and the two drives will appear as separate volumes. Different strokes for different folks, but the automated JBOD mode makes this easier for beginners. It’s like one massive hard drive, instead of two smaller ones.
Real-Time Price and Stock Check – Shop Like a PRO!