
A Closer Look at the Thermaltake Water 3.0 Ultimate
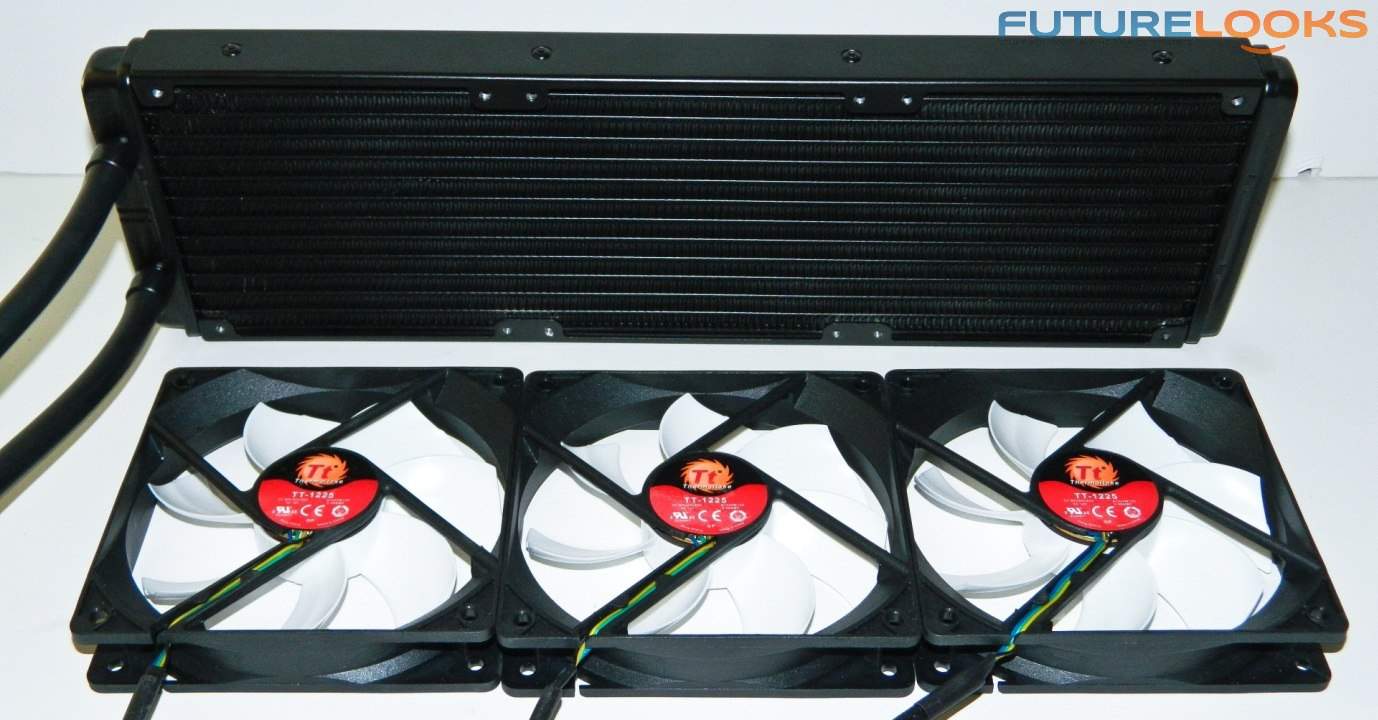
The construction is fairly standard, with a black painted 360mm aluminum radiator to start. There’s no need to worry about any chemical reactions in the liquid as Thermaltake takes care of that for you with the all-in-one sealed build. Holes line up with 120mm fans which should line up on all enthusiast level enclosures. Plus, the radiator assembly is surprisingly light weight. Custom systems are easily more than twice that in weight.
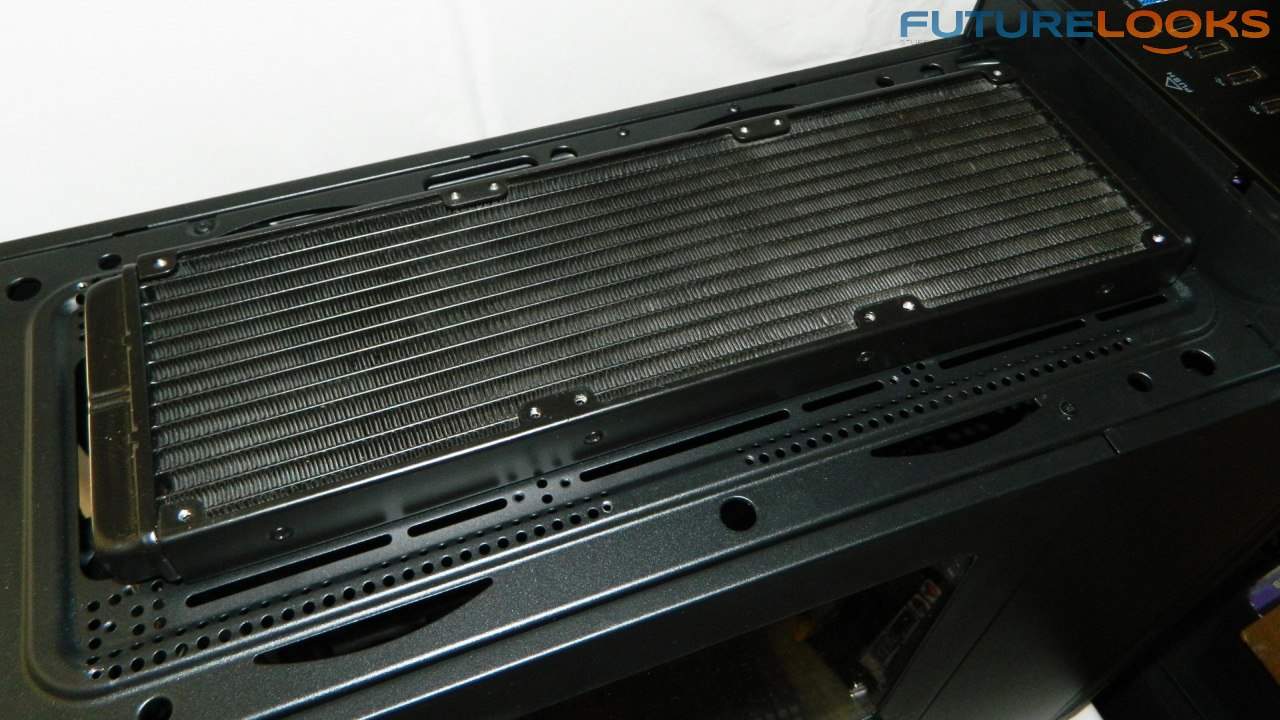
Up close, it appears the radiator is a dual pass. What that means is that the warmer liquid passes through more of the fins twice which cools the liquid better. While a triple pass radiator would cool better, it creates more resistance and cost. The reason for the higher cost is due to that construction and the need for a stronger internal pump to push the liquid through. The improvement would most likely be about 2-3 degrees at the cost of $30-40 which honestly isn’t worth it at this price point.
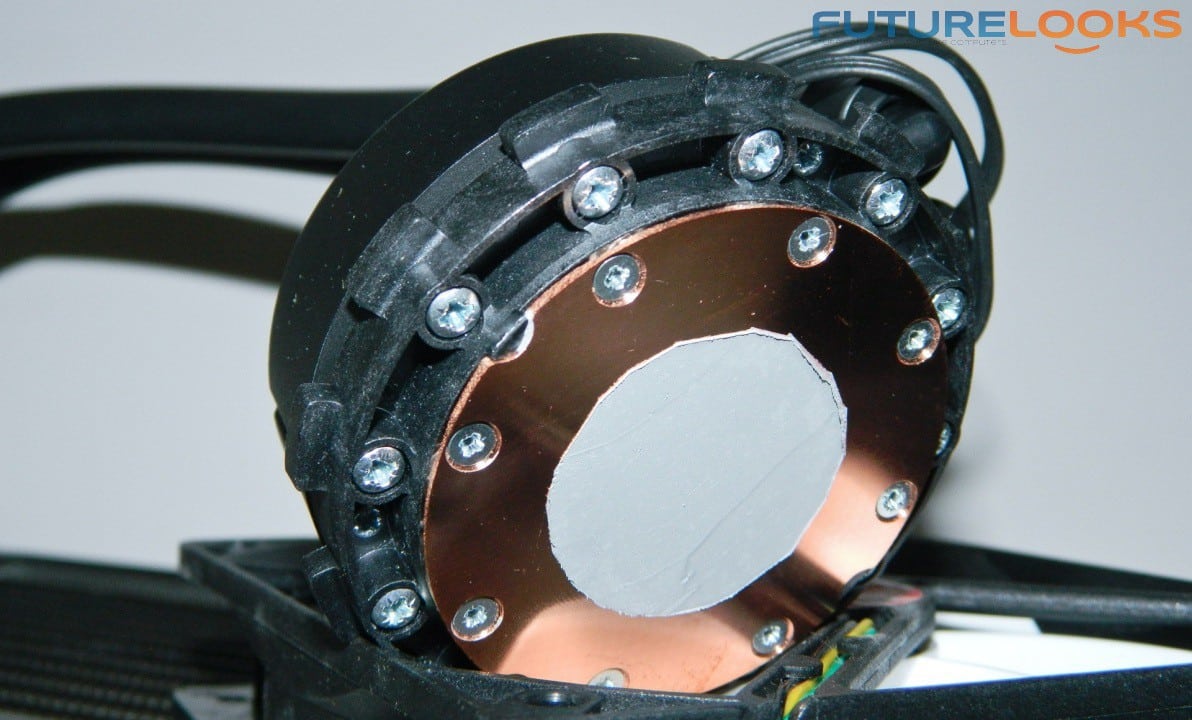
Up close, you can see the Water 3.0 Ultimate’s copper cooling plate covering the base unit. The base already comes with some thermal paste strategically centered. No clue on the paste’s origin or any special properties. The base plate seems smoother than previous units.
Finally, a 3pin wire powers the pump. It’s sure nice to have such a lower power pump easily connectable to the motherboard’s fan headers.
Test System Setup
If you’ve installed any all in one liquid cooling systems the last three years, the Water 3.0 Ultimate doesn’t reinvent the wheel here. The enclosure we used is the newly released Thermaltake Urban T81 full tower enclosure. It supports both front and top mounted radiators. The rest of the system setups is as follows.
Haswell-R “Devil’s Canyon”
- Intel Core i7-4790K
- GIGABYTE GA-Z97X-UD5H Motherboard
- Patriot Memory Viper 3 16GB 2133MHz DDR3 Memory
Ivy Bridge-E System
- Intel Core i7-4960X
- ASUS X79 Sabertooth Motherboard
- Kingston HyperX Beast 16GB 2133MHz DDR3 Memory
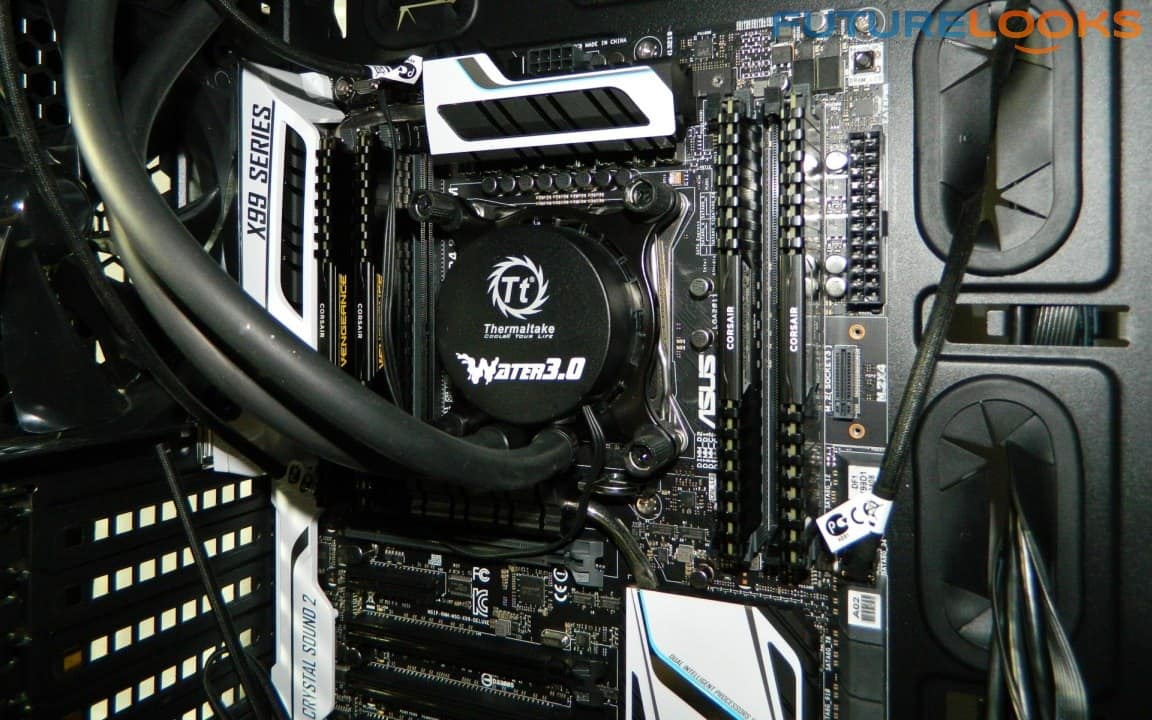
Haswell-E System
- Intel Core i7-5960X
- ASUS X99 Deluxe
- Corsair Vengeance LPX 16GB 2133MHz DDR4 Memory
Our operating system of choices is Windows 7 Ultimate 64 bit. But before we get to the benchmarks, let’s quickly cover the installation experience.
Installation Notes
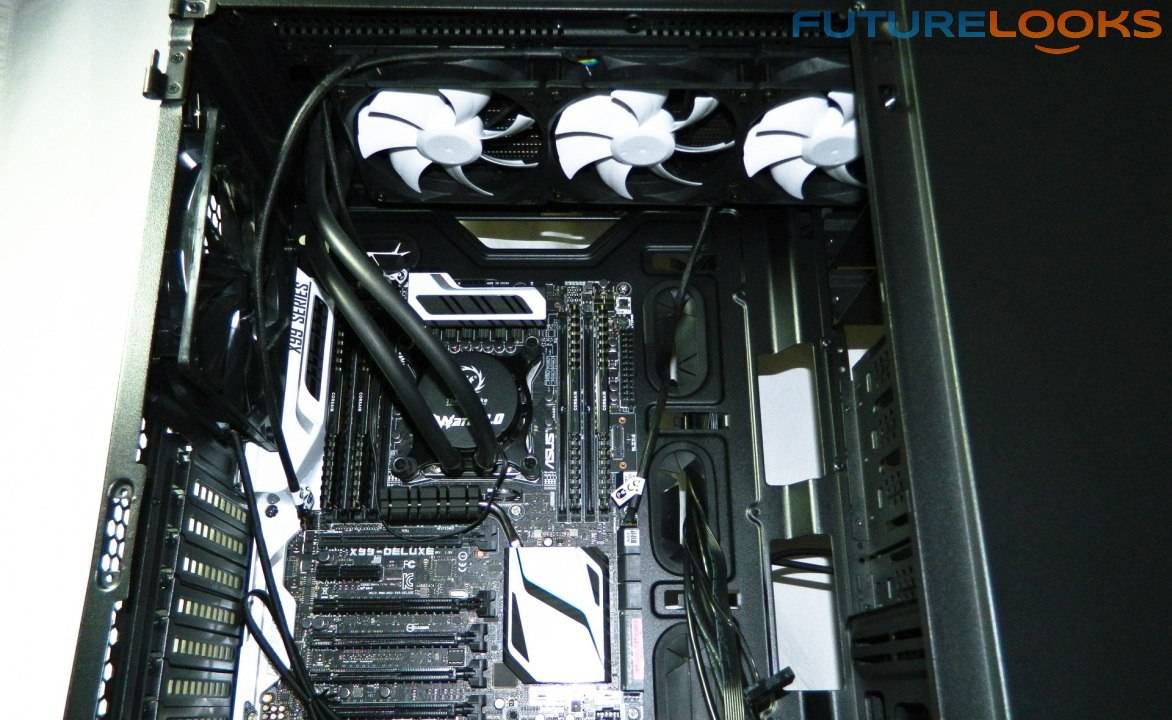
Installation in the Thermaltake Urban T81 because of the preset holes and slots so you can use to position any 120mm or 140mm radiator including fans. Four screws feed through the fans and case frame in to the radiator which was mounted on top. Mounting the radiator took a mere 15 minutes. Not all cases are this well equipped, so double check your case.
The CPU block was easy to install because of the accurate, detailed directions and depictions. The two Haswells took only 20 minutes each and the LGA 2011 IVB-E and HW-E both took 10 minutes because it only needs the mounting ring and four bolts. The tricky part is making sure you hold the ring and block in place while starting the four corner bolts during installation.
Now let’s get on with the testing!