First Impressions
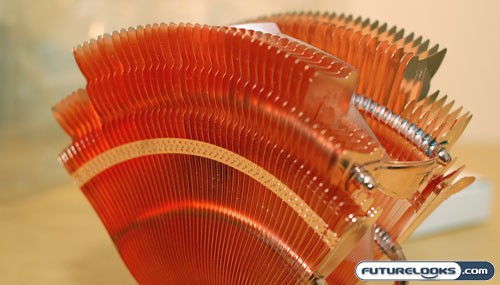
The Thermaltake V1 CPU Cooler is a heatpipe based design manufacturered completely from copper. Four heatpipes inhabit the large fan-like structure, providing tons of surface area in which to dissipate heat. Most noticeable thing about the cooler is the orientation of the fan: It is sandwhiched in between the two fan like copper structures and pulls air from one side and out through the other, working in conjunction with a front mounted fan pulling air in and the rear exhaust fan.
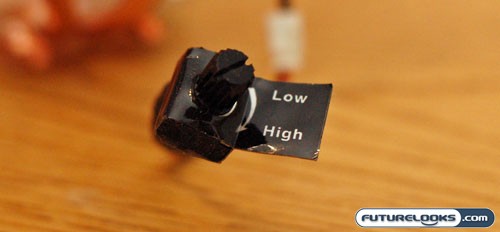
The unit also features a fan controller that allows you to vary the fan speed from 1300 – 2000 RPM. Hopefully this adjustement will do more than just make more noise. The Thermaltake Big Typhoon VX that we reviewed a while back contained a speed adjustment that did little to improve performance and only served to make things noisier. Hopefully, we’ll see something a bit different here.
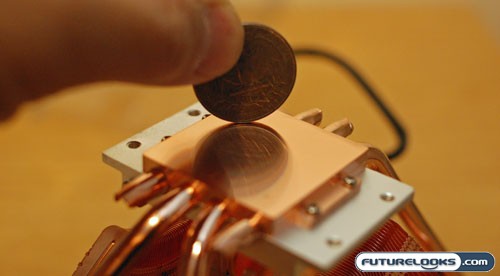
The Thermaltake V1’s contact plate is not only shiny, but completely flat. This ensures optimum contact between your CPU of choice and the V1. The heatpipes terminate to this plate, sandwiched by another plate made of aluminum. The aluminum plate has holes drilled into it that allow the INTEL Socket 775 brackets to attach, letting the V1 use standard motherboard mounting holes. The AMD bracket sits into a channel machined into the top of the aluminum plate, and attaches to the CPU cradle much like the way your standard AMD Socket 939 or AM2 cooler normally mounts.

The Thermaltake V1 is crafted beautifully, but this beauty is not without some fragility. First off, while handling the V1, you need to be very careful as the fins bend very easily. They will also break apart from eachother if handled too roughly. Also, we noticed that the heatpipe on the opposite side of where the fan mounted was bowed in. Although it didn’t contact the fan on our sample, we have heard of units that have shipped with the bow so severe, that it would contact the fan. We know that Thermaltake would catch this in quality control so the only other conclusion would be packaging that could not protect it against compression.
System Setup
Our test system will be assembled using the following components…
- AMD AM2 X2 4200+ CPU (Provided by Geeks.com)
- DFI Lanparty NF590 SLI-M2R/G Motherboard (Provided by DFI)
- EVGA nVidia 8800 ULTRA Video Cards in SLI
- Seagate 250 GB SATAII 16MB 7200 RPM Hard Drive (Provided by Geeks.com)
- Western Digital 36 GB 10K SATA Hard Drive
- Creative Labs X-Fi Xtreme Music Sound Card
- LG DVD Writer – (Provided by Geeks.com)
All our components were assembled into the drool worthy CoolerMaster Cosmos 1000 Enclosure, which we’ll be reviewing in short order. Powering the system was a CoolerMaster 1250 Watt Power Supply supplied by CoolerMaster. We’d also like to thank our friends at Geeks.com for their contributions as well. Our system was OS’d with Windows Vista Premium.
The 90nm version of our AMD AM2 X2 4200+ CPU was chosen to provide some heat to stress the Thermaltake V1. Our heatsink paste of choice is good ole Arctic Silver 5. We used the CPU Benchmarking function of 3DMark2006 to heat up our CPU and used ITE Guardian provided by DFI to check the temperature of the CPU during testing.
Let’s check out how the V1 assembled into our system and then finally, we’ll slow cook our Thermaltake V1 with our AMD X2 4200+ CPU to see how well it performs.
Real-Time Price and Stock Check – Shop Like a PRO!