- 5 Drive Bays
- Easy Setup thanks to DSM
- Quad-Core Intel CPU
- No 10Gb Ethernet (or abilty to add one)
Setting Up the DS1019+
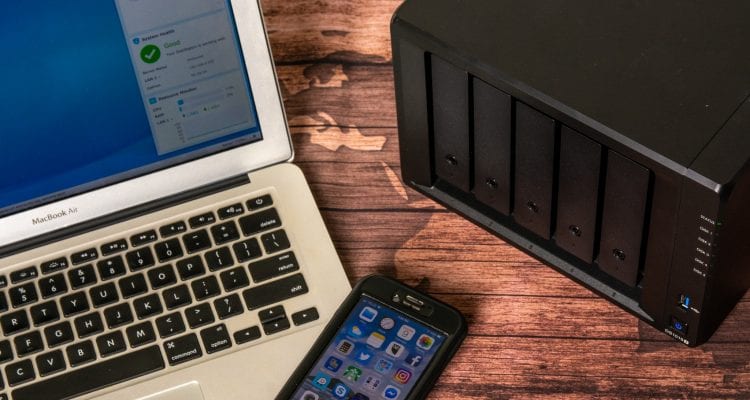
When you first purchase a DiskStation from a retailer, chances are you will need to install the drives yourself. With receiving the unit from Synology directly, the two 4TB Seagate IronWolf NAS drives were pre-installed. One less thing to have to do! Though, if you do need to install the drives yourself, it is really straightforward and does not require any tools for 3.5-inch drives. Pop the side rails off, pop in your hard drive, then pop the side rails back in. Slide the drive caddy back into the DS1019+ and you are golden. If you are using 2.5-inch drives such as SSDs, you will be required to make use of a screwdriver and use 4 screws per drive caddy. Do not worry, Synology gives you a little baggy of screws!
Find.Synology.com
When you have plugged in the DS1019+ into your network you utilize the URL http://find.synology.com. This sends out a request out into your local network and any new units will respond. You do need to have some sort of network setup as the DiskStation units will send out a DHCP request to any router listening when it powers up. It would be nice if you could access the unit directly, but it should not be too troublesome to plug it into your network in the beginning.
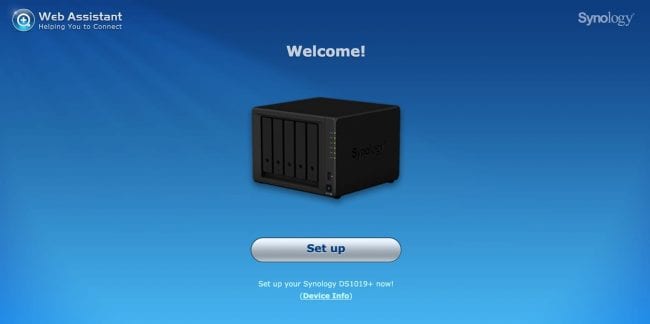
When I powered up the unit, all one has to do is click on the “Set up” button and follow the screens. The process takes no longer than about 5 minutes.
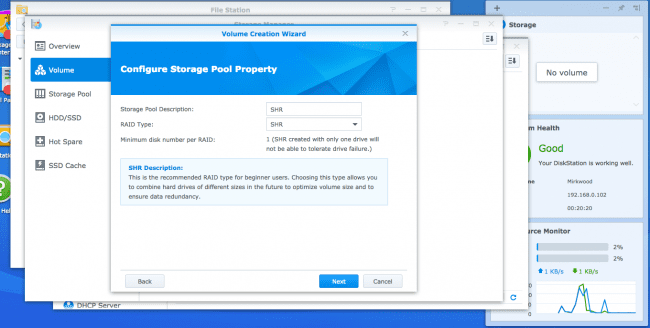
When you start from a new setup with new drives installed, there is no volume. You need to first set up a volume (or more depending on your need). For the purpose of this review, I kept it simple and created 1 volume with SHR or Synology Hybrid RAID. Synology attempts to make the deployment of their DiskStations as easy as possible. You can, of course, choose your own RAID configuration based on your needs and number of available disks.

For the filesystem, I just went with Btrfs, actually, I think I have converted my other DiskStations to Btrfs when it was made available.
Once your volume is created you can then dive into the world of DiskStation Manager or DSM. Set up your services, applications and share folders.
We won’t go over DiskStationManager or DSM because of the large selection of applications and services, but it is one pretty amazing system. You will just have to take out word for it.