Getting Rid of the Heat
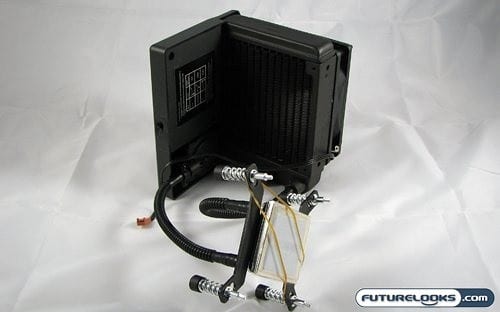
The system to get the from the CPU to the outside has about as much story behind it as the main assembly itself. As I had mentioned earlier, the radiator is a custom design that has been rethought from the ground up. CoolIT was apparently trying to keep the size of the radiator as small as possible to maximize compatibility with many cases, while still maximizing performance. Taking a look at the radiator fins, it would appear that they were still able to keep enough surface area to effectively cool the coolant.
To move the coolant from the main assembly the water block, CoolIT has employed a corrugated tubing that is said to reduce liquid loss through the material. They also leak test every unit before is leaves the factory. As for the coolant itself, I don’t think it can be quite defined as water. From the horses mouth itself, “[the] coolant is a 25% Propylene Glycol mixture with a very comprehensive anti-corrosion package to ensure there will never be any performance reduction due to build-up or inter-metallic reaction.”
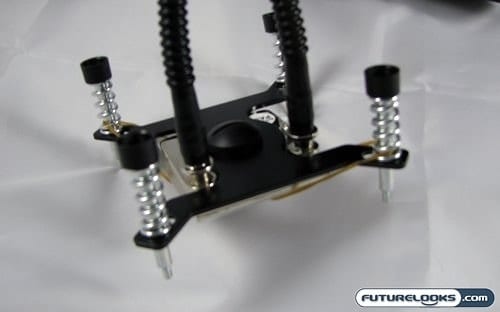
The water block itself is made to be as light as performance will allow, to reduce the amount of weight on the CPU and not exceed any of the tolerances set forth by Intel and AMD. Under the thermal interface material, the surface is a near mirror finish. With the addition of what CoolIT says is their best thermal interface material yet, this should make an excellent contact point between the CPU and block. The retention system further enforces this, and also makes for a safe and trouble free installation. There’s a couple of subtle features, one of which is those little black cups over the screws. They are there to prevent you from slipping with your screwdriver and damaging your precious motherboard. CoolIT has also made the mounting system spring-loaded, so as to prevent the block from applying too much pressure to the CPU socket.
Do all these extra features and attention to detail provide for a better installation experience? What about performance? Is it further enhanced? Well we’re about to find out by first looking at the accessories that come with the CoolIT Domino, and how everything is installed.
Included Accessories
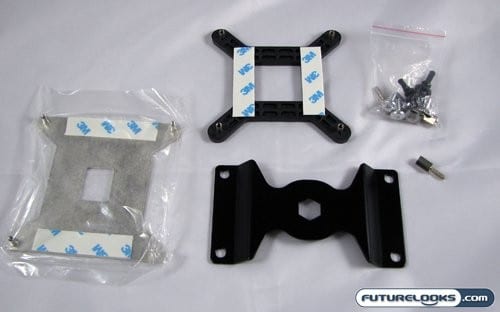
CoolIT has included a plethora of modern mounting brackets with the Domino. For the Intel camp, there’s a backplate for both Socket 775 and the newest Socket 1366 for the Core i7. Both these retention brackets have the dreaded mounting system known as double-sided tape. I would recommend against actually removing the covers and using the adhesive to stick these to the back of your mobo, as they can be horrendously difficult to remove should you need to. Rather it’s better to just place them in position, and use some electrical tape or something else that can’t harm your motherboard.
The baggie of screws and the H-shaped plate are meant for the AMD AM2/AM2+ users in the audience, as the Domino uses the existing AM2 backplate with the addition of some included stand-offs. The plate pictured replaces the existing mounting plate found on the water block.
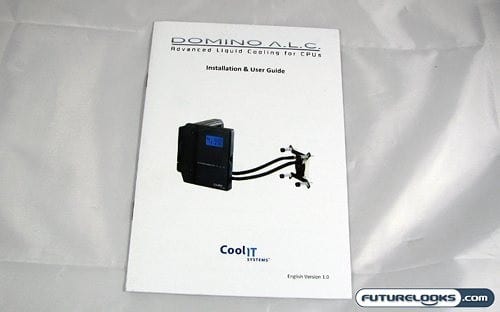
Luckily all these installation options are covered in the Installation & User Guide. This little book is actually quite well written, being clear and concise with every step of installation. There’s even a step in the process reminding you to check your work before proceeding with power on the system. So how well did installation go? Let’s find out!