Plenty of Drive Bays for Hard Drive Ammo
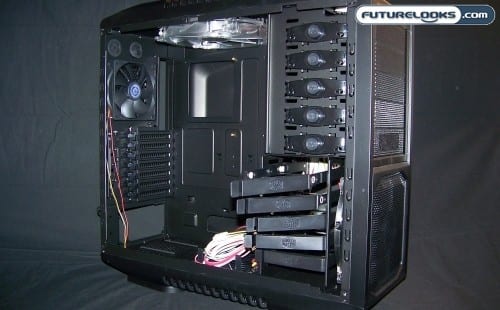
If you look closely at both sets of drive bays, they’re all tool-less which seems to be a standard feature these days. Once a ROM drive is slid in to place, a quick press of the button locks it in preventing movement. You also have the option of installing screws if you wish to lock it down.
The lower hard drive bay offers 5 removable, tooless flexible drive trays. Once the tray is pulled out, simply slide one drive in the pegs on one side while sliding it down over the other. It creates a sturdy little hot swap type configuration with its ease of use. For those that want to lock these down, you can’t as there are no hole for screws.
Cable Managements Passes Muster
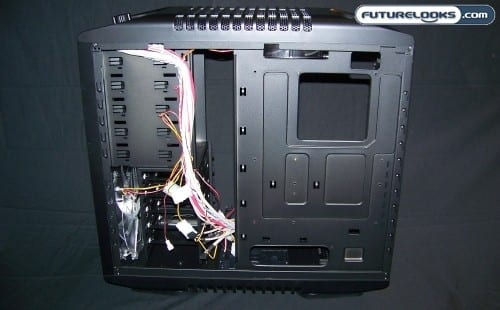
Flipping around the case to the and looking at the left side of the case, you can see there’s going to be ample room for many a wire. Even the connectors should have no problem allowing the side panel to go back on once you have them all tied off. A lot of consideration was put into wire management. This is a feature that should also be a standard but we can only insist on so much.
Installation Notes
You will find that larger PSUs may prevent installing the optional 120mm fan depending on how its installed. The wiring may get in the way. If this is the case, you may be able to flip the PSU so the wiring is up top which opens up the fan slot. Keep in mind, the optional fan really isn’t needed unless you suffer from obsessive compulsive fan disorder.
Also, I did find one faulty 4-pin style Molex connector to the front fan. Since we’re pretty resourceful around here, a little careful maintenance fixed the pin. This is a minor quality control issue that is easily preventable with a little double checking.
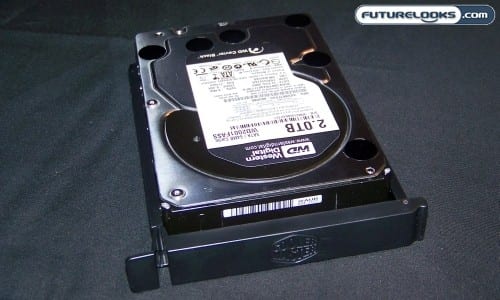
Installing your hard drive in the removable tray might require a little practice to get quick at it. Once you’ve completed one, the rest are easy. It’s getting the drive back out you’ll need just a little patience as you basically peel it out of the cradle by squeezing the sides or using your finger nails to start at one corner and work your way around. But again, do it once and it’ s committed to memory.
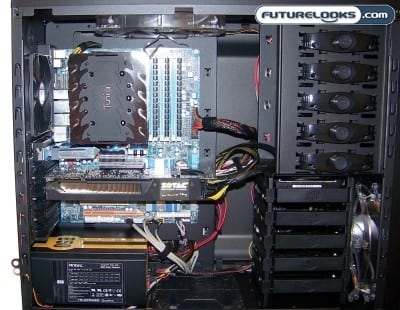
As you can see, the objective was accomplished quickly and decisively. There were no cuts or injuries sustained during the “live fire” exercise. The motherboard fit perfectly as well as did the monstrous GTX 295 video card. All the wire management worked well and created a very tidy case.
Now that we’ve tested the installation process with some off the shelf components, we’re going to now subject the Sniper to some somewhat unconventional case testing techniques which should yield both noise and temperature performance numbers.