What’s in the Box?
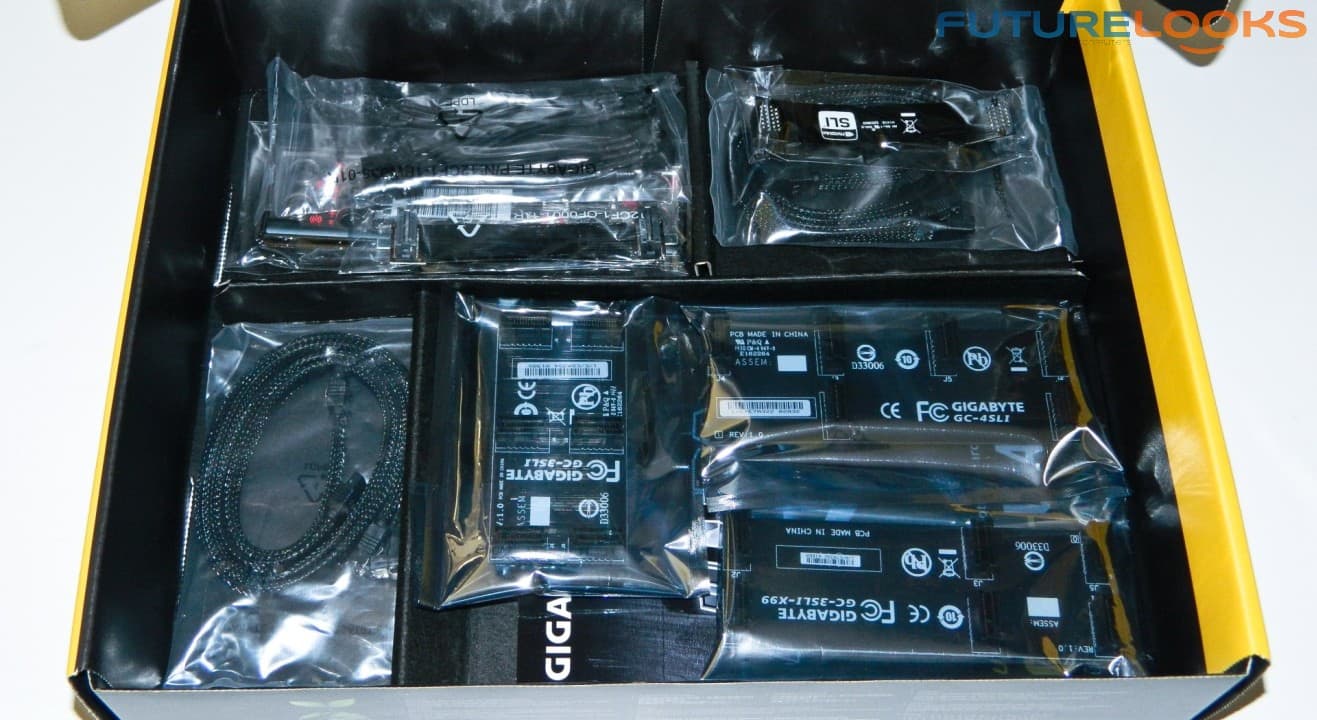
The bundle is pretty basic as far as X99 SLI/CrossFireX motherboards go. There are two different length flexible SLI/CFX ribbons and a stack of PCB bridges too, ranging all the way up to quad-CrossFireX. There’s also a couple case badges, four nicely braided SATA cables, LED active IO shield, software DVD with App Center, Easy Tune, and Norton OEM Internet Security to help keep bad code down. However, the bundle doesn’t include a Thunderbolt card to pair with the onboard TB port or the WiFi module like the UD5 and UD7. But at the asking price of $258.99 US, we can give it a pass.
The only thing that makes the board “Thunderbolt Ready” is the small dedicated 5pin connector above the last PCIE slot. When you consider expansion, all motherboards are technically Thunderbolt ready if you consider adding a Thunderbolt PCIE expansion card. I was a bit excited when unboxing the board till no TH card was found. But I’d be more excited if there were more things that used this port, so we could actually enjoy it more.
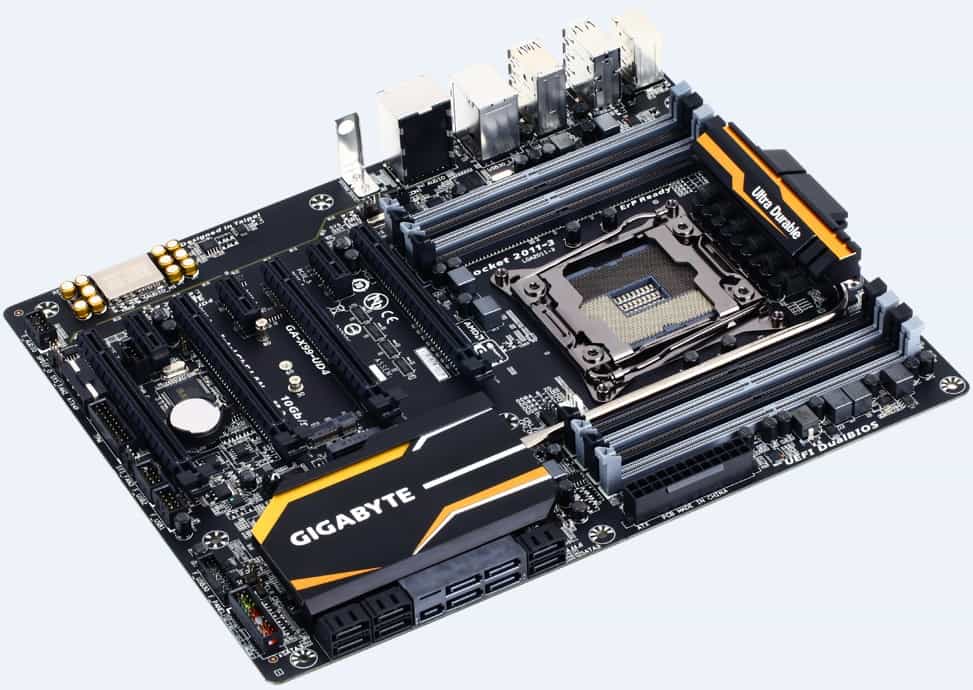
GIGABYTE GA-X99-UD4 Motherboard Layout
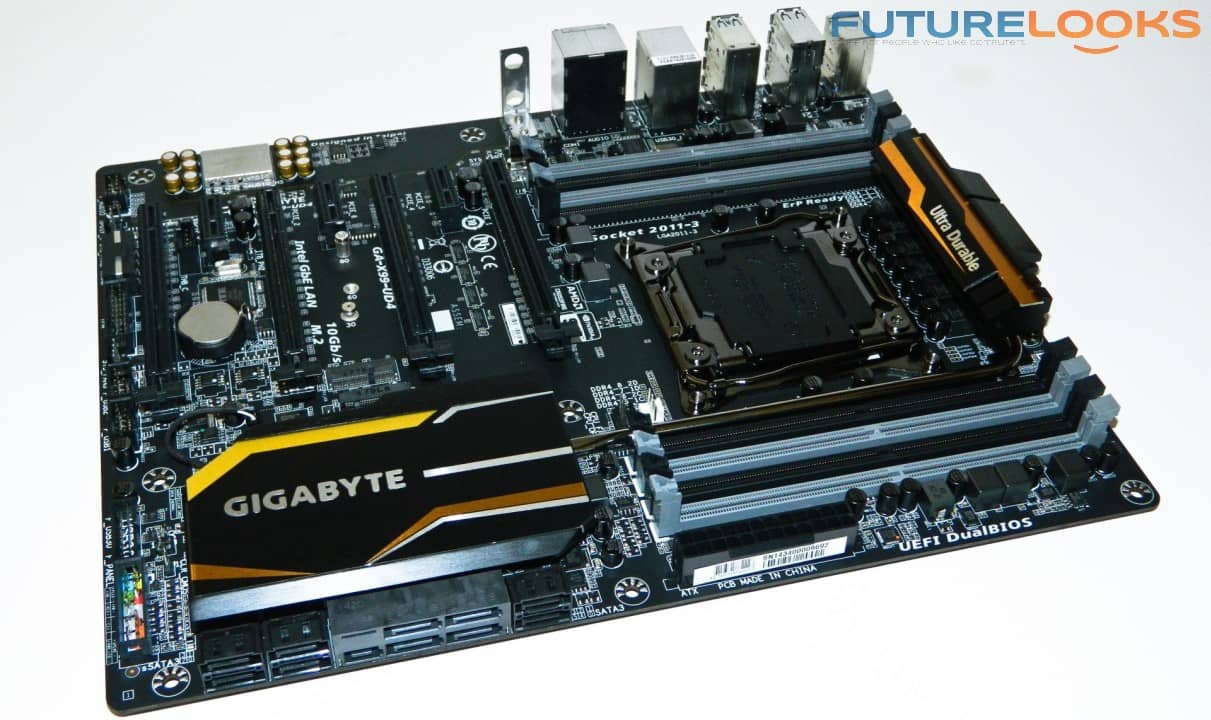
The GIGABYTE GA-X99-UD4 appears to have a logical layout. Since the board utilizes quad channel DDR4 memory, a lot of the components get pushed to the edges to make room for the slots. North of the CPU socket is the main VREG just low enough to support massive coolers. We did notice just a couple oddly askew CHOKES around the CPU area. They don’t hamper performance in any case and could be attributed to being one of the first boards rushed off the line.
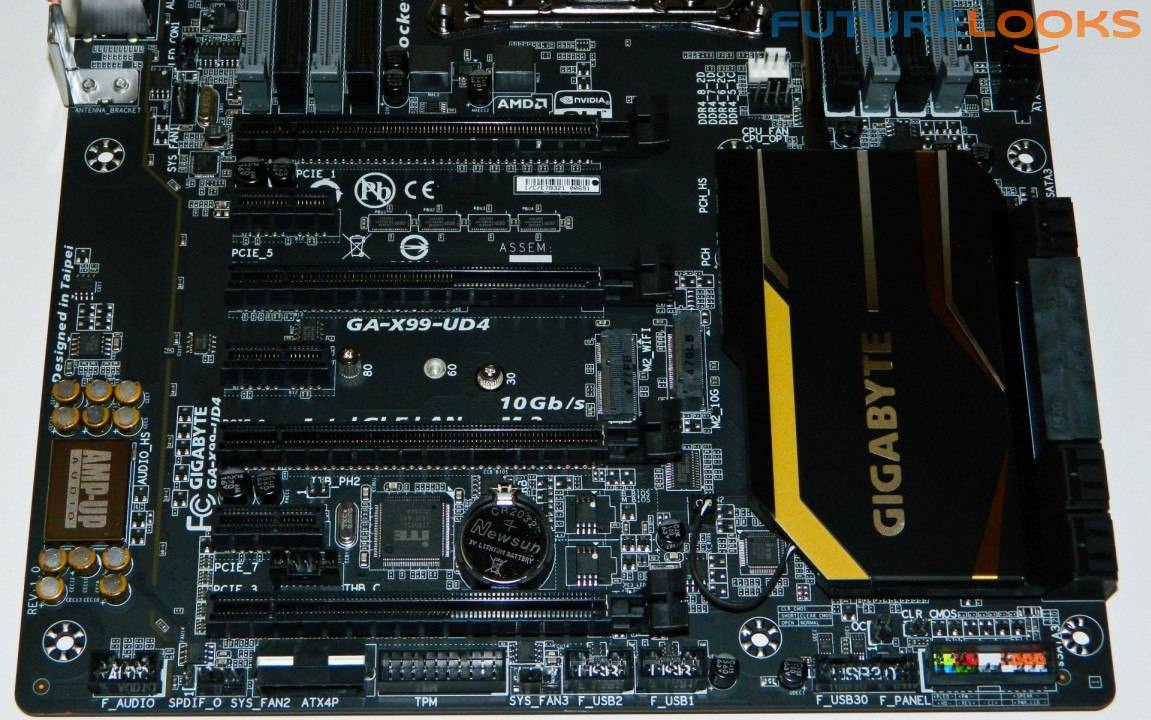
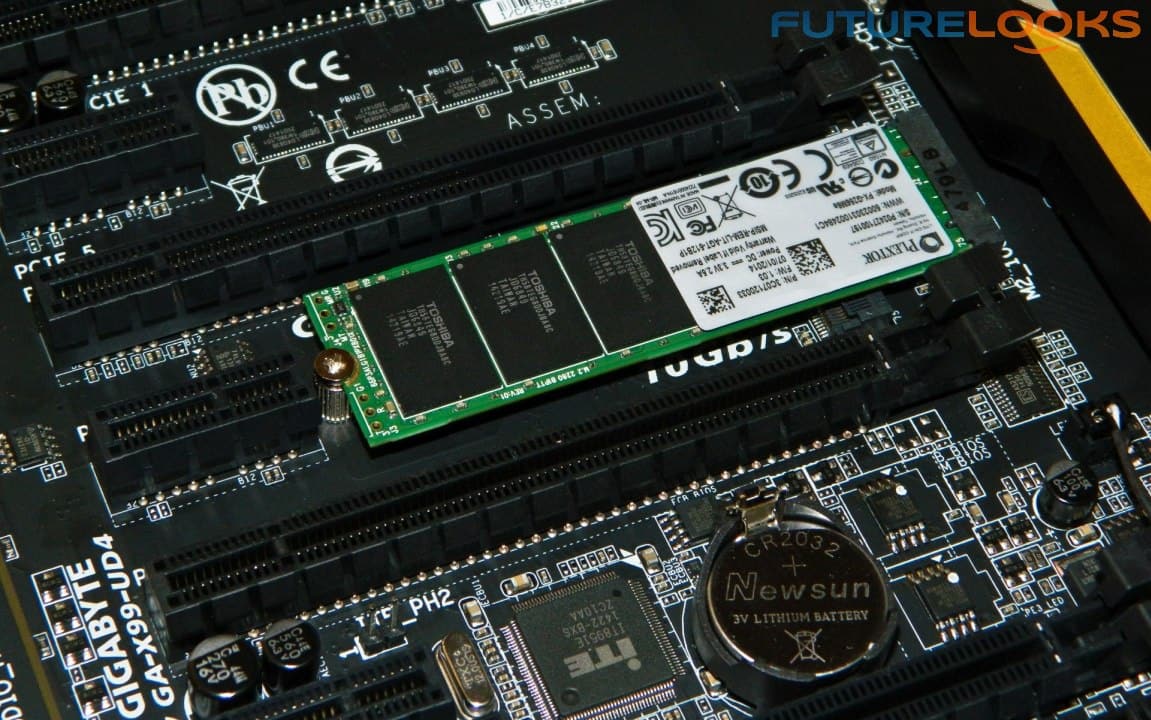
The expansion area of the board is very low profile. The chipset and IO Shield LEDs both use two very small 2pin wires for power and controlling the output. But they don’t get in the way of any peripherals at all especially around the PCIE slots. The M.2 devices are so thin that they don’t interfere either. All other USB, front panel, audio, or extra 4pin power are all arranged around the bottom edge of the board. Depending on the space inside your computer case and placement of the board, that 4pin power might be a bit tough to access – if needed.
One very minor detail we noticed is the chipset heat sink LED and audio PCB LED lighting colors didn’t match. Also, since this is a higher end X99 chipset, at least a couple 4pin fan headers would be nice towards the top since most high end cooling systems mount to the top or top back of the computer enclosures. That would be most helpful on these elite systems that you might want to put a high end water cooling system on.
Test System and Setup Notes
Easy of installation and setup is an essential part of any motherboard on the market today. And I weigh the experience of installing and managing the motherboard heavily. The board should work with all peripherals easily, right out of the box. And we expect that if issues do come up, updates are available promptly.
Here’s the test system before we drop the notes:
- Processor: Core i7-5960X Haswell-E
- Motherboard 1: GIGABYTE GA-X99-UD4 (as tested)(F8 and F9c BIOS)
- Motherboard 2: ASUS X99 Deluxe
- Memory: Corsair Vengeance LPX 2800MHz 16GB DDR4 (at 2133 MHz)
- Graphics: NVIDIA GeForce GTX 780 3GB (Driver WHQL 344.11)
- Power Supply: be quiet! DarkPower Pro 850W 80Plus Gold
- Air Cooling: be quiet! DarkRock Pro 3
- Liquid Cooling: Thermaltake Water 3.0 Ultimate
- OS: Windows 7 Pro (Patched)
Setup is sometimes technically interesting. The Intel Z97 boards all tend to require dual memory sticks in the first (closest) and third DIMM slots otherwise the system doesn’t boot right. The Intel X99 are opposite in that the second and fourth slots on both sides are used. If you can’t remember this, just remind yourself that the colored DIMM slots are the slots you should use first. Since many enthusiasts will choose really large tower coolers for their Haswell-E, this works out for the best anyway.
As I assembled the system and tested memory settings, I found myself wishing the board had the LED code display. That little feature comes in handy if you encounter an error installing memory, graphics, or storage devices. Without it, it’s harder to guess what may be causing the issue. Even though these are very affordable boards, I think it’s time LED codes become standard, especially since they’re rather cheap to add, and give crucial information when it is needed.
Speaking of setup, let’s have a look at how the BIOS looks on the GIGABYTE GA-X99-UD4 next!