BitFenix Neos on the Outside
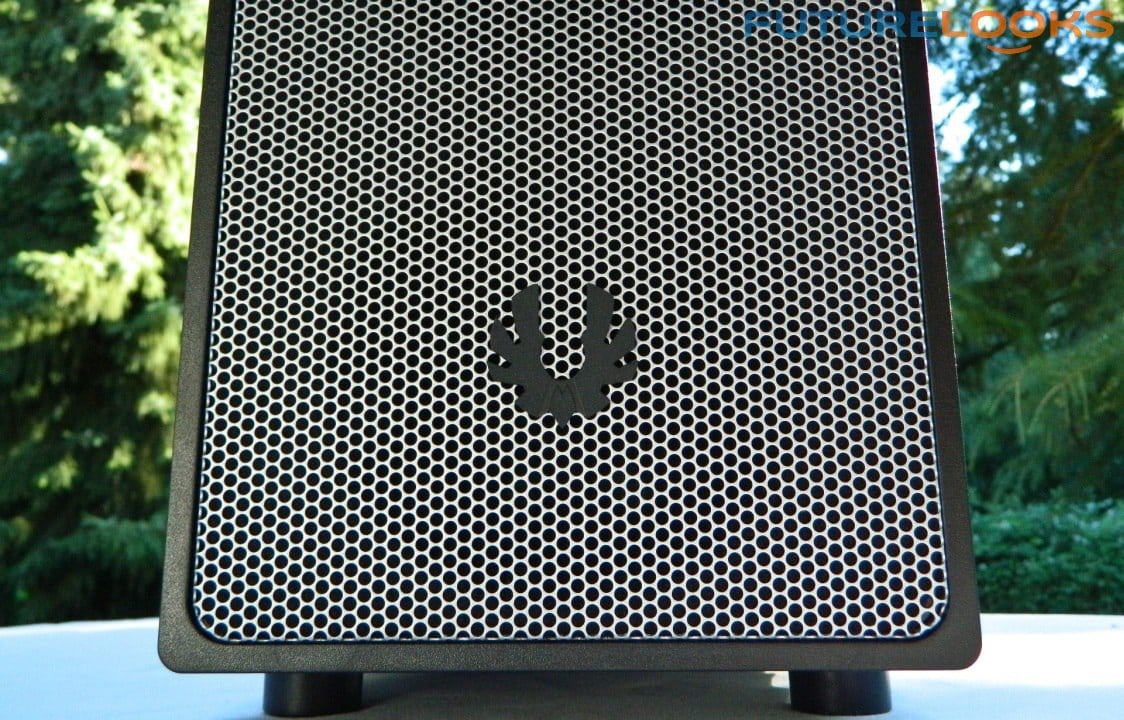
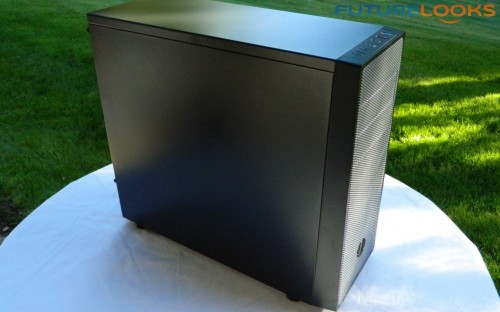
The Neos is BitFenix’s most affordable enclosure. It comes in the standard and a windowed model which I think is always a preferred touch. None the less, all of the models regardless of color have very nice mesh front bezels. The mesh is superbly machined and square right down to the hole alignment.
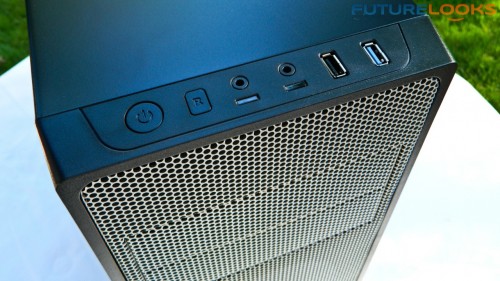
The top front houses a USB 2.0 and 3.0 port as well as the audio ports. The power and reset are simply added to the panel. The port panel is quite sturdy and don’t flex or bend as we’ve seen on some enclosures. This means the ports will not work themselves loose resulting in shorted ports.
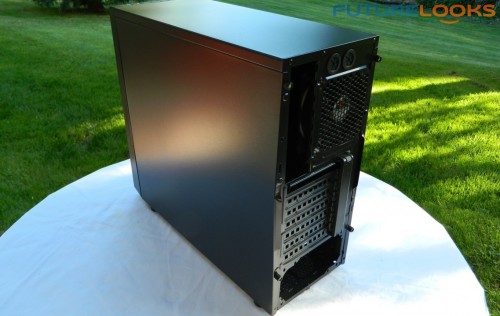
Moving to the back, the Neos has a couple features worth noting. It has two rubber lined ports for water cooling tubes and a PCI screw cover. It sort of cleans it up since we always seem to have different colored screws holding expansion cards in place. It also kind of complicates someone quickly removing something like your ASUS GTX 760 Stryx video card.
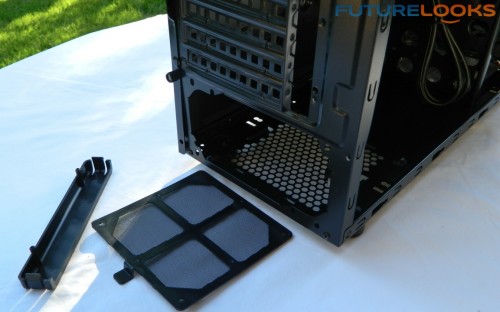
Users will also find a bottom removable fan filter to help keep the PSU from getting too dirty. It’s tooless and simply slides out by pulling down. Now, lets look inside.
BitFenix Neos on the Inside
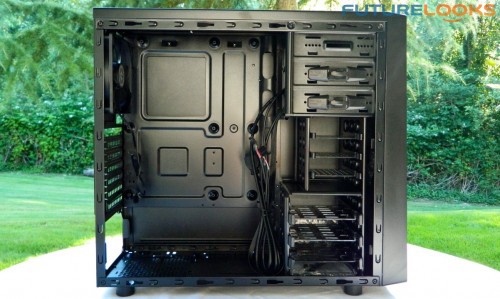
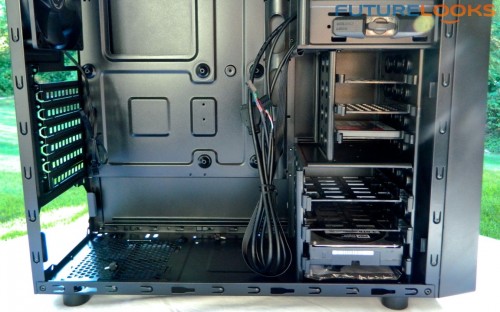
After removing four thumb screws, the panels slide off very easily. It’s nice when they fit squarely on any enclosure. Inside, the chassis is all black. There are some basic wire management cut outs with buffed edges at least and CPU cut out in the tray so you can get to the back of the board to attach your CPU cooler. The motherboard tray has punch-outs already added so users won’t have to mount any motherboard standoffs in holes. The case fits mini-ITX, m-ATX, and ATX boards so that isn’t a problem. You’ll see a mounted motherboard in just a minute.
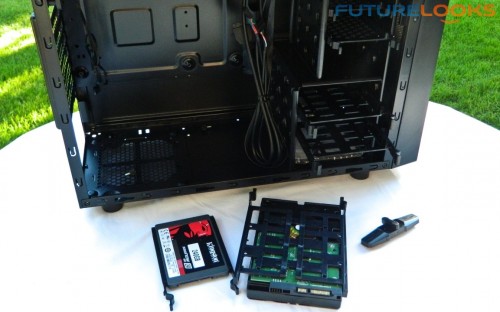
The hard drive trays secure in their perspective bays in a tooless fashion which is a feature not commonly found on sub $50 affordable enclosures. The three SSD trays require screws which are included in the accessories package. The hard drive tray is an especially interesting feature as it simply spreads and slides shut in to the drive housing. You simply side the tray back in and the locked position keeps it from expanding.
Here, you can see an SSD and hard drive secured in their bay. They’re quite easy to pull out but have pretty beefy locking teeth to help prevent movement. As for the 5.25″ locking clip, it’s a bit of a clumsy clip made of rather weak plastic. It will take a little bit of patience centering the holes and getting the knob to lock in to position. There are also visible frame holes to add screws which is good as the clip may not hold if the case is shipped with a mounted drive.

