A Look Inside the NZXT H440
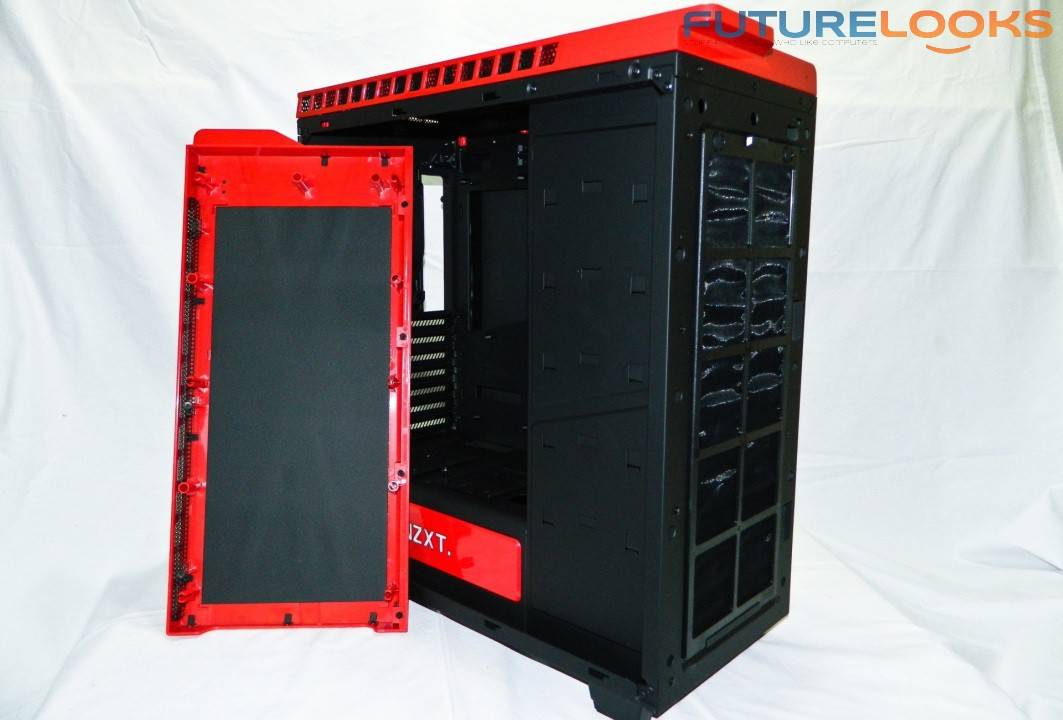
Pulling the front panel cover off first, reveals a good chunk of sound dampening material, which helps with keeping fan noise to a minimum. It also revealed that the front vent cover, is simply held on by a magnet in each corner. This means that it’ll come off easily for quick cleaning if the need arises. And the filter itself does help to reduce the amount of internal dust down. No one likes to clean dust out of a case, and too much dust can obviously reduce the effectiveness of heatsinks and fans.
The side panels also have some padding to help cut down on noise as well. Looking inside, we can see a massive motherboard tray cutout, which is essential for the installation and maintenance of CPU cooling solutions. There are grommet holes for wires all the way down the length of the chassis.
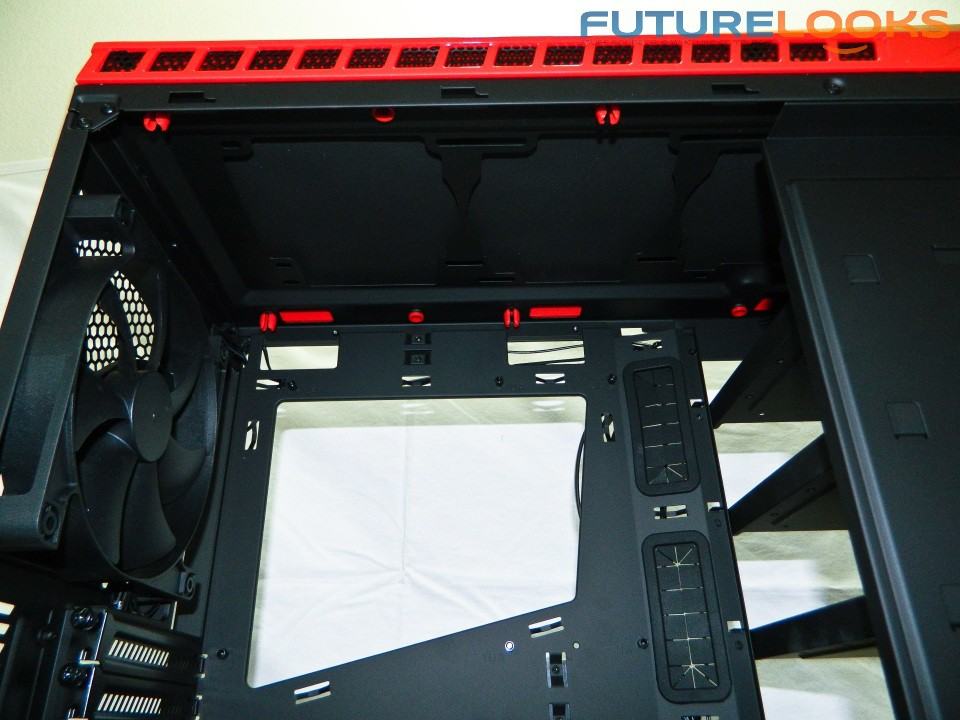
The top of the chassis reveals three more fan ports, and even more sound dampening material attached to the top panel. There is actually enough space on the inside for a dual fan radiator. It might get kind of tight depending on your RAM and motherboard heat sinks, but the possibility is there with the right combination of components.
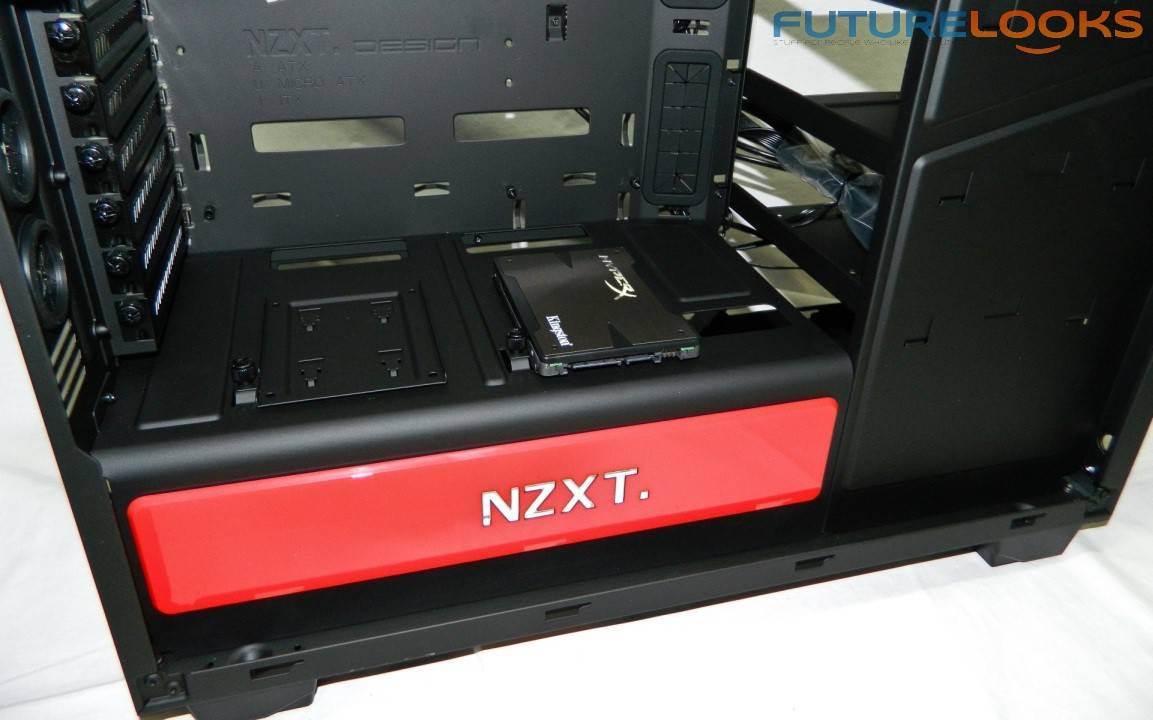
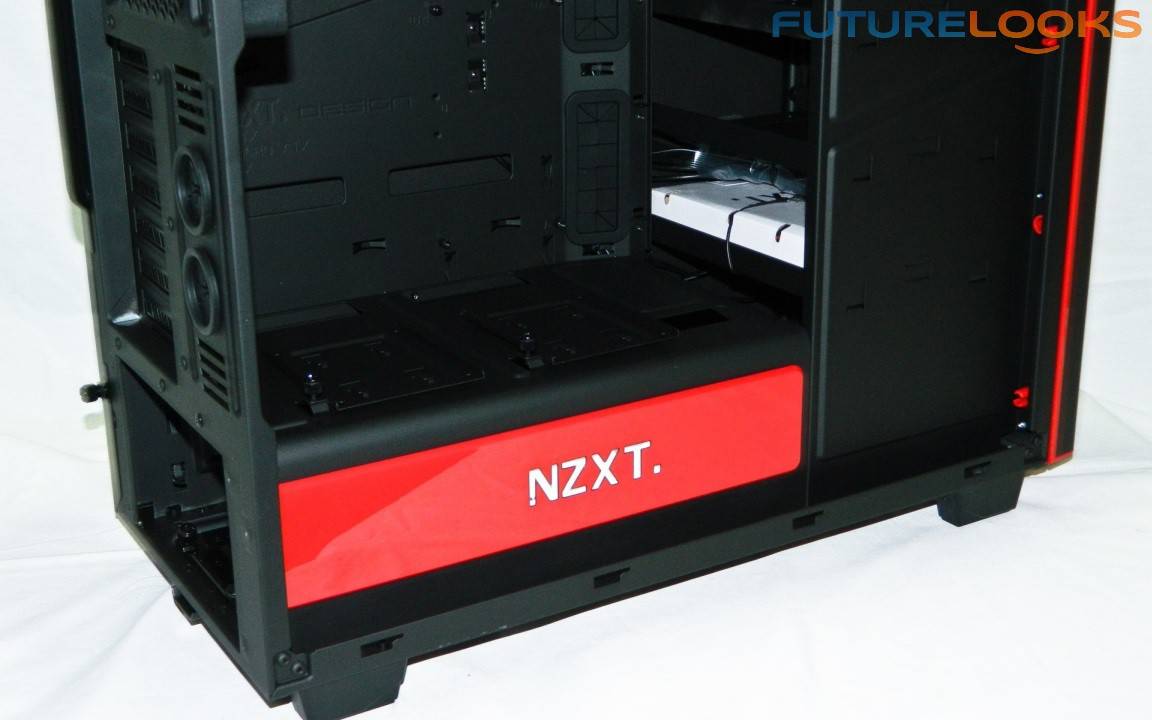
At the bottom of the case, just above the covered power supply area are two thumb screw mounted SSD trays. They slide in and off easily when loosened, and is a great place to put them, seeing as the space in most cases, is not used very well, usually empty.
As mentioned, the PSU area is closed off via the NZXT cover, which gives the case a very finished look. The NZXT logo lights up when the rear LED light button is turned on. There doesn’t seem to be a way to independently turn that on without the rear LED light which can be a little annoying at LAN parties. Modding may be required if you really want to kill it.
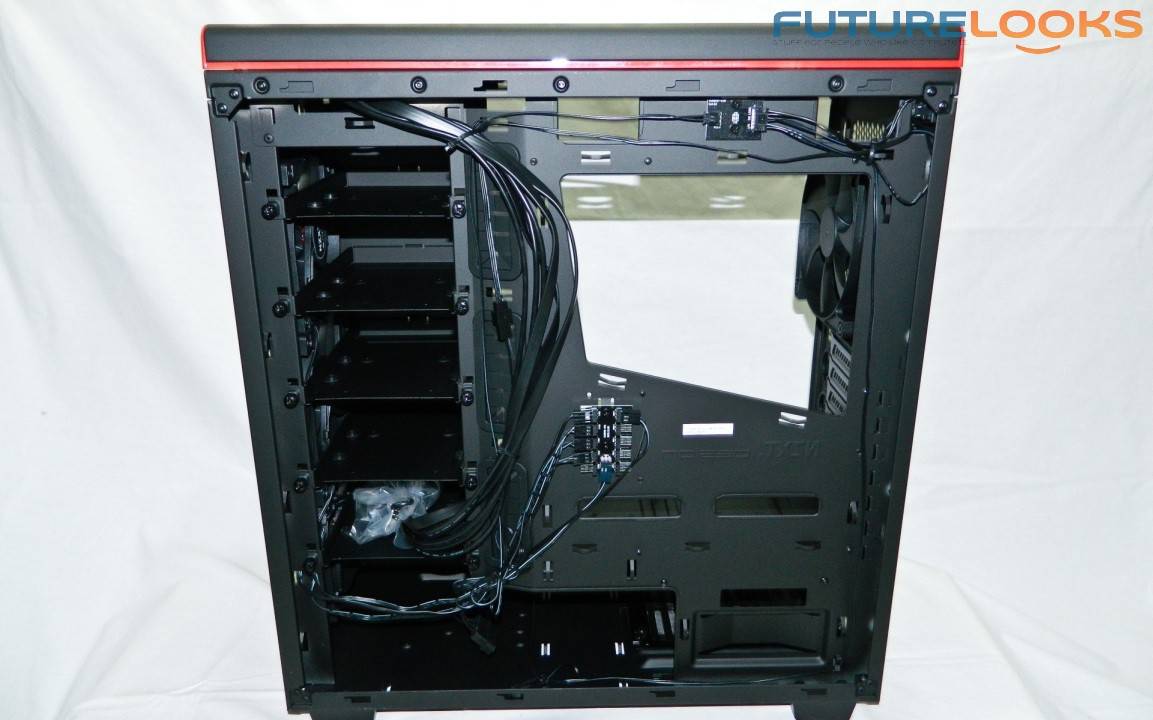
Behind the motherboard tray, the NZXT H440 looks pretty uneventful, but very well laid out for a clean finish. There are a lot of places to attach zip ties or Velcro straps, allowing you infinite options to manage your cabling properly. A good chunk of space in the gutter allows for even the laziest cable management job, and the successful closing of the side panel.
There are also four removable drive trays on the left, but there aren’t any for 5.25″ devices. All of them are for 3.5″ hard drive, and are setup for mounting 2.5 inch drives.
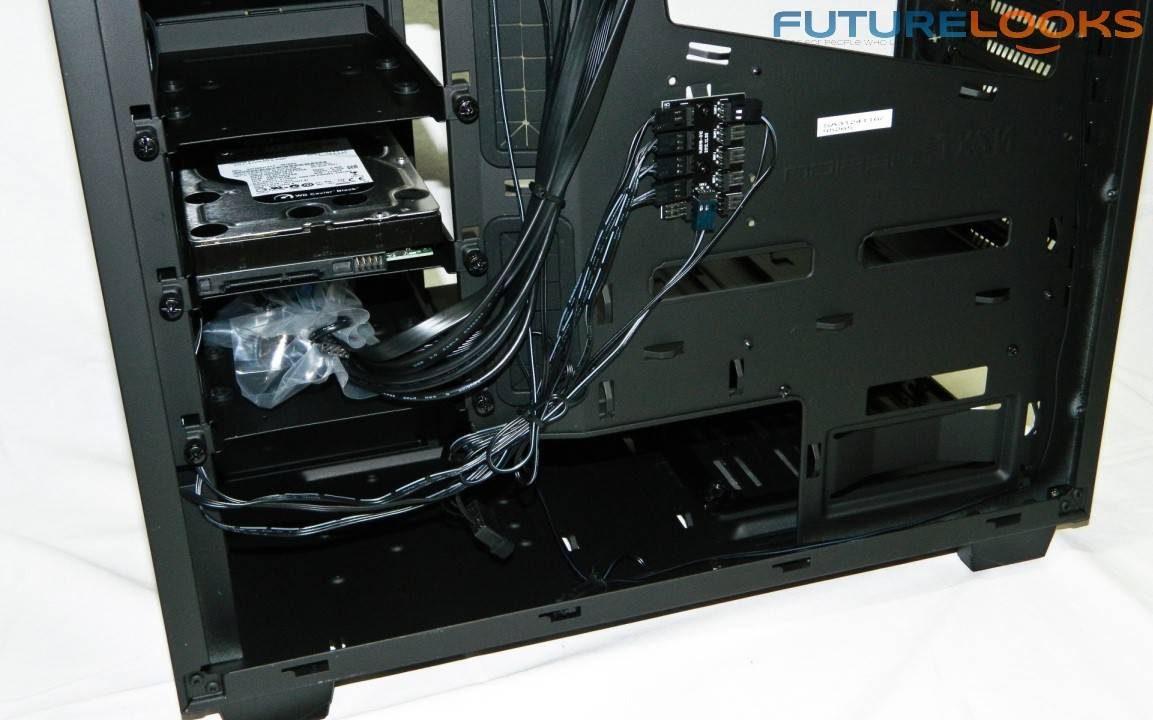
Here you can see the tray with a 3.5 inch hard drive installed, but you can easily mount a 2.5 inch device up. NZXT included more than enough screws in the package to give you good choices. It’s easier to see the 10 channel 3-pin fan hub which connects directly to the PSU via a 4pin power connector just hanging there in the middle of the motherboard tray. It’s a good spot to keep extra power supply cabling for example, and running fan extension cables to this point, provides a centralized location for all your fans. You can even label them, making life easier when a replacement is needed.
Now that we’ve given you a look at the most interesting parts of the NZXT H440, let’s put some components inside, to see how it deals with the rigors of every day use. In particular, it’s ability to handle heat and control it.