Back in Black
The first thing you notice about the Lian Li MAXIMA Force power supply is its size. Compared to other power supplies carrying a similar power rating, this 650W is rather diminutive. It’s actually a few centimeters shorter then the Mushkin XP-650 power supply that’s been powering my main rig for nearly three years. For those who may be installing their system is shorter cases like the Antec P182, this is nice bonus as it’ll make installing the power supply much easier.

The rear of the Lian Li MAXIMA 650W is a completely ventilated open grate. There isn’t a fan installed; that is saved for the bottom of the unit. Actually the only obstruction on the rear of this PSU is the power cable, and two toggle switches. The orange one is the obvious choice for the hard power switch, but the silver toggle switch is a mystery that looks somewhat out of place.
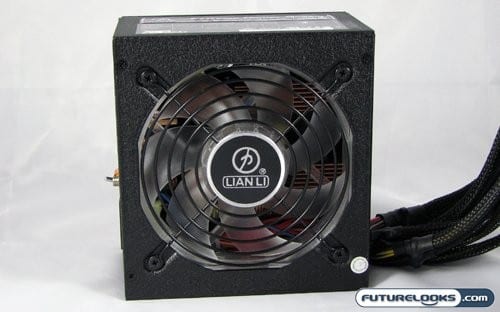
Once you turn the PSU over, the mystery is solved. The 120mm variable speed fan on the bottom of the Lian LI MAXIMA power supply is made of transparent plastic, which is a good choice since it’s illuminated by four blue LEDs. The aforementioned switch turns this lighting effect on and off should you wish to do so.
Looking beyond the fan, you can see a couple rows of copper heatsinks being used to cool the internal components. This is an interesting choice of material, as most of the heatsinks found in power supplies use aluminum. As for the other components, Lian Li states they use high quality Japanese capacitors in their power supplies, which should hopefully aid in stability when we hook this up to our test system.
Making The Connection
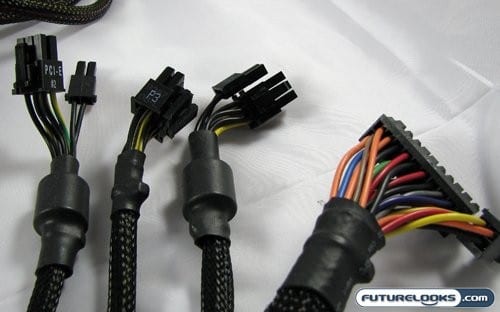
As you’ve probably noticed by now, the Lian Li MAXIMA Extreme 650W power supply uses permanently mounted cables, as opposed to the modular ones found on many other “performance” power supplies. This may add to the cable clutter in your case, but it does save costs that can be otherwise spent on shoring up the quality and stability of this unit. This is the complete list of attached connectors.
- 20+4 Pin Main Connector x1
- 4+4 (8)Pin 12V x1
- 6+2 Pin PCIe x2
- 4 Pin Molex x7
- 4 Pin Floppy x1
- SATA x6
Depending on what you are using for components, this configuration may only leave you with the ability to install and power one high end PCIe video card with the existing PCIe connectors. If you so dare, you can use any adaptors included with your video card to power it off the Molex connectors. Mid range and low end cards that only sport one external power connector should be able to hooked up in pairs.
As for the cables themselves, though they aren’t modular they are at least sheathed in black plastic mesh. This includes the lengths between connectors. All this is done to reduce any tangling that may occur in your nest of cables, and to simply provide a clean look to the interior or your system.