HAF X – Visual Inspection

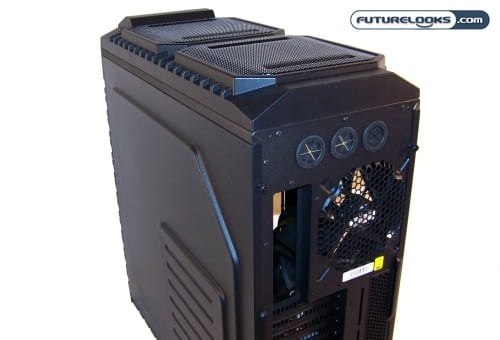
When looking over the case, you can see that the top and front of the case seem to utilize a nice balance of mesh and solid surfaces. The front bay covers line up quite well and easily come off by pressing the end tabs inward. The extruded top conceals the two 200mm cooling fan slots which aid in the installation of some radiators.
The top front expansion bay sports pass-through SuperSpeed USB 3.0 ports which is handy for attaching today’s high speed storage devices. These are blue. Directly to the right are the front audio, Firewire, eSATA, and standard USB ports. If you don’t have USB 3.0 support in your system, these will default to USB 2.0. Just above the ports are the front panel power, reset and reset buttons along with the HDD activity LED. A sliding door hides the buttons for both security and a cleaner look.
The left side case panel is has a half inch bulge in it to help increase the space behind the motherboard tray. This is useful for managing cables, particularly fatter and braided aftermarket ones that look really nice, but are too wide to fit some typical cable hiding places. As shown earlier, the right side panel sports the slick acrylic window and massive 200mm side panel LED cooling fan. While our preview unit doesn’t have it, retail models will ship with a white “HAF X” stamped across part of the window. Personally, I like not having a decal blocking my view so perhaps they’ll just include a sticker or something instead, giving us the option to sticker up or not.
On the back of the case, there are three rubber capped ports for running tubing for water cooling systems. There are also plenty of PCI slots to accommodate the latest PCI Express infested motherboards like the MSI Big Bang, GIGABYTE X58A-UD9, or ASUS P6T7. Let’s have a look at the inside now.
The Heart of the HAF X
After removing a few standard black thumb screws, both the left and right panel easily slide off. It’s here was see what the HAF X is really all about. You’ll also realize that the entire internal chassis is jet black. This always adds a cool effect if you like showing off your system.
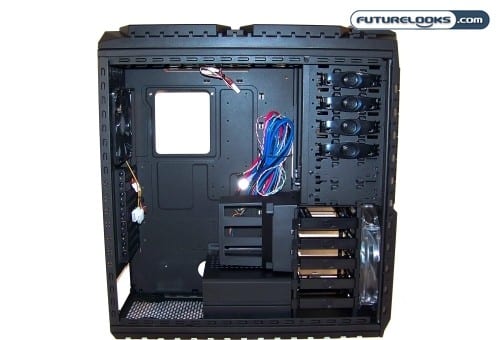
The front of the internal chassis naturally houses the tooless, removable optical and hard drive trays. These are very easy to use. Just press the button in to lock the optical drive in place. The hard drive trays slide in and out with a simple push of the tab. We’re not entirely sure that being able to see the hot swap unit’s PCB is a good thing. You definitely don’t want to ground a USB circuit. Perhaps, a small partial cover is in order, or at least a protective sticker of some sorts.
We’re definitely happy to see the motherboard tray CPU cut out continued. This is so very handy especially among system integrators and even us tech heads who just can’t seem to leave the system alone. This simple feature has helped increase the life expectancy of the average system almost ten fold. The odds of breaking something increase when you have to keep pulling out a motherboard to install a massive CPU cooler.
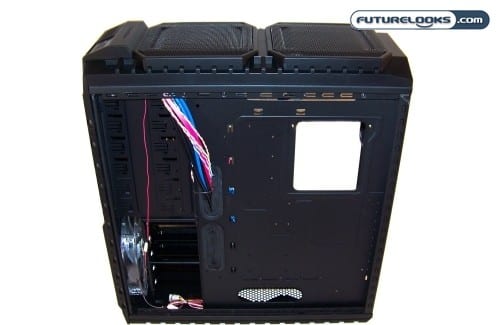
Behind the motherboard tray, there’s going to be plenty of room for stowing away extra wires. Especially when combined with the relief built into the side panel. One could probably even tuck some back up PSU wires back there if necessary. Either way, there’s a lot of extra space for whatever you dare pack in to this hardcore case. Users should also be quite happy with the quality of the chassis wiring from the front panel. The cables seem decent quality and should outlast your customized system building needs.