Installing the New Coolers
Although the manual says to install the Dual Drive Bay unit and route the coolers inside the chassis before installation, I felt that it was easier to assemble everything outside of the case for a number of reasons. For starters, there are a large number of small parts floating around that I would not want to lose inside my case. Also, by assembling them outside the case, I would be able to place them on a smooth surface to enable me to check if the assemblies are installed properly and are not warping the PCB when battening down the hatches.

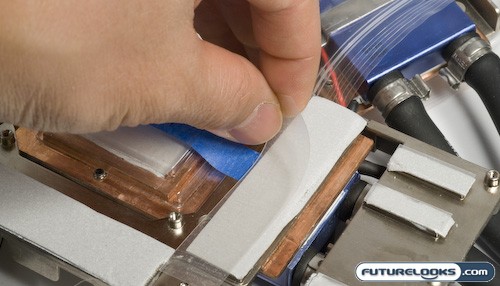
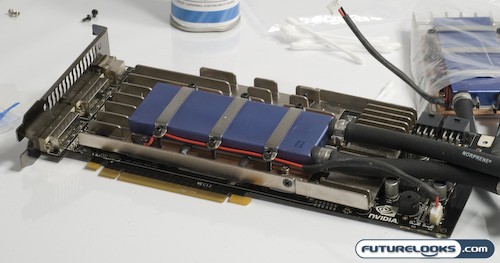
After removing all the existing thermal tape and goop and pre-assembling the cooling assemblies loosely (there are two parts), I placed the first cooling assembly up onto my work surface and then plopped the video card on top of it. This allowed me to easily locate and line up the holes to throw the screws into. It is important to give all the screws even turns to ensure that you don’t end up warping the PCB.

If you’ve done everything right, it should look something like the above picture. All that is left is to plug in the power connector to the PCB. Although it looks like everything is good to go, there was actually a problem with the fit and finish.

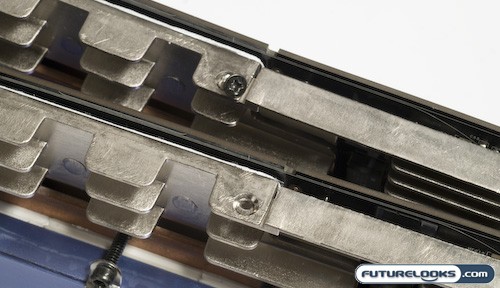
As mentioned, I started with both pieces of the cooling plate loosely buckled together. This proved to be a good move as I noticed that when I fastened them together tighter, they would bow the PCB. I was able to nudge things together and get them close, but I still was not able to 100% tighten them to eachother. Because it seems that I have one of the early units, I would imagine that CoolIT will be improving the fitment on shipping units so that you can avoid the scary PCB bowing that I experienced.

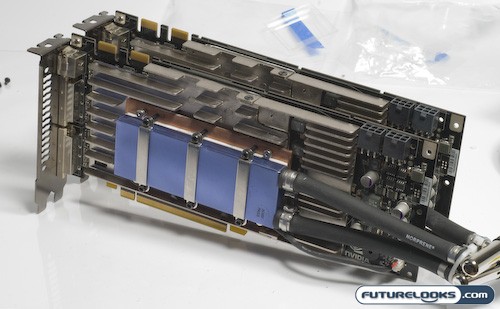
After all is said and done, you’ll have a spiffy pair of 8800 ULTRA redecorated with CoolIT Systems latest GPU coolers. They do indeed look sharp and ready for business. If it wasn’t for the PCB bowing issue with the coolers, it would be one of those totally uneventful installations. I did notice that CoolIT made liberal use of what looked like standard silicon paste and if I had to do it all over again, I’d be throwing on some Arctic Cooling MX2 or some of the new GELID Solutions GC1 to improve cooling performance. Both compounds are not electrically conductive making them ideal for this sort of installation.
Let’s see if we can have a more uneventful installation with the Dual Drive Bay Assembly.
