Test System Setup
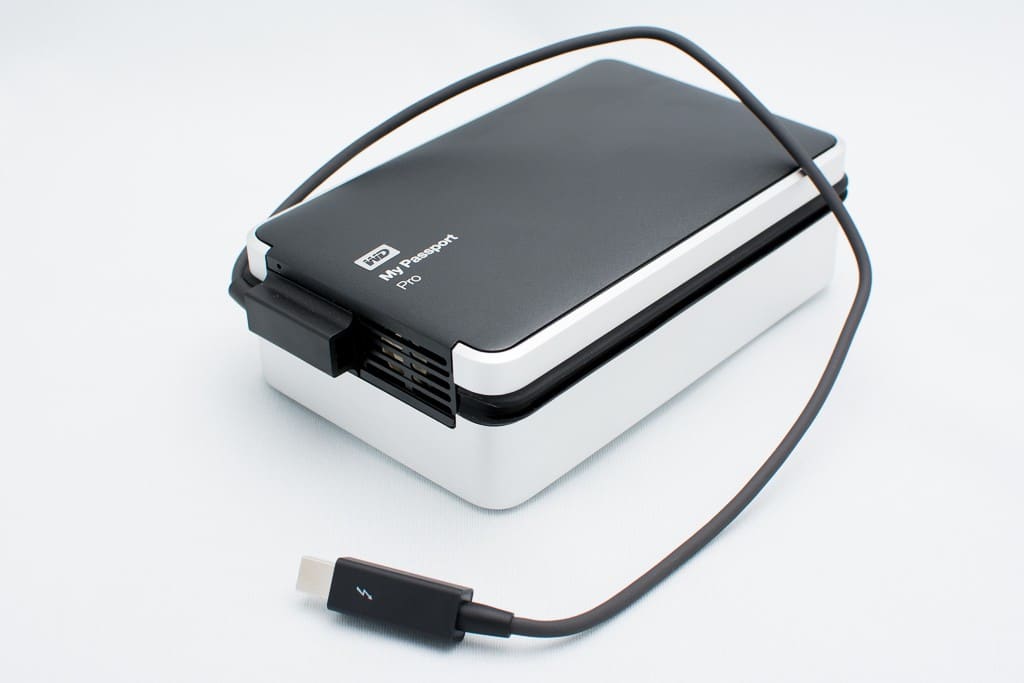
The WD My Passport Pro with its Thunderbolt connection, realistically, limits it to Apple Macintosh computers running OSX. Although, PC notebooks and desktops do exist with such a connection, albeit rare.
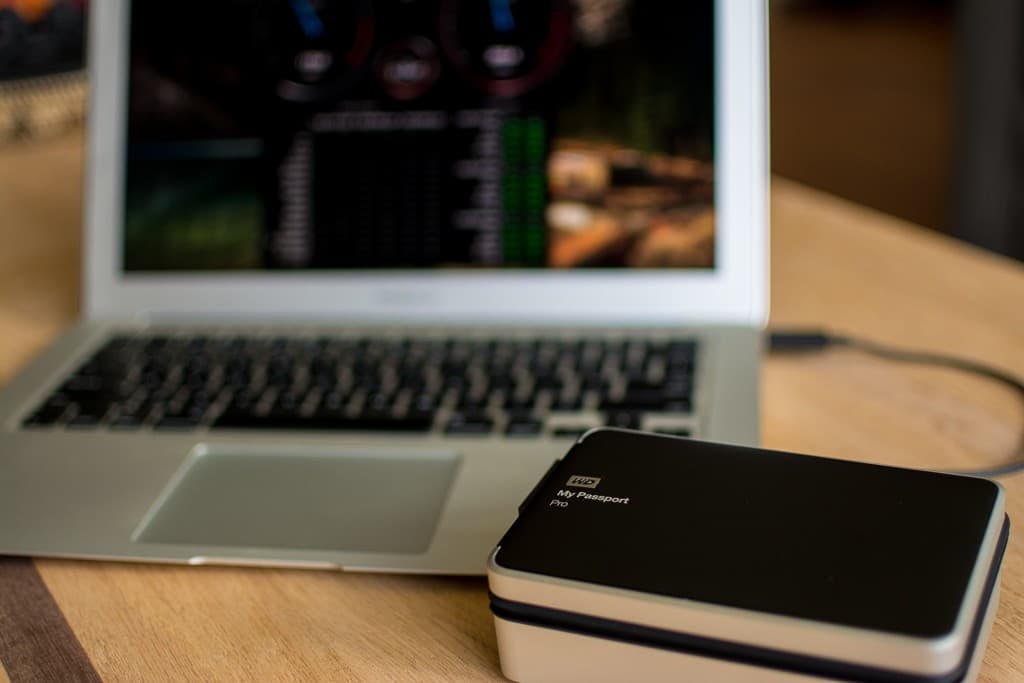
In this particular test setup, a 2011 13-inch Macbook Air was used with the following specifications.
- Processor: Intel Core i5 1.7GHz dual-core
- Memory: 4GB 1333MHz DDR3
- Storage: 128GB SSD
- Graphics: Intel HD 3000
The great thing about being an external drive is you just plug it into one of your available Thunderbolt ports. For me, that means using the only Thunderbolt port that this particular Macbook Air has available. One day I should look at getting one of those Thunderbolt docks I hear so much about so I can truly make use of the Thunderbolt experience, as well as add some much wanted USB3.0, but that’s a topic for another day.
With the drive being formatted in HFS + J and being in RAID0, it is ready to go for MacOS once you plug it in. It does come with some utility software for which you can load right away. I would suggest copying the install file to another location (off of the drive) for future retrieval as if you format the drive or reconfigure it, you will lose the installer for the utility software. Although you can retrieve it from the download section on their website at any time.
Installation and Setup
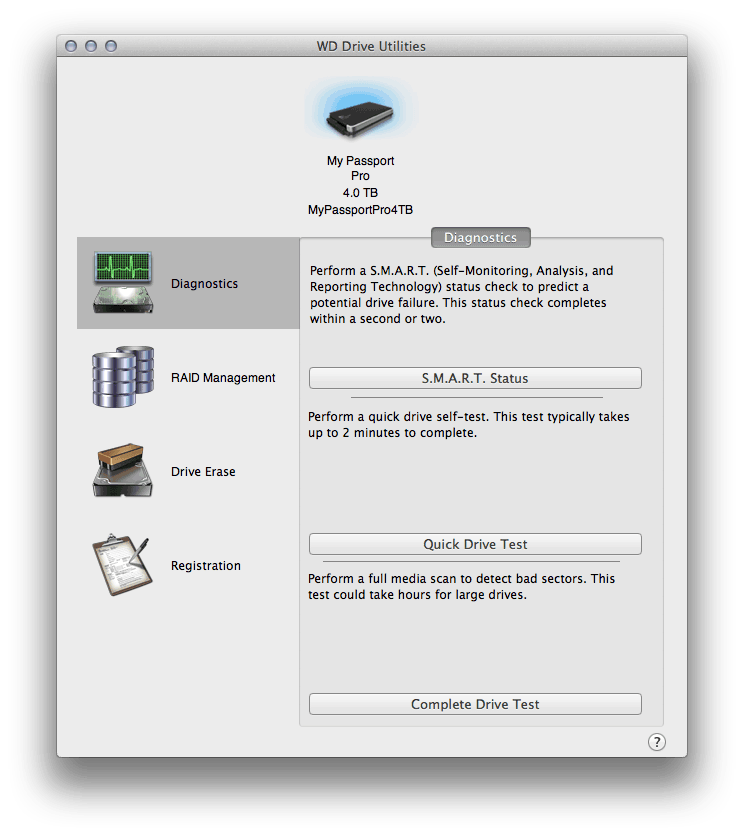
The WD utility software is fairly straight-forward and allows you to run some diagnostics, such as a S.M.A.R.T Status scan, Quick Drive Test as well as a Complete Drive Test.
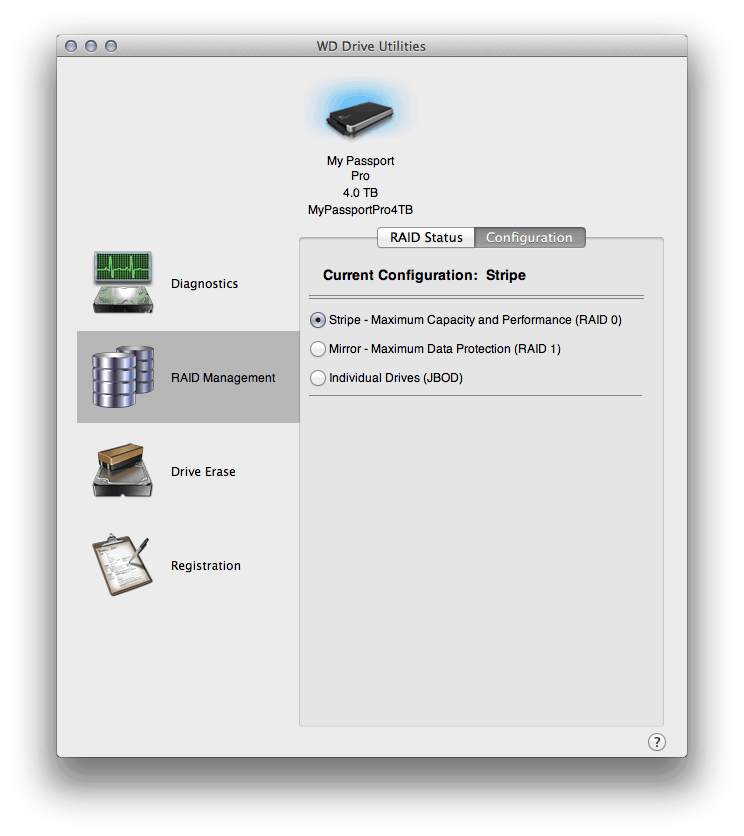
The next option you can choose is the RAID configuration. Here you can choose RAID0 (Stripping) or RAID1 (Mirrored), or even JBOD which is to make both internal drives act independently.
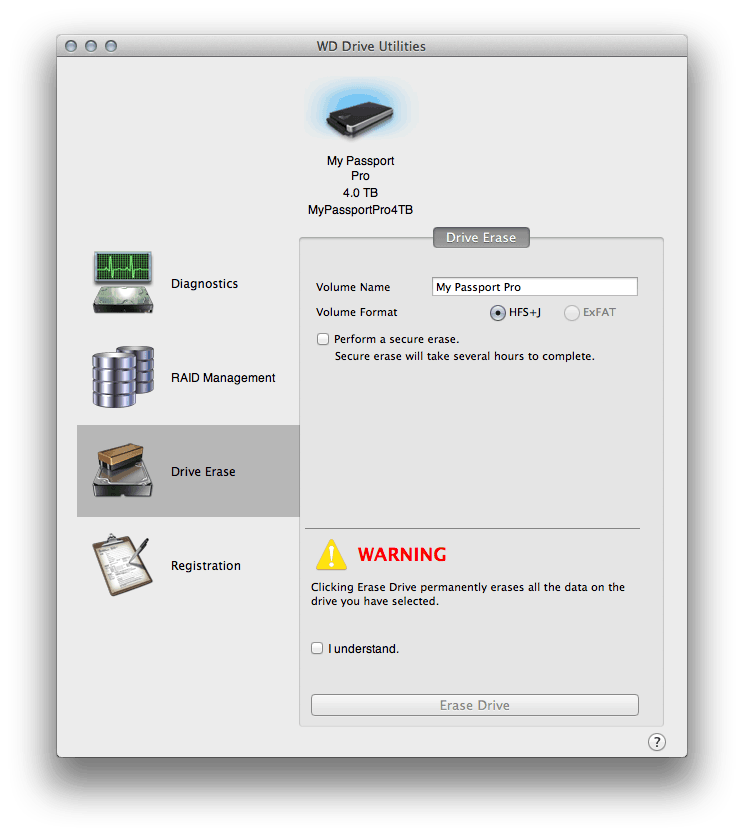
Following RAID configuration is the Erase option. You can erase the drive and select the file system it will use (either HFS+J or ExFat). They also include a secure erase if the data you have stored on your drive is of sensitive nature.
Right out of the box, the Western Digital My Passport Pro was formatted in the RAID0 configuration. The software utility that comes with the drive is fairly simplistic in nature, there are not a lot of options when selecting which configuration you are wanting to use. I found, for my particular interest, I would keep to the RAID0 configuration. Any advanced options you may want to try, you will need to look to a separate 3rd party hard drive utility.
Now that we have it working, let’s run the benchmarks!