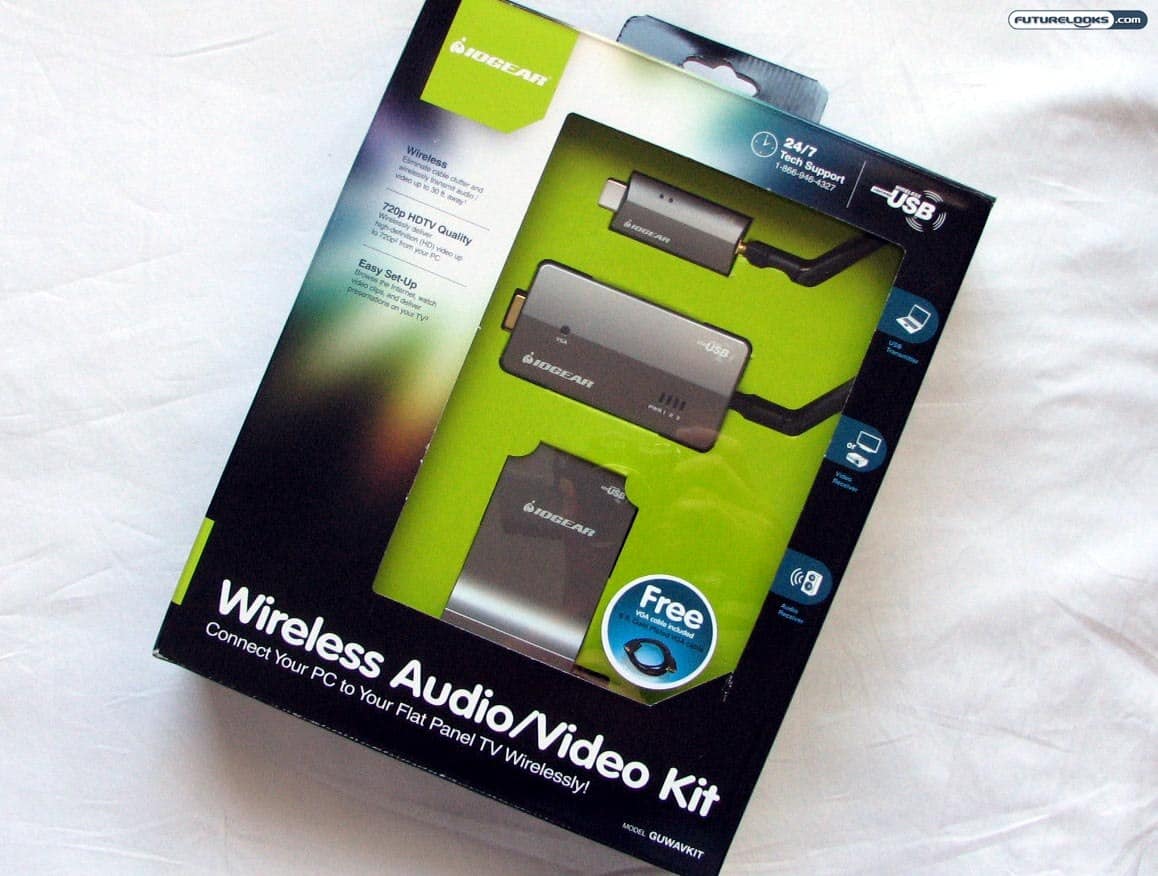
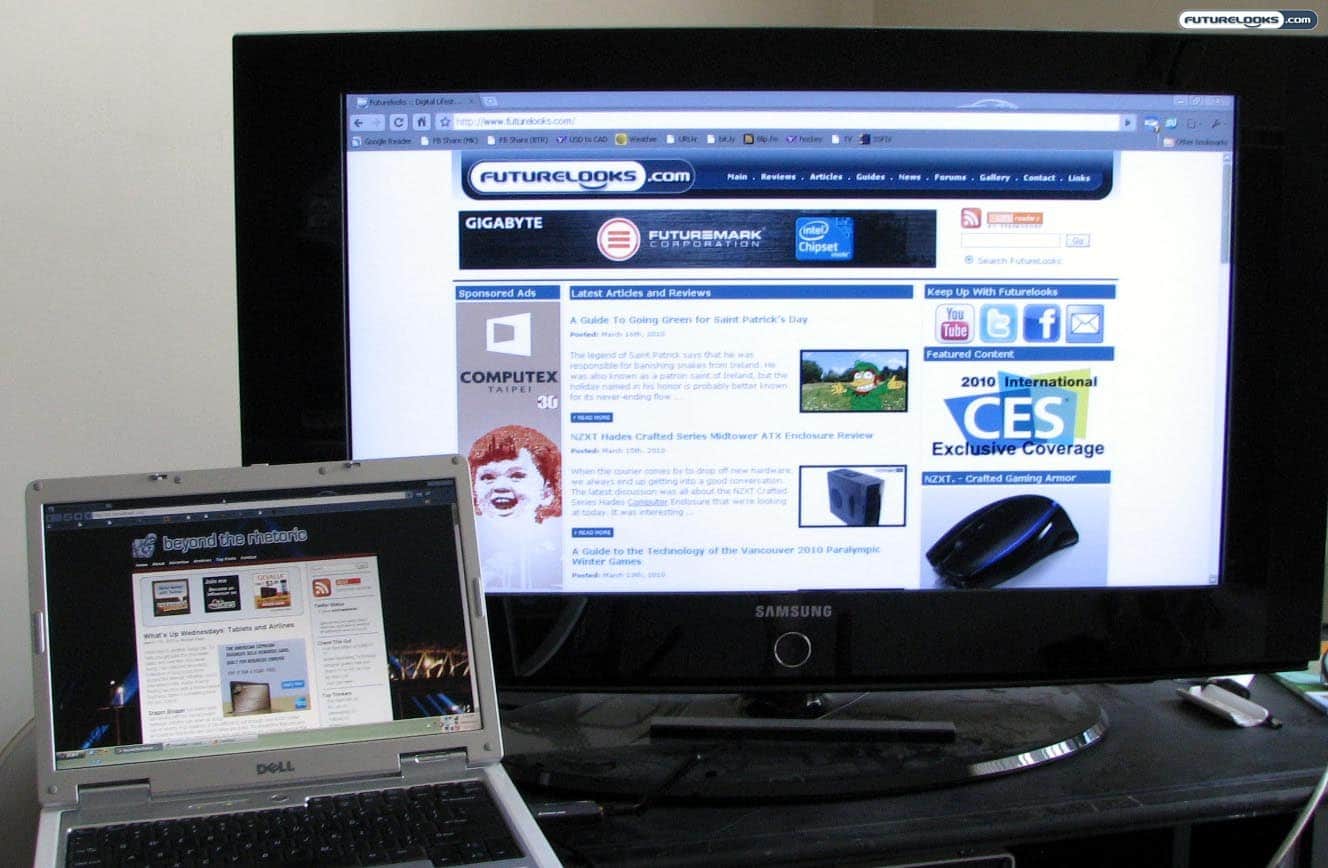
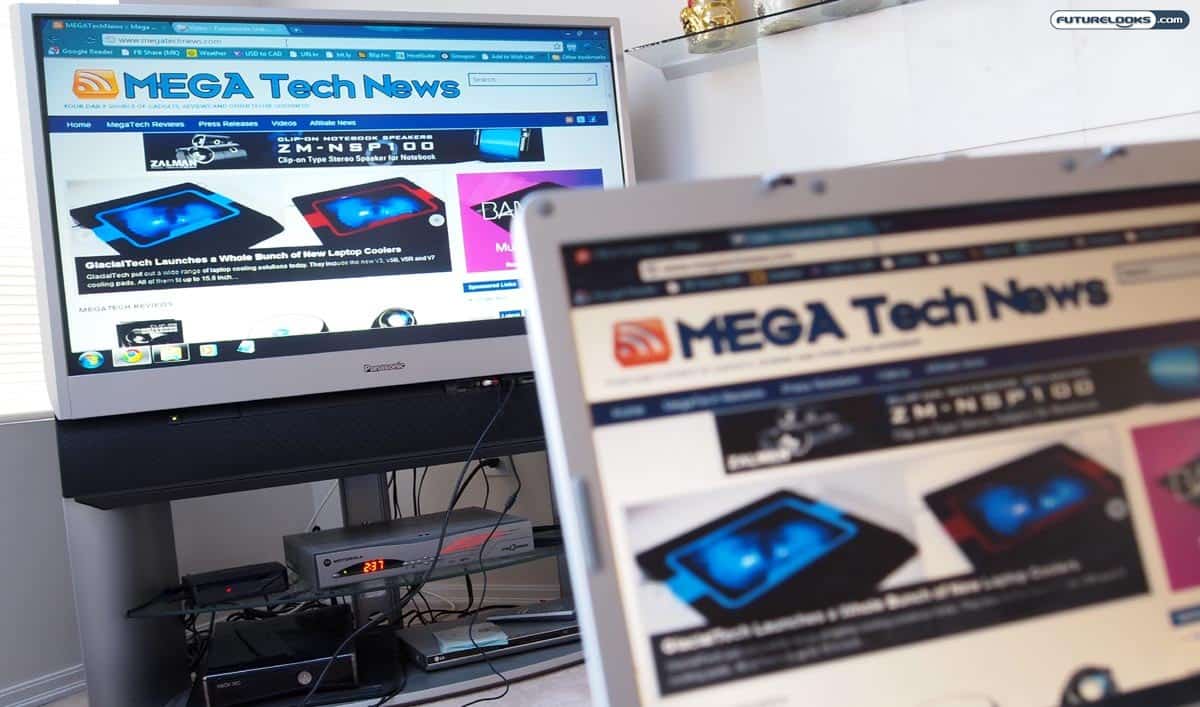
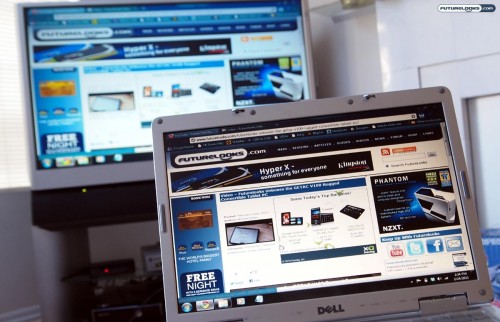
I don’t like wires. I don’t like cables. As a technology and gadget geek, I’ve come to accept some of the tangle as a necessary evil but this is slowly becoming a thing of the past. Continuing with the cable-cutting procedure is the Iogear GUWAVKIT Wireless Audio/Video Kit. Say goodbye to that ugly cable clutter and enjoy the full computer experience from the comfort of your living room couch. Can you imagine surfing the web on a 55-inch Samsung HDTV? I sure can!
What Does the Iogear GUWAVKIT Do?

In a nutshell, this wireless audio/video kit allows you to connect your computer, be it a laptop or a desktop, to your TV “without the long and unattractive cable run.” Most modern HDTVs have PC input, but running that VGA or DVI cable can be a pain.
This Iogear kit takes advantage of the relatively recent wireless USB (ultra wideband UWB technology) standard, as well as the DisplayLink technology that allows your USB port to effectively take on the role of an external graphics card. This is the same tech behind the USB-to-DVI Graphic Adapter and Nanovision Mimo USB monitor, among other gadgets.
Since UWB technology uses different bands that Bluetooth and Wi-Fi, you should have minimal interference when using this kit. Further still, the Iogear GUWAVKIT supports up to 720p video streaming and resolutions as high as 1600 x 1200 or 1680 x 1050.
Looking inside the Box
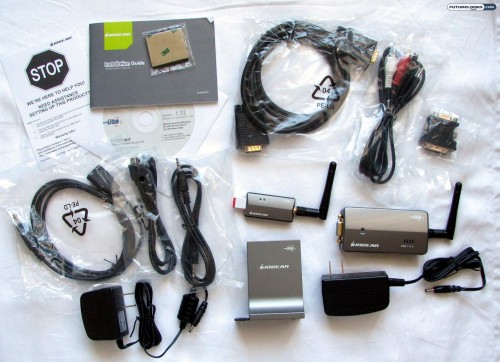

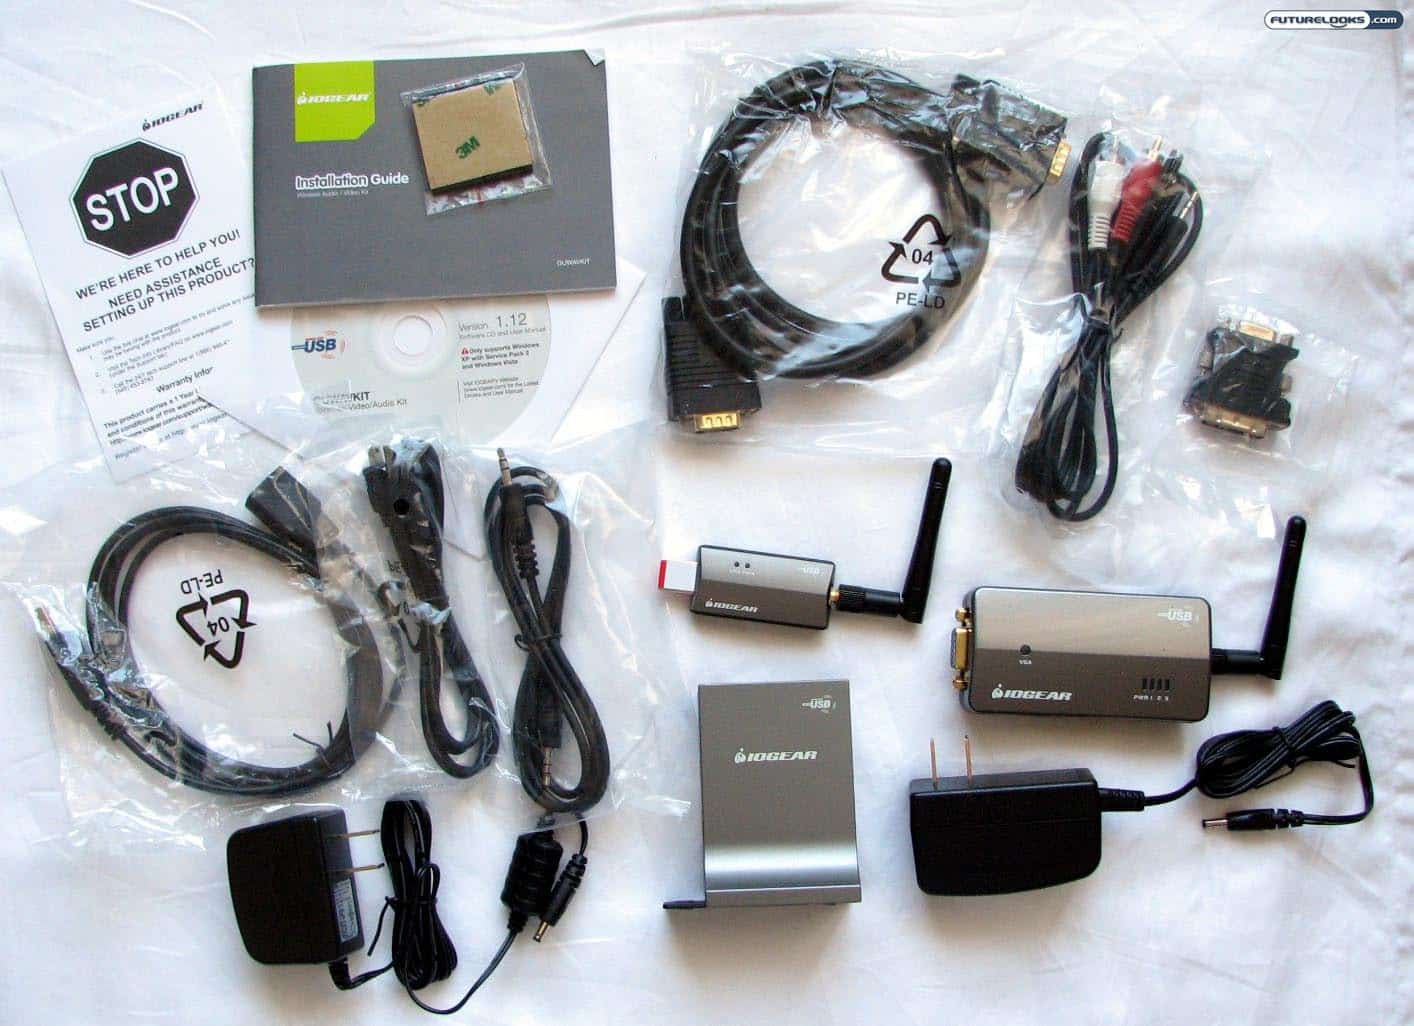
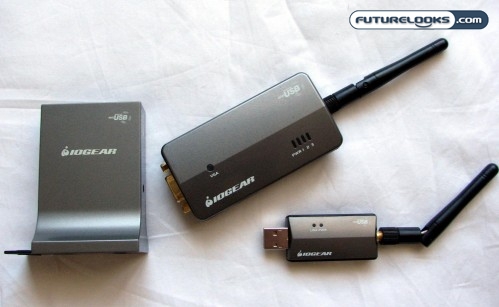
Opening up the box to the Iogear Wireless Audio Video Kit can be a little overwhelming. From the front of the packaging, you only see the three main components. Looking inside, however, you get bombarded with cables and adapters up the wazoo.
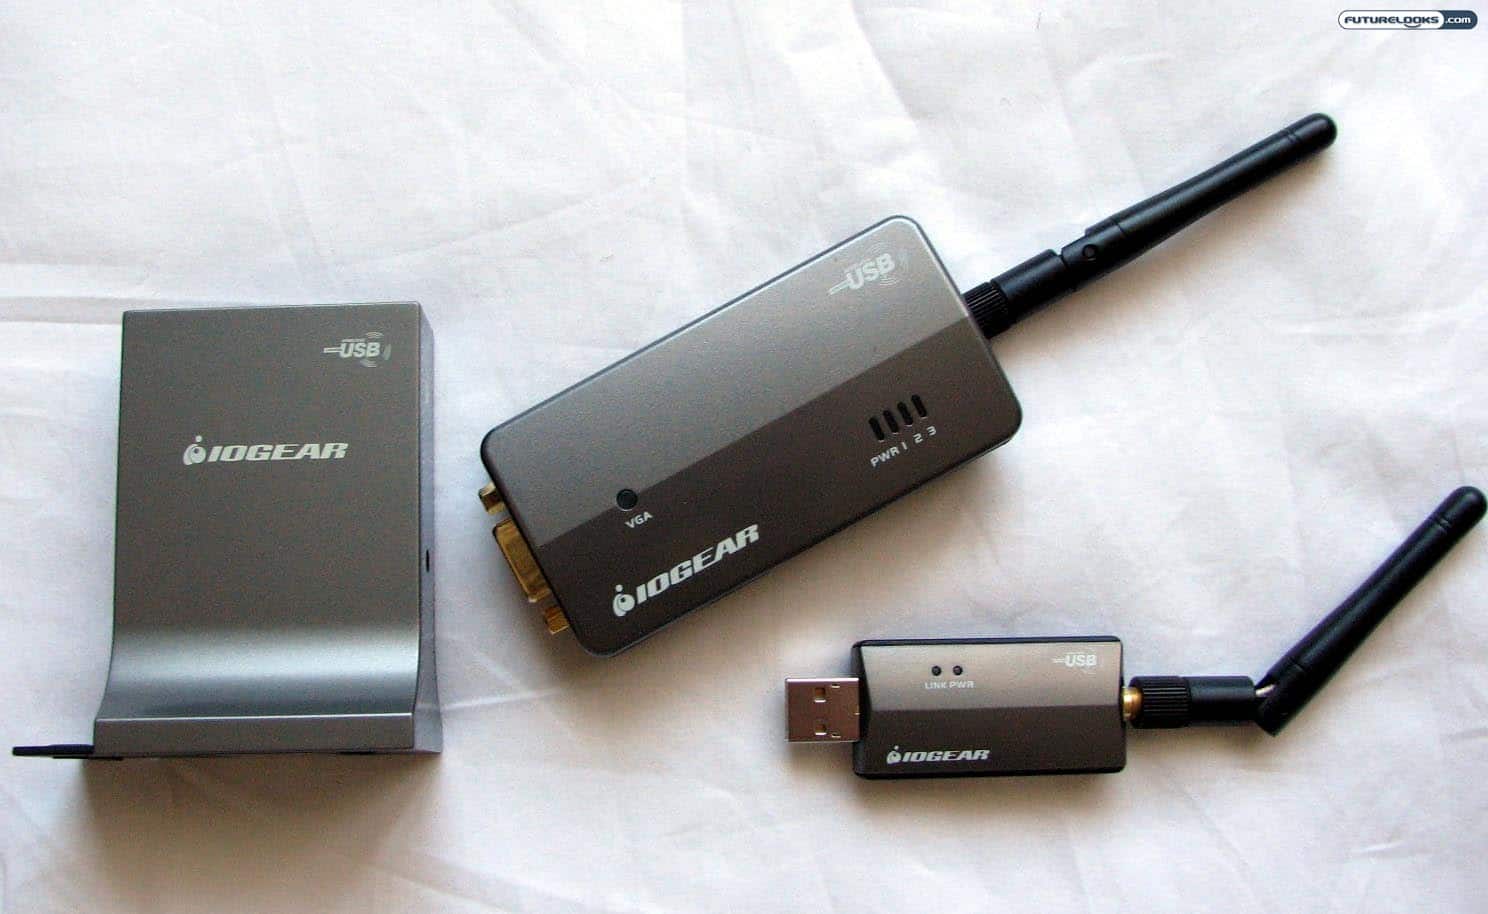
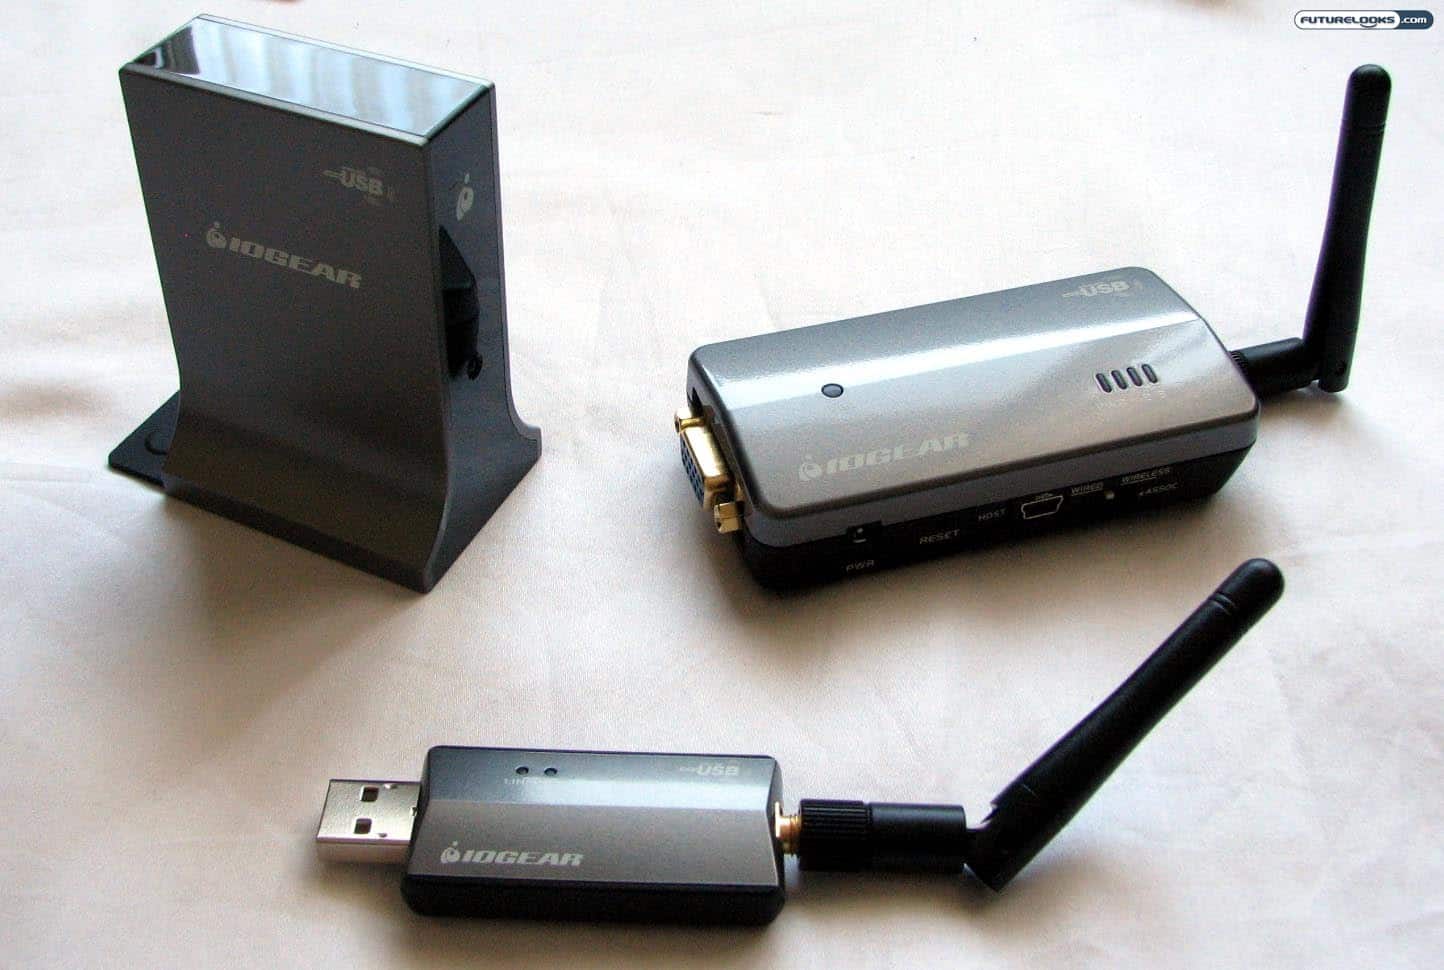
The three main components are the wireless USB transmitter, the wireless audio receiver, and the wireless video receiver. I’ll discuss each of these in greater detail in just a moment. It should be noted that the maximum range is about 30 feet, assuming you have perfect line of sight.
Aside from the three main pieces, you get the power adapters for the two receivers, a VGA cable, a stereo mini plug cable, a stereo mini to RCA Y-split cable, a VGA-to-DVI adapter, a USB extension cable, a 3M Velcro-style sticky pad, user manual, and the installation CD. This really is everything that you use this kit.
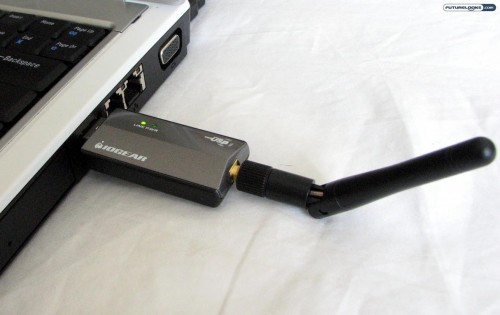
It Starts with the Wireless USB Transmitter


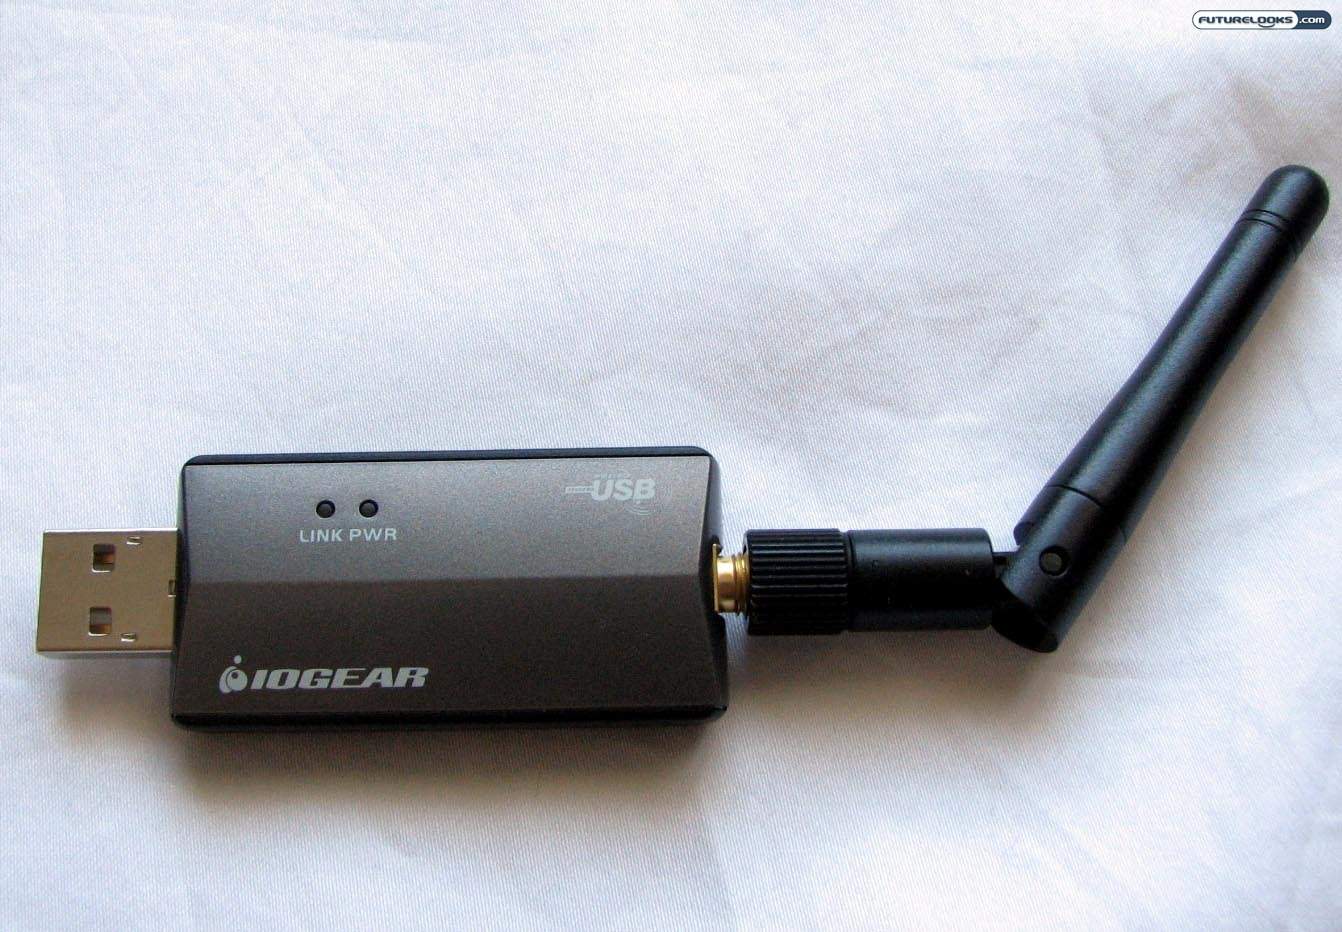
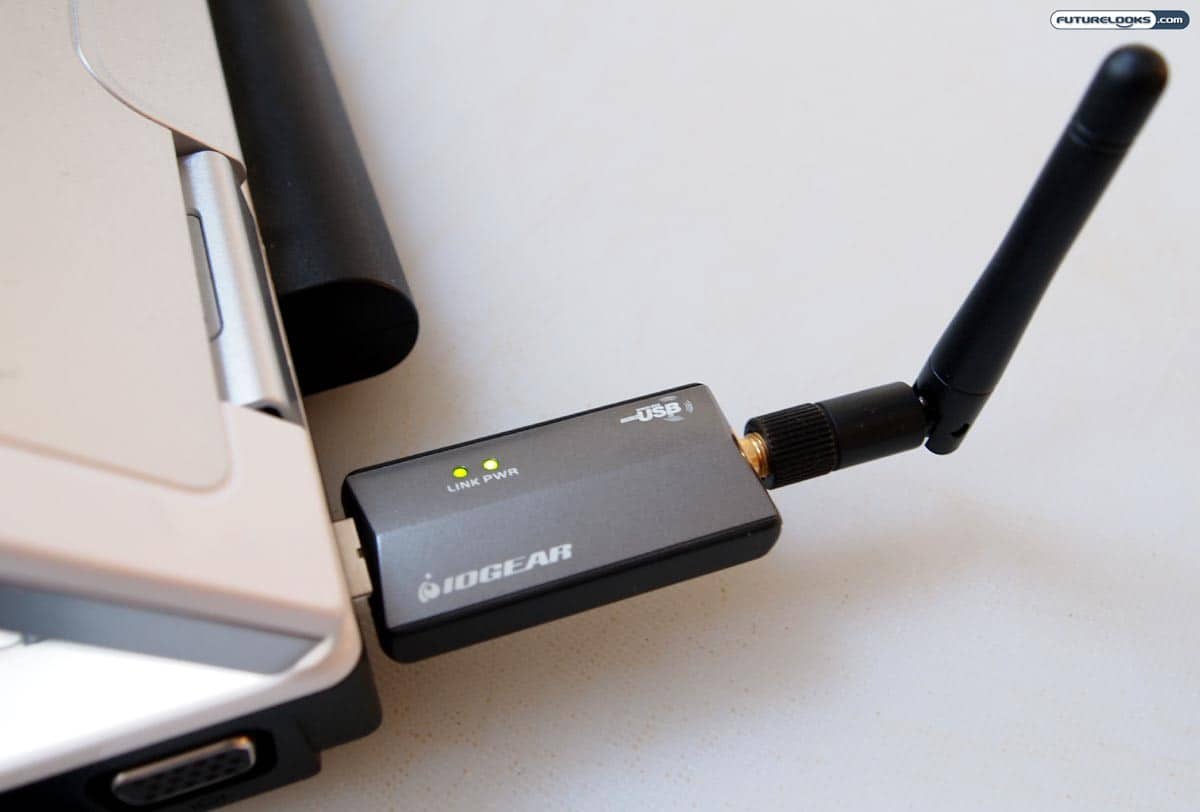
The first part of the equation starts at your computer. It is there that you will connect the wireless USB transmitter. This looks a lot like a USB Wi-Fi adapter, since it has that adjustable antenna sticking out the end. That antenna can be unscrewed and bent between 0 and 90 degrees as needed.
There are two indication lights on the main unit for link and for power. The adapter is about the same size as a standard USB flash drive and the design is simple and straightforward. If you need better line of sight, you can use the included USB extension cable.
Sending the Video Through the Air
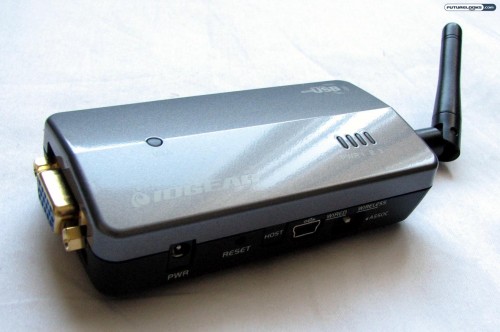

The next part consists of the wireless video receiver. This is the part that connects to your TV, feeding the video from your laptop over to the big screen. As expected, there is the same adjustable antenna on the one end.
On the other end is a VGA cable. If your TV or monitor has DVI, you can use the supplied adapter for that purpose. It is a little unfortunate to see a lack of HDMI connectivity, however, since that would be more convenient and robust overall.
Along the side, there is a power jack, a reset button, a host button, a USB mini jack, and a switch for choosing between a wired and wireless connection. The video receiver is one of the larger components, measuring about 9cm by 5cm.
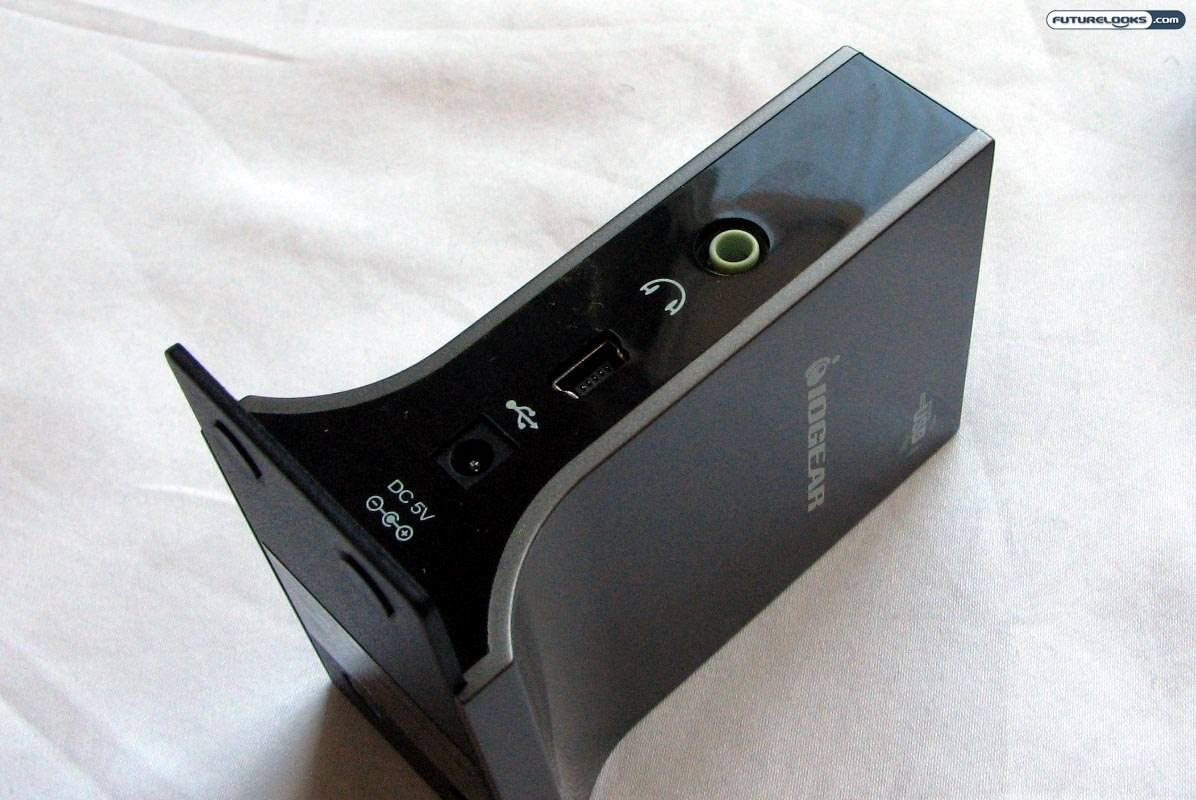
The Wireless Audio Receiver


While the video receiver and USB transmitter have the familiar antennas that we’ve seen on routers and other wireless devices, the wireless audio receiver does not. It’s a vertical block with an internal antenna instead.
Around the back, there is the DC power outlet, a mini-USB port, and a standard 3.5mm audio jack. The audio jack can be used with either of the provided audio cables, depending on the connection options located on the back of your television. It can go to another 3.5mm jack or it can go to the two RCA audio jacks (red and white).
Initial Setup and Configuration
Going through the setup process seemed simple enough, as it is reasonably outlined in the provided user manual. If you already have DisplayLink installed on your computer, you might need to uninstall it first. After that, insert the accompanying CD and let it do its thing.


The installation process involves the Iogear-specific software, the wireless USB drivers, and the DisplayLink software. Interestingly, installing the software and drivers was fine, but the CD refused to install DisplayLink on my Windows 7 laptop. For that, I went directly to the DisplayLink website to download and run the newest version.
While the user manual for the Iogear says that you need to “pair” the wireless audio receiver with your USB wireless transmitter, it doesn’t indicate this for the wireless video receiver. In my experience, though, it did not work until I did so. This is very important to note; otherwise, all you’ll get is a black screen and no signal; the video receiver is supposed to be pre-paired out of the box, but this did not appear to be the case.
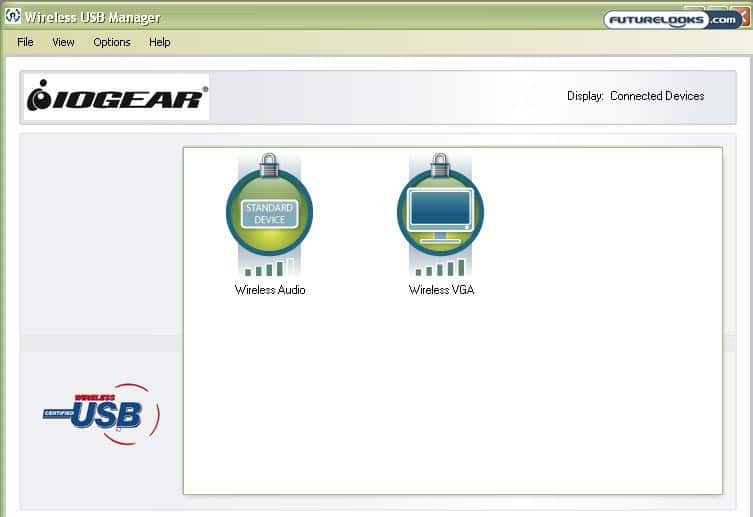
The pairing process is easy enough. Use the provided mini-USB cable to connect the two receivers to the computer you’ll be using. Click on the button to allow for the pairing relationship and you’re pretty much good to go. Connect the receivers to your TV, along with the power adapters, and they should show up in the wireless USB utility on the laptop.

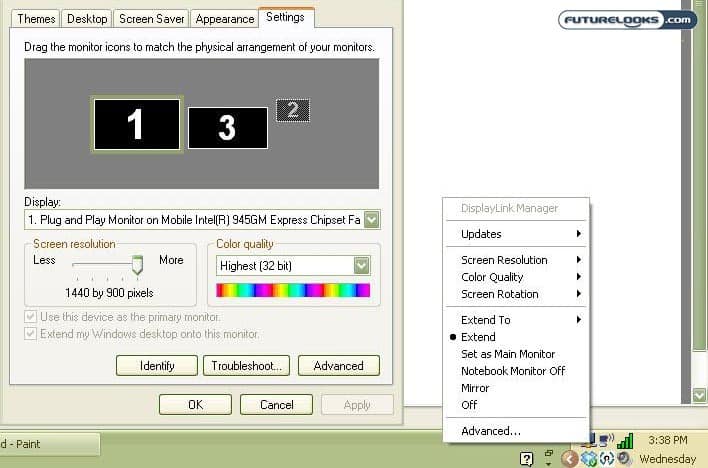
After the aforementioned fumbling around, I was able to “detect” the new display in Windows. Extending the desktop didn’t seem to work quite as well, possibly due to having a lower-powered machine, but a “mirrored” interface seemed to work just fine.
The resolution was “optimized” for my Panasonic HDTV (meaning it was pushed to a lower resolution), though I’d imagine you can maintain a higher resolution on a newer 1080p television. You have to remember that I had to go through the extra steps of pairing the video receiver and manually downloading the newest DisplayLink software for the Iogear GUWAVKIT to work on my Windows 7-powered Dell. These steps are not outlined in the user guide.
Audio and Video Performance
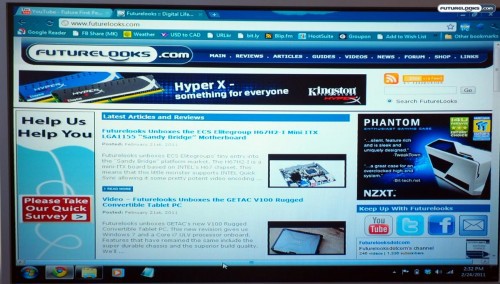

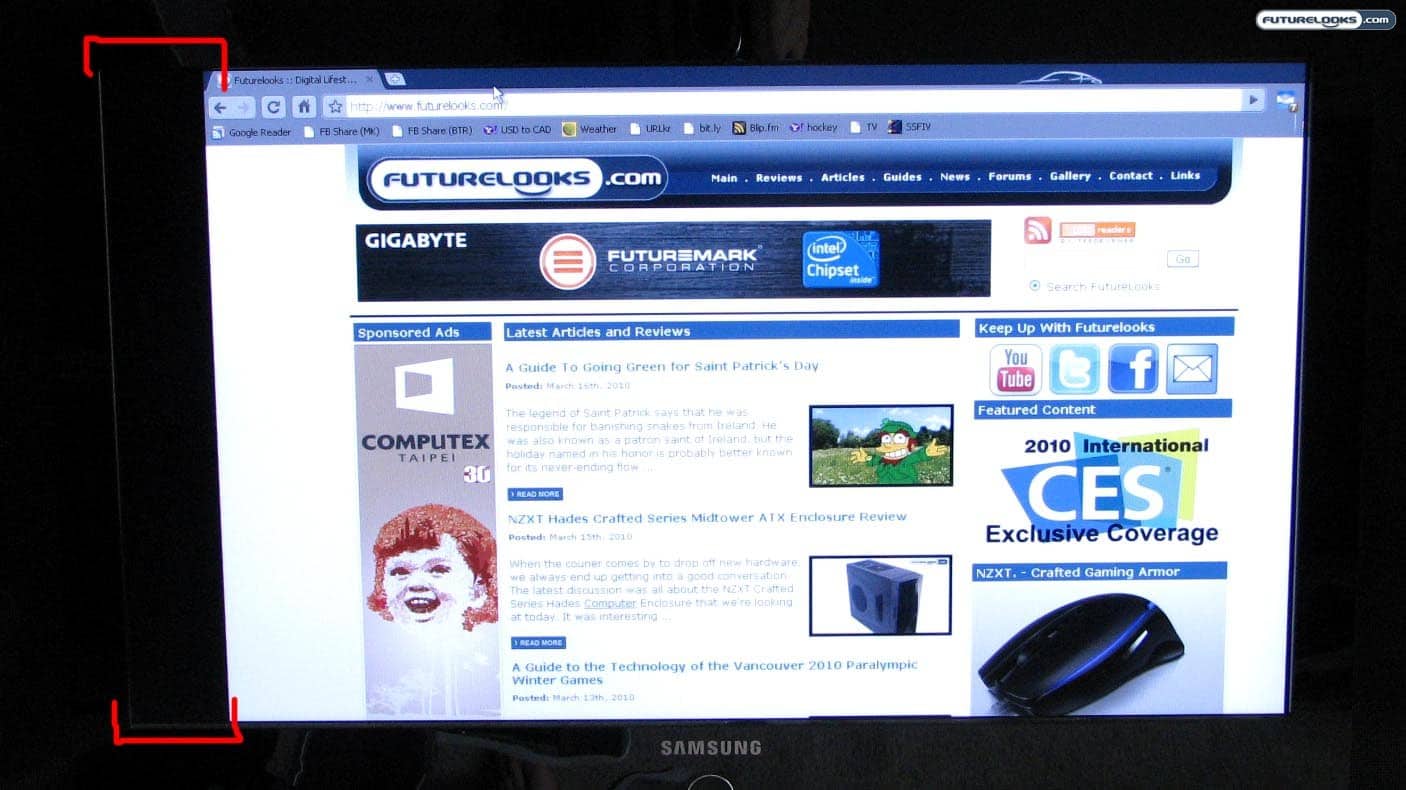
With the software finding the “optimal” resolution, I proceeded to test the wireless connection by surfing the Internet, playing a local video file, and streaming a video over YouTube. The first thing that hit me was the lag between what was shown on my laptop and what was shown on my HDTV.
Even scrolling through websites, I found that the TV was constantly trying to play catch-up. It’d always be a few split seconds behind. This isn’t terribly annoying when dealing something that is mostly static, like word processing, but it can be a pain for anything with more movement… like videos.

Playing a local standard-definition video through Windows Media Player, the lag was pronounced. I also noticed some severe issues with frame rate (not surprisingly), so this may not be the best solution when it comes to anything with too much movement.
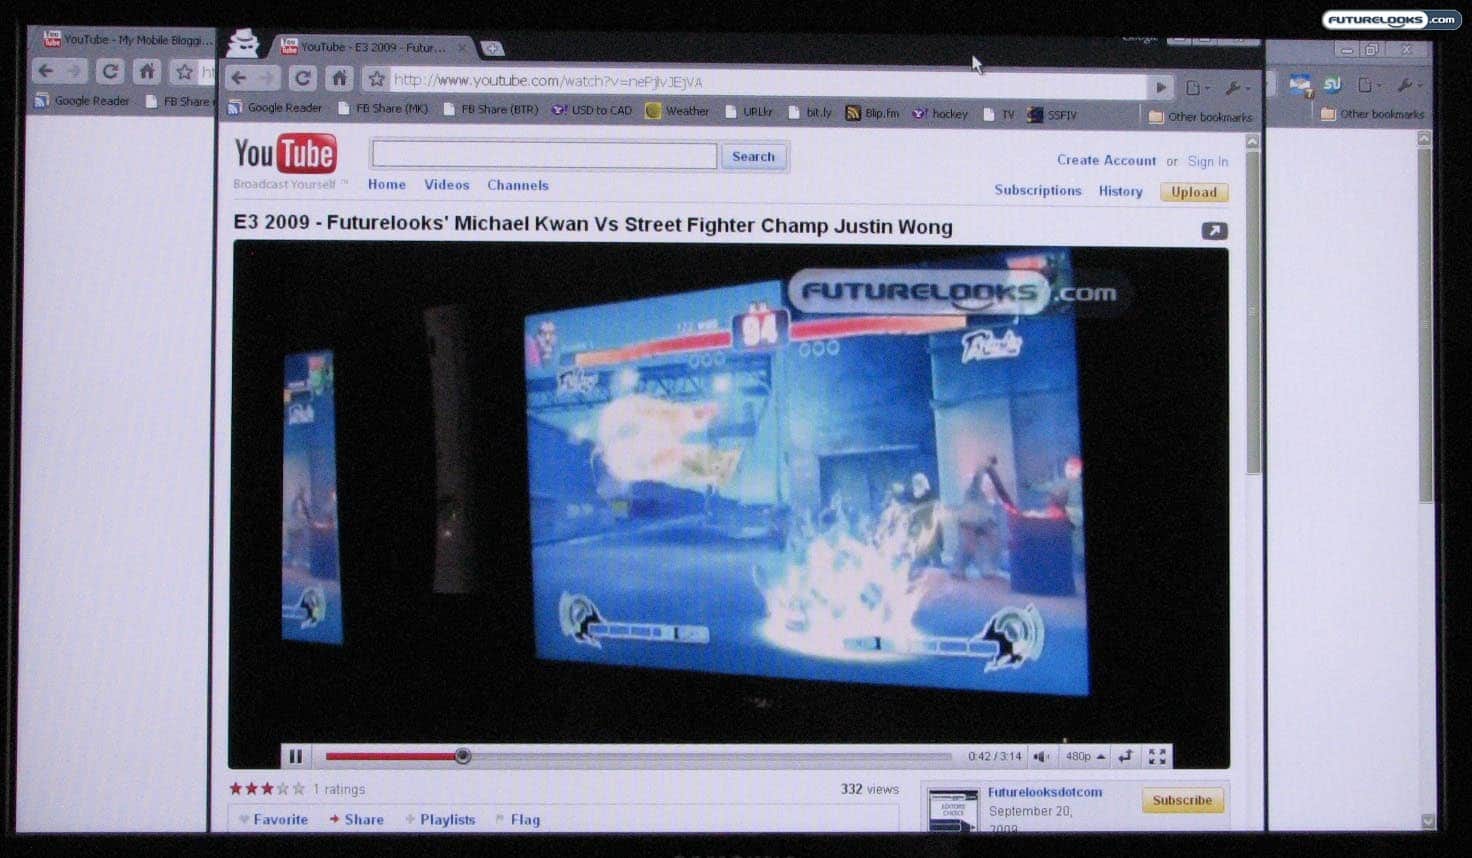
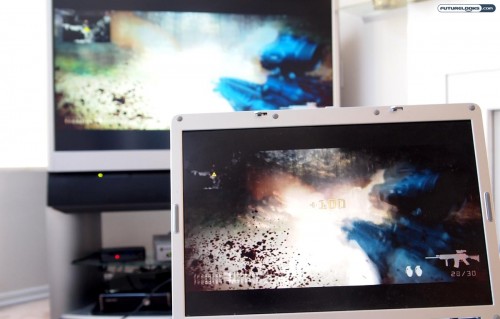
Similarly, testing a 720p streaming video from YouTube (I used Freddie Wong’s Future First Person Shooter as the test) resulted in significant lag and frame rate concerns. The video was mildly watchable, I suppose, but it was anything but silky smooth. The good news is that the wireless audio did not appear to suffer from any noticeable lag or stuttering. It’s possible that this lowered level of performance is due to the weaker nature of my Dell laptop. It only has an Intel Core 2 Duo T5300 (1.73GHz) processor with 3GB or RAM on Windows 7 Home Premium.
Closing Thoughts


I had high hopes for the Iogear Wireless Audio-Video Kit. The GUWAVKIT looks so promising on paper, because it gives us another great opportunity to clear out unnecessary cable clutter. That’s on paper. In practice, it didn’t really live up to expectations on two very important fronts.
First, the software didn’t really work the way I thought it would in Windows XP and it failed to install DisplayLink in a Windows 7 environment. Considering that this is supposed to be seamless and easy, that can be a major hurdle for the average consumer. It is good that it worked out in the end, but some supplementary “help” material would have proven most useful.
Second, while audio performance was acceptable, video performance left something to be desired. It was able to play higher-resolution videos both in browser and in full-screen mode, but there was noticeable lag and frame rate concerns. Surfing the web is fine though, especially if you have a wireless desktop to go with it, but expect the TV part to be playing catch-up more often than not.

Considering that the Iogear GUWAVKIT is still listed at a cool $280, it is no small investment for someone who wants to cut some wires. If your intention is to watch your HD videos, both locally stored and online streams, you’re probably better off buying one of the many inexpensive media players out there. Granted, they don’t provide anything close to a true PC experience on the big screen, but they’re a heck of a lot easier to use and are considerably less expensive.
Even if Iogear were to reduce the price and send out some suitable firmware updates, the lack of HDMI and other options could prove to be problematic at best.
Pros
- It’s wireless!
- All accessories are included
- Simple software
Cons
- Still a very expensive option ($280)
- Wireless video tends to lag
- Need to install DisplayLink manually for Windows 7
- Requires line of sight for optimal performance
- No HDMI option for video
Overall Rating: 7.0/10
Love This Review? Hate This Review? Leave a Comment Below!
Iogear GUWAVKIT Wireless Audio Video Kit – Photo Gallery