
- Easy to expaand
- Tool-less design
- Great read/write speeds
- Expensive
- Thunderbolt cable not included
Creating digital content in a digital world can take its toll on modern equipment, but there are some things you can do to offset and make things more efficient. Digital storage is a big deal when it comes to digital content creation. High resolution digital video and still files can not only take up a lot of space, but can also require a lot of computing horsepower.
Digital storage is something people who create digital content should not skip over either. There are are few options out there when it comes to storing your digital files. Some will be just that, storage. Others can be storage and allow you to work with some devices used to backing up your content. Today, we will look at a storage solution that grows with you, the Drobo 5D.
Who/What Is Drobo?
Drobo makes data storage products for small and medium businesses, as well as professionals. The products typically come loaded with sophisticated data protection and management features, coupled with affordable capacity in an easy-to-use design. Their products range from five-disk desktop enclosures to network accessible enclosures to rack-mounted data storage systems.
In this instance, the Drobo 5D is a 5-disk desktop attached storage solution. Some key specs and features include:
- 2x Thunderbolt 2 Ports
- 1x USB3.0 Port
- Up to 5 3.5″ SATA II/III drives or solid state drives (sold separately) up to 64 TB
- 1 mSATA in the Drobo Accelerator Bay (sold separately)
- Drives can be any make, capacity, etc.
- Expandable by adding or hot-swapping
- Tool-less design
- BeyondRAID
- Drobo Dashboard
- OS Support: MacOS, Windows
- File System Support: HFS+ or NTFS
What’s in the Box?
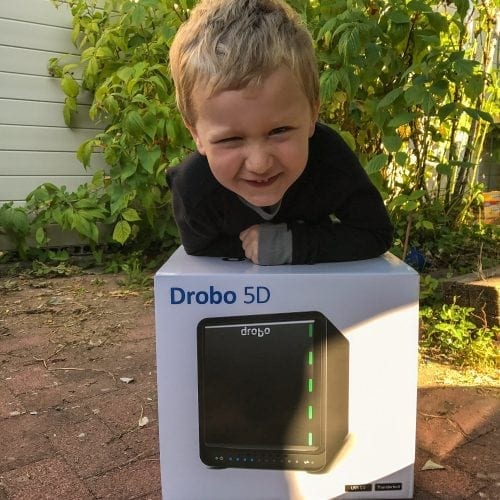

Okay, so my son is not part of what came inside the box, but he liked laying on top of the box. So what is included?
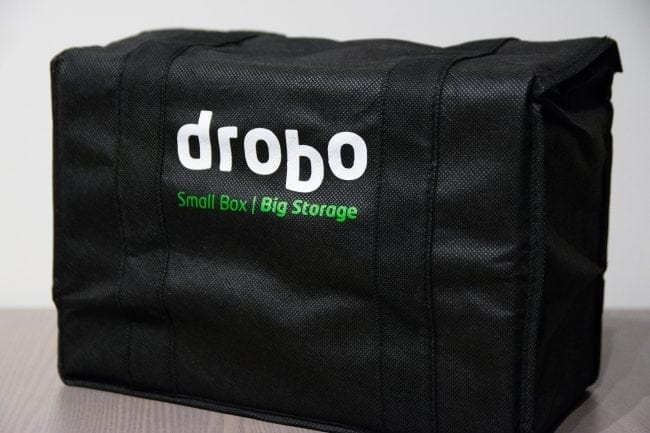

Drobo in a Bag! That’s right you get a nice quality reusable (shopping) bag that your Drobo unit is wrapped and shipped in. Okay, but what else does the Drobo 5D come with?
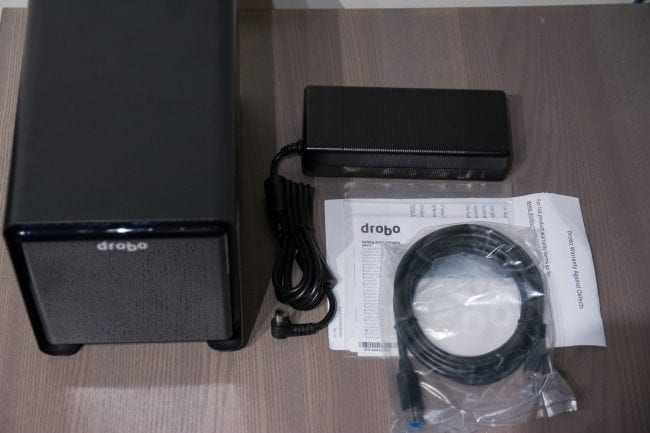
Not entirely a lot as you can see from the above photo. The Drobo 5D comes with, the unit itself (drives sold separately remember), a 6-foott power cable and power supply, a 6ft USB 3.0 cable and the typical quick start and other paper documents. There is even a cool Drobo sticker included! There is no Thunderbolt cable included in the 5D version, but that cable comes with the 5Dt version which also comes with a mSATA card (separate purchase for a 5D) for the Drobo Accelerator feature.
First Impressions
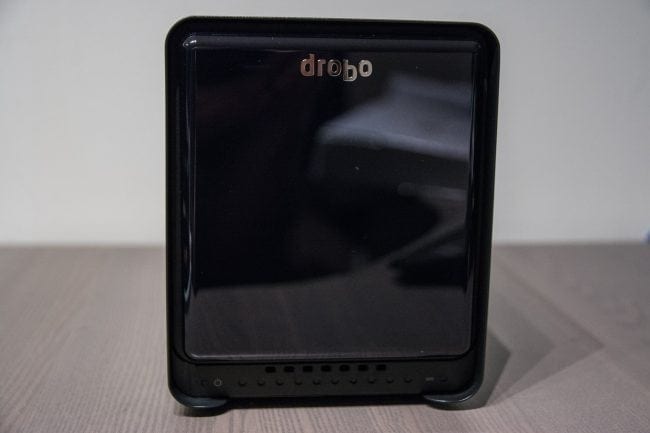
Right away, I found that there was some heft to the Drobo 5D. That’s probably because the enclosure is not some cheap plastic piece of hardware. It has a metal frame and cover that gives it some pretty good stability. After all, you probably don’t want it knock it over or something when the disks inside are all running.
I was impressed by the size of the power supply that the Drobo 5D came with, but I learned something important about that. The Drobo has the ability to stay powered on briefly during a power-outage so that it can properly spin the disks down and shut the unit off properly. You should never just kill the power to hard drives that are reading or writing because that can easily cause drive data corruption and loss, which is what we’re trying to prevent right?
So the big power supply unit I can work with and tuck it somewhere out of the way. The 6-foot cord helps with moving the power supply away from the unit.
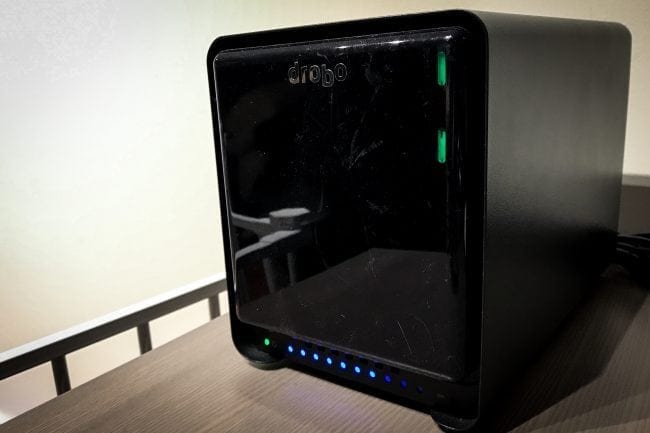
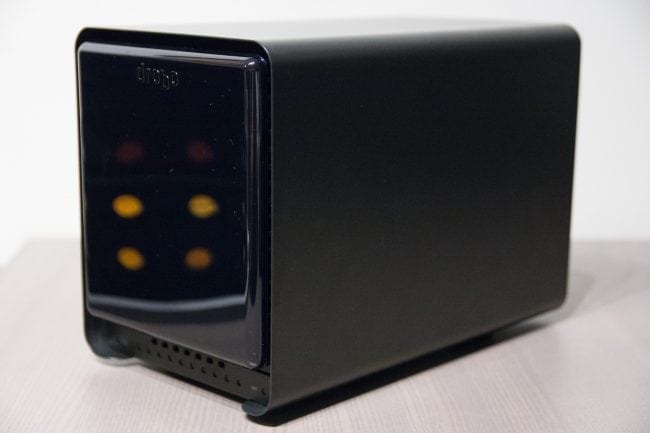
The front of the unit has all the status lights you could need with a unit like this. At a quick glance, a powered-off unit is shiny and black. When the unit is plugged in and configured, there are status LEDs that light up based on what is going on. In the case of my unit, there are 2 drives installed (the 2 green LEDs) and then the current capacity of disk space being used is roughly 70% (the blue LEDs on the bottom).
The single green LED is the power status and what you cannot see is the disk activity LED which is located on the bottom right of the unit. It is very handy to be able to just glance at the Drobo and see its current state. The right side LEDs will change colours as the disk capacity gets closer to being full or if there are any faults found in the drives.
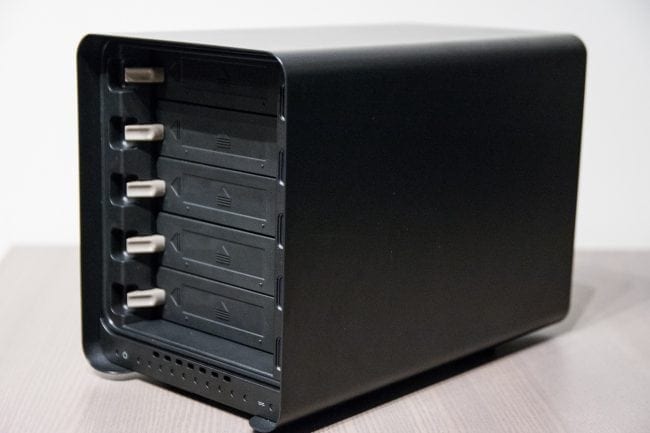
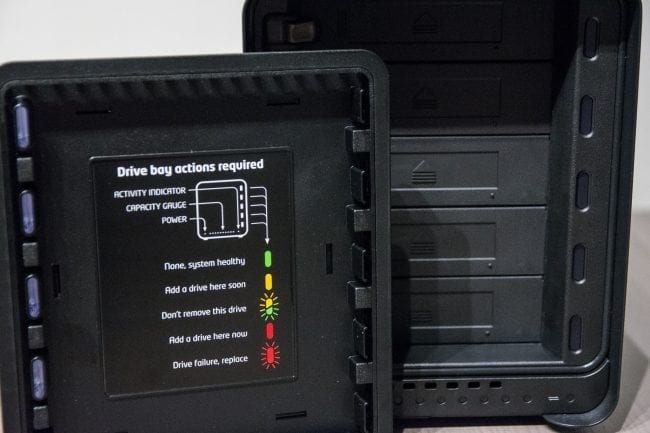
To access the drives themselves, you just remove the front shiny cover. It is attached with small magnets which makes it really easy to remove and put back on. It also explains the status LEDS (on the right of the drive in the above photo) and what they mean. Green = All good!
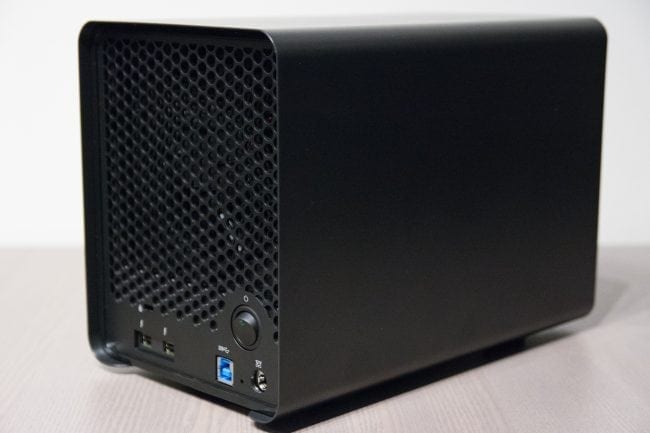
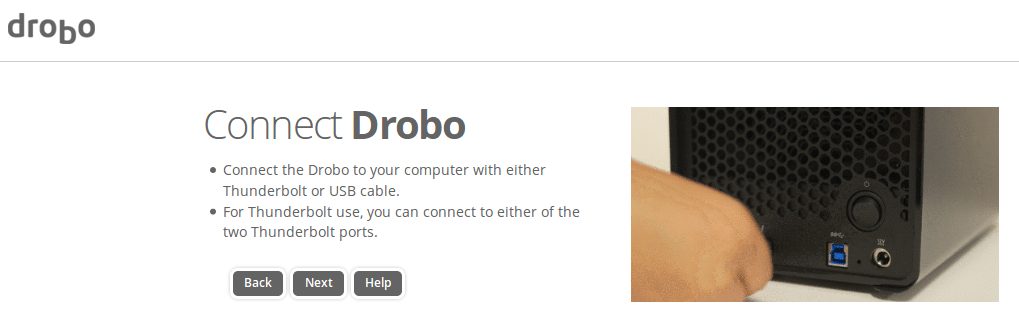
The connections of course are on the back. You’ll find two Thunderbolt 2 ports (one is for daisy-chaining), the USB 3.0 port, the power port and power switch. A nice large fan sits at the back and draws the warm (or hot) air from the drives and out. Five hard drives all spinning at once can generate a little amount of heat, I bet.
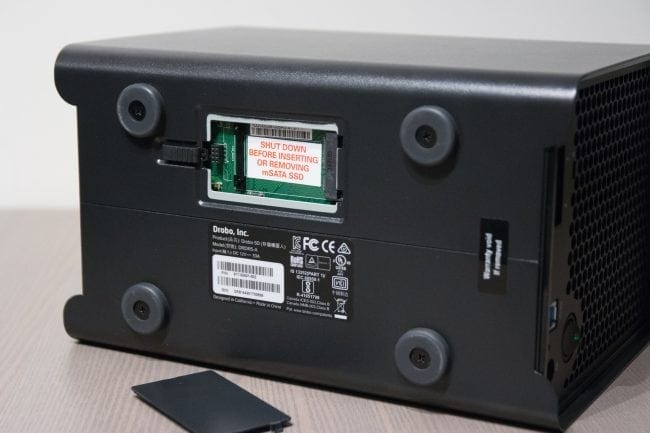
Flip the drive over to see the underneath and you will see the access to the Drobo Accelerator port. Here you would insert the mSATA drive if you had one. One does come with the Drobo 5Dt but not with the 5D; you would have to source one yourself. Essentially the Drobo Accelerator gives you faster access to the more frequently used files.
Setup and Configuration
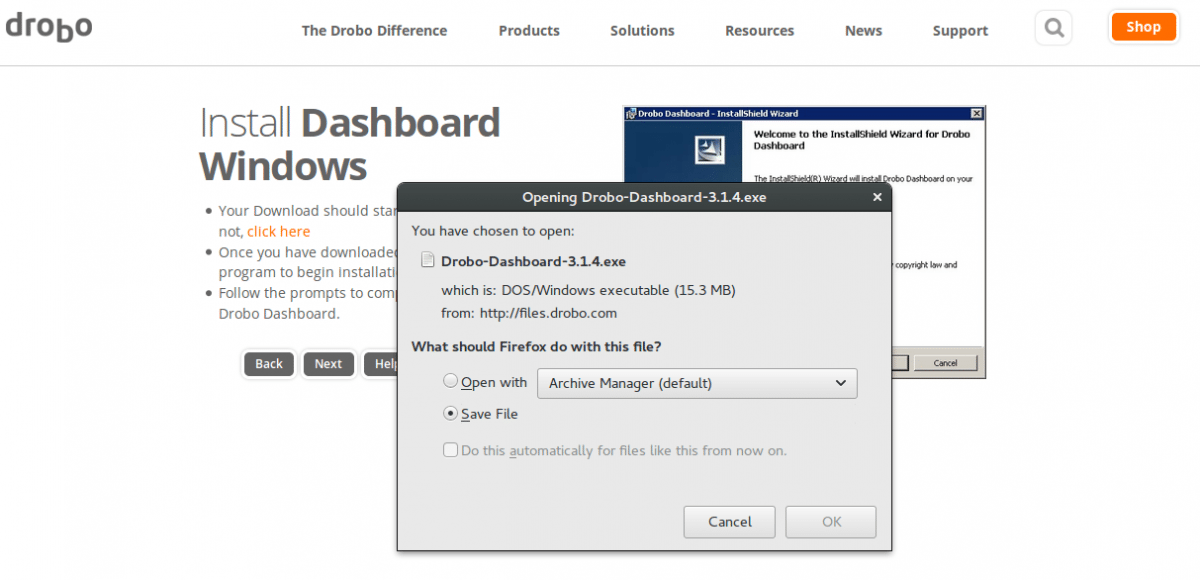
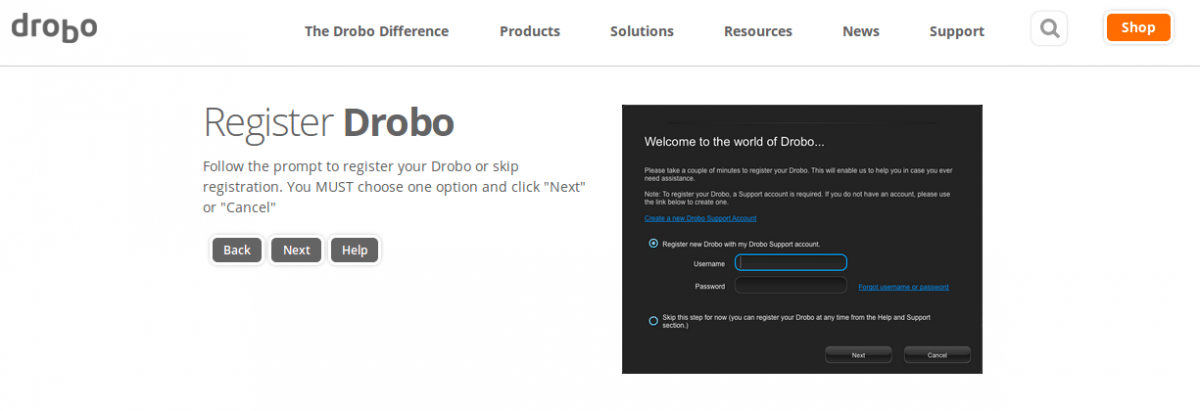
Drobo has a great online tool for setting up your Drobo. Their interactive setup is very easy to follow.
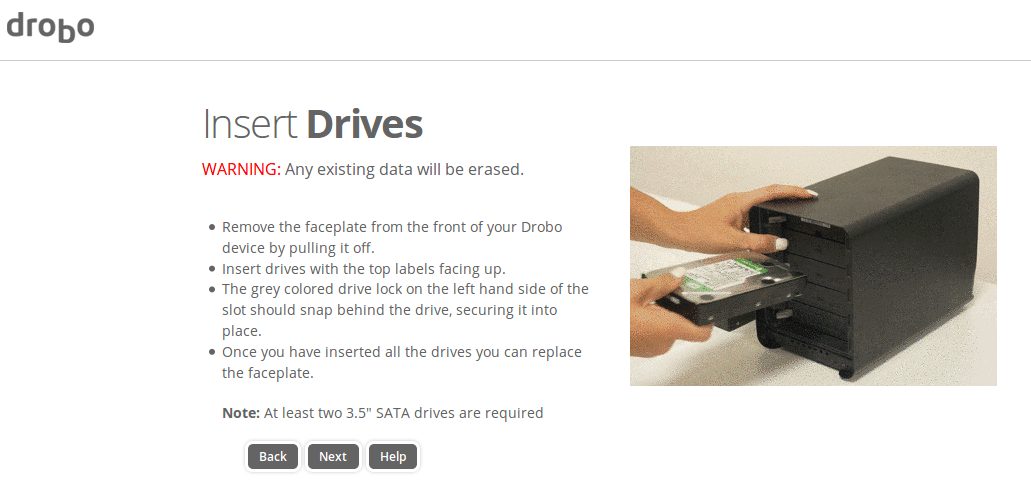


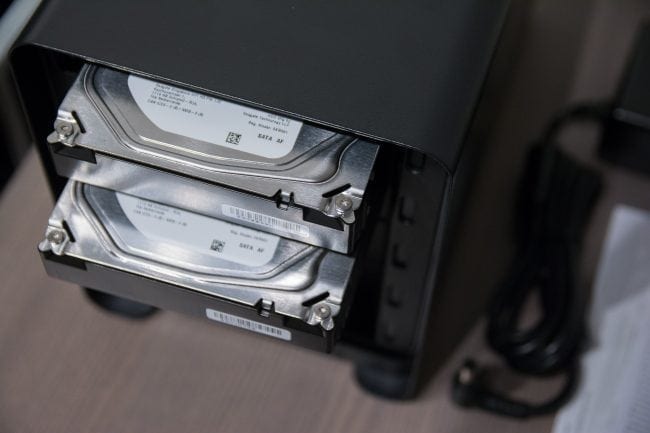
In order to work with a Drobo, you need to install at least two hard drives. To install or hot-swap drives, the great thing is you do not need any tools, you just pop off the cover and slide a drive right into the unit. Easy! As this was not a review unit (I actually won the unit via a contest on Twitter), I was not supplied with drives to test with. I scrounged up and put in two Seagate IronWolf 4 TB 3.5″ NAS drives which would, for now, suffice for my intended purposes with the Drobo 5D.
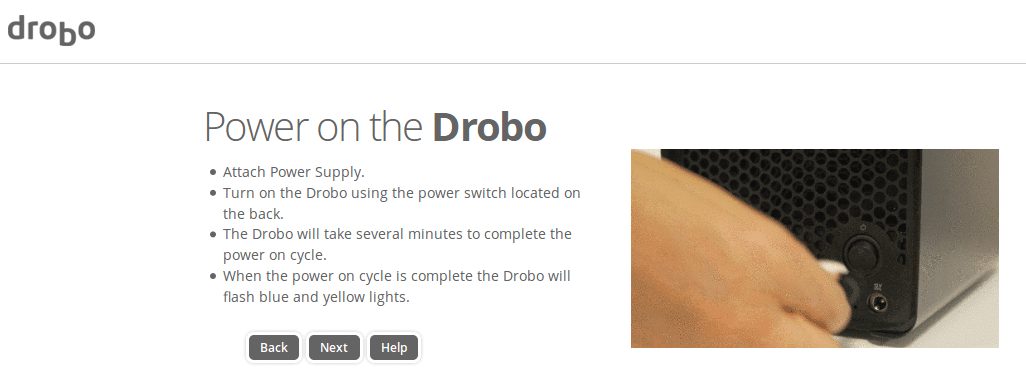
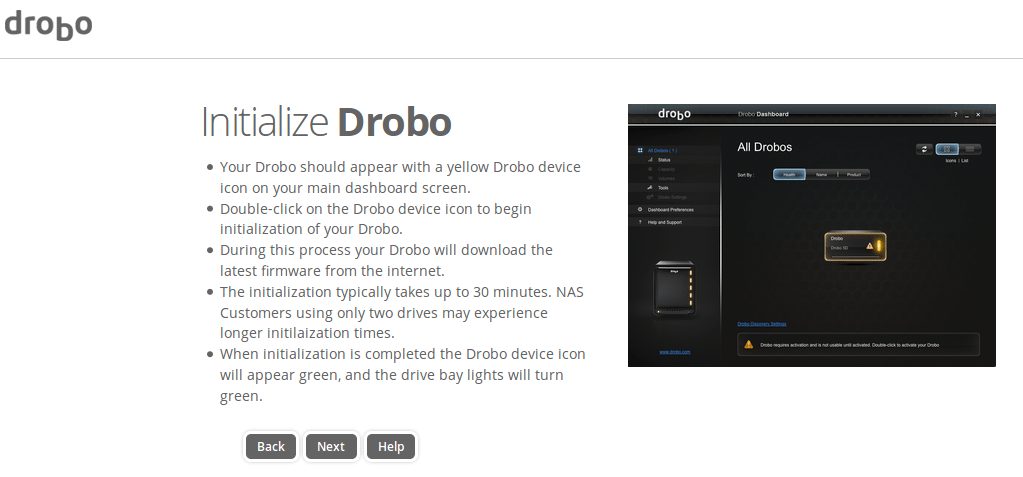
Once the drives are installed, pop the cover back, plug in the power supply on and power up the unit. It will take a few minutes to initialize the drives and you can sit back and watch the status LEDs do their thing.
When the Drobo is ready and set up, you can load the Drobo Dashboard and check it out.
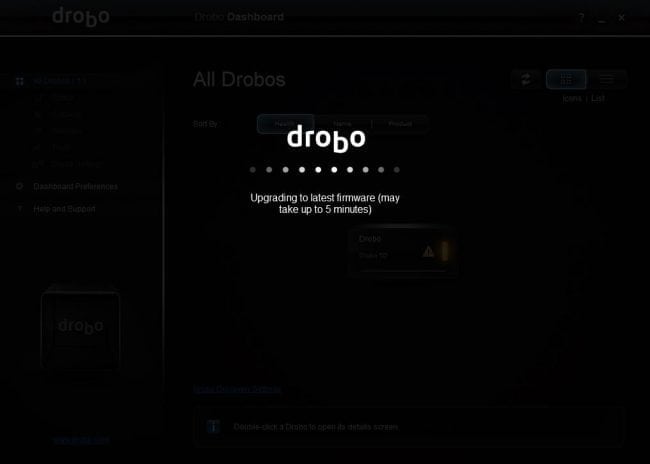

When I first logged in, it told me there was a new firmware for the unit, so of course I had it install.
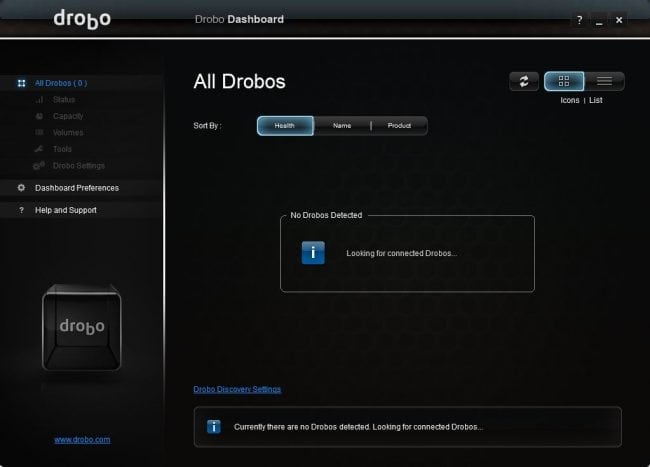

It will then go and locate your Drobo unit. Here it scans the computer for any attached external drives, then it checks the network to see if there are any Network Attached Storage (NAS) units available.
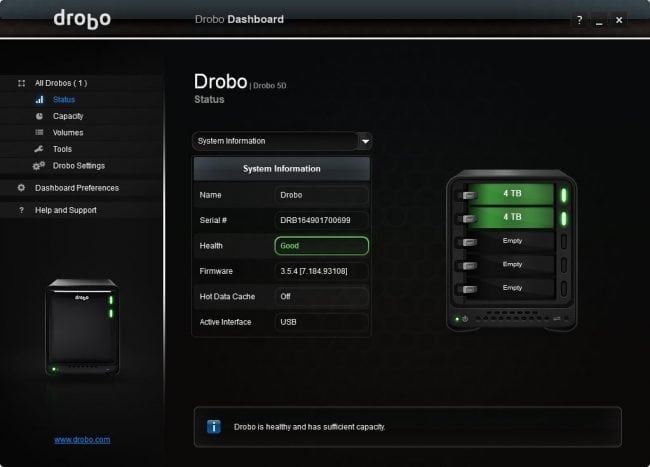
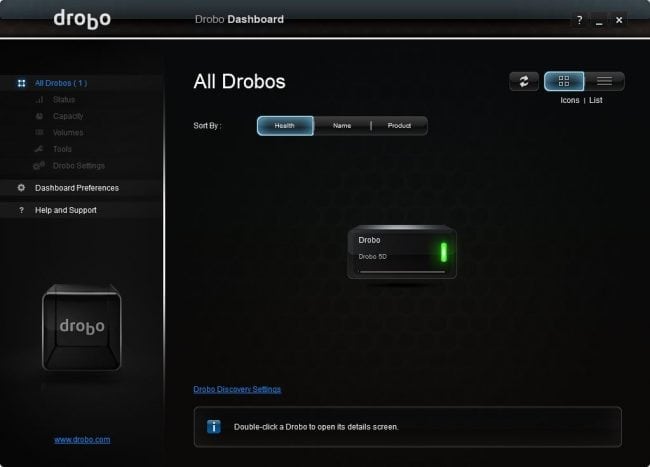
As you can see, it found my Drobo 5D. It will give you all the useful information from here: how many drives are installed, what state they are in, what capacity is being used and what is free, if there are any disk errors and more.
The LED status in the Drobo Dashboard will match that on the actual unit itself. Also the Drobo 5D displays the capacity being used on your setup with some blue LEDs on the front of the unit as well. Sort of a quick-glance feature. If there is something wrong, it will display an issue via the LEDs for which then you can look to the Dashboard for more information about the issue it has found.
Performance and Usage
When it comes to usage, I had to think about what I wanted to do with my Drobo. Typically, you don’t typically use a RAID array as a backup so of course that is what I first started to use it as. I copied files on a schedule from another external drive I was using to the Drobo itself. Why not, right? I typically work from a 4 TB external drive, so why not use the Drobo to backup that 4 TB with its two 4 TB capacity drives?
Well, it was working great until my main external drive was starting to show signs of failing. This is when I decided to switch to working primarily off the Drobo. I also realized that the Drobo would be a significant speed increase over the external drive I was using before. The Drobo 5D has two interfaces, USB3.0 and Thunderbolt. Since my Windows machine does not have Thunderbolt, I will be using the USB3.0 connection for all my work. Since it is also seen as an external drive on Windows, it was formatted in NTFS, whereas in the MacOS environment it would have been formatted in the HSF+ format. The Drobo 5D3, the update to the Drobo 5D, offers USB3.0 (Type-C) and Thunderbolt 3 and I would lean more towards using the Thunderbolt 3 interface if I had one personally.
Drobo is essentially a RAID array. It depends on how many disks you are using and of what capacity. With my setup of the two 4 TB drives, that gives me a raw capacity of 7.27 TB with 3.64 TB available for data and 3.6 4 TB used for protection in case of a drive failure. There is some overhead (about 6 GB), but in terms of capacity 6 GB isn’t much when you’ve got 8 TB worth of space right? Remember how I mentioned how RAID is not entirely a backup solution? In the off-chance of a single drive failure, I can pop in another 4 TB (or greater) drive and be able to access the data. What happens if both drives fail? It can happen, so you should never rely on RAID fully as a stand-alone backup solution.
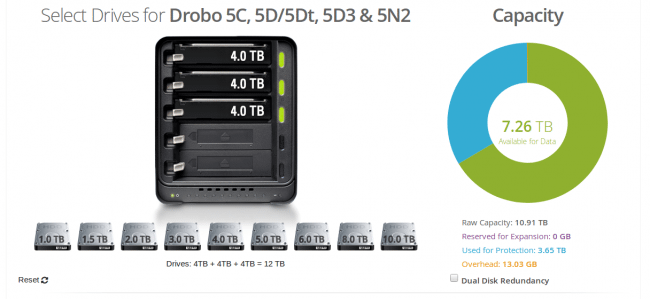

In my case, I only have the two 4 TB drives. If you check out Drobo’s Capacity Calculator, you can play around with various sized hard drives to suit your own needs. In my case, if I were to add a third 4 TB drive (as in above photo), my available data capacity goes up to 7.26 TB but my data protection only stays at 3.65 TB. Drobo takes care of all the resizing of the array for you. You just plug in a drive and voilà! When you start adding larger drives, a portion of it will be reserved until the drives’ capacity meets up with the smallest one. If I added an 8 TB drive I would essentially have the same setup, but with 3.65 TB in reserve until I added another 8 TB drive, then my available data capacity would be 7.26 TB with 7.26 TB protected.
So, let’s go back to my usage of external hard drives. I do my photo editing off of an external USB 3.0 drive. I just found that it’s fine for what I was doing but when I started looking at the Drobo, I should have realized this before but the external USB 3.0 drive I was using was not just as fast as something could be.
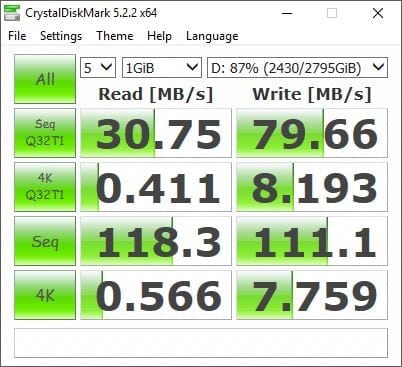

The external USB 3.0 Seagate drive I’ve been using shows me a 31 MB/s read with 80 MB/s write (when you make it use the message queues). Not bad, like I mentioned before. It was good for what I was doing which has been editing ~30MB RAW still files. The sequential read/writes of course perform better than the IOs going through message queues.
When I moved everything over to the Drobo 5D because my Seagate external drive was failing me, I was in for a surprise in read/write speeds.
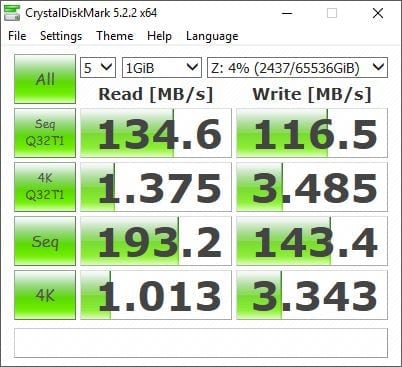
With a bump to 134.6 MB/s read and 116.5 MB/s write (over USB 3.0), that’s a fairly large speed difference when you make use of the message queues. This is probably due to the striping nature of the Drobo’s drive array. We do see an increase in read/write speeds in terms of the normal Sequential read/writes.
What does this translate to in the real world? When I start up Lightroom and it accesses the files, including the LR Catalogues, it reads them faster and thus everything loads up faster. Previews are rendered fairly quick too as the previews are stored also on the Drobo. With hundreds of thousands of images on the Drobo, loading up LR and being able to see the previews quickly is important. Switching over to the Drobo to do my photo work has put a smile back on my face.
Final Thoughts
I love using my Drobo 5D. The idea that the unit grows with me when I need more space is great, especially since I don’t need to do anything except add/swap drives. I am sure dealing with a drive failure is fairly straight-forward but I do not want to experience it.. yet or ever if possible (wishful thinking right?).
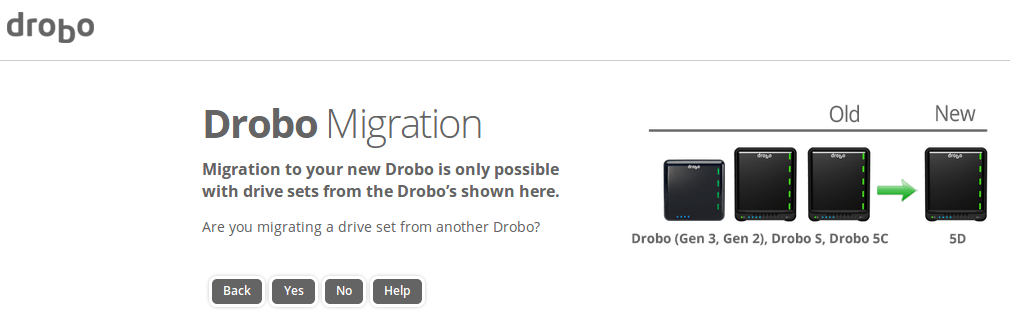
Setup was simple. Follow their online setup wizard, slide the drives in, power up the unit and sit back and wait a little bit. I’m sure migrating from an old Drobo to a new one would be a bit more involved but initial setup was a breeze.
The price for a Drobo 5D might be a bit steep for the average consumer, especially since you have to buy drives separately from the unit itself. The Drobo 5D can go for as little as $650 CDN (about $500 US). When coupled with five 4 TB Seagate hard drives, that would push the price up to about $1,350. For a small to medium business though, the investment in a Drobo for their digital work would be a no-brainier, especially when you want to minimize any downtime due to hardware issues or drive failures.
The USB 3.0 or even Thunderbolt speeds provide me with enough read/write bandwidth to work right off the drive. The updated Drobo 5D3 with its USB 3.1 and Thunderbolt 3 would allow those who edit digital videos even more bandwidth to work directly off of.
A neat feature I did not know about until I dug in a bit more was the power supply that comes with the Drobo 5D. In the event of a power outage, there is enough power for the Drobo to spin down the hard drives and shutdown to minimize any data corruption or failure due to a built-in, internal backup battery. You should probably still have your external hard drives and computers on a UPS battery backup, but it is still a really nice feature to have out of the box.
Down sides? I would have to really think about it. Perhaps being able to configure either the Drobo unit as a JBOD (just a bunch of disks) or perhaps split the drives into groups or perhaps configure drives 1 and 2 to be mapped as one drive, then drive 3 can fill in there or drive 3 and 4 can fill in. I guess that makes it more of a RAID enclosure whereas Drobo wants to keep it simplified for the end user. But as it it works really well.
If you are in the market for a data storage device that easily grows as your data needs grow, then I would highly recommend checking out what the Drobo product line has to offer.