- Dual-Core Intel CPU
- Hot-swappable, Tool-less drive removal
- Synology's DiskStation Manager OS
- 1 GB RAM
- Only 1 USB3.0 Port
Looking to update your NAS with something a bit more powerful without breaking than bank? Looking to get into the NAS market with a solution that will be able to keep up to your home or small business needs for a while? Are you interested in 4K video while being able to transcode it on-the-fly and stream it to the various 1080p TVs around your home? Perhaps Synology has a solution for you. Introducing their DiskStation DS216+ Network Attached Storage solution.
Features and Specifications
The Synology DiskStation DS216+ is a dual-bay Network Attached Storage (NAS) solution, though these units are usually a bit more than just a NAS these days and are typically fully functional servers with a very small footprint. The Synology Diskstation DS216+ sports a dual-core Intel Celeron N3050 SoC running at 1.6GHz with a burst speed of 2.16 GHz which should keep most home users with plenty of horsepower for their typical needs.
- Intel Celeron N3050 SoC 1.6GHz (64-bit)
- Hardware Encryption Engine (AES-NI)
- Hardware Transcoding Engine
- 1 GB DDR3
- 2 Drive Bays capable of 16TB total (8TB x 2)
- 2 USB 2.0 ports, 1 USB 3.0 port
- eSata port
- Gigabit Ethernet
- Power Consumption: 17.57W (Access) 7.52W (HDD Hibernation)
What’s In The Box?
There is not much that was included in the box and the box that the unit came in was not the regular retail one either. Though this is what was found to be included:
- DiskStation DS216+
- AC Adapter
- Quickstart Guide
Typically, the DiskStation units do not come with drives as it’s up to the end user to determine what drives and size of drives they wish to use. Though, if you do not want the hassle of sourcing your own drives, then Synology does have a solution under the Beyond Cloud product line.
First Impressions
We have looked at Synology devices before, such as the Synology BeyondCloud Mirror (DS216se) which we will use a a comparison to the DS216+.
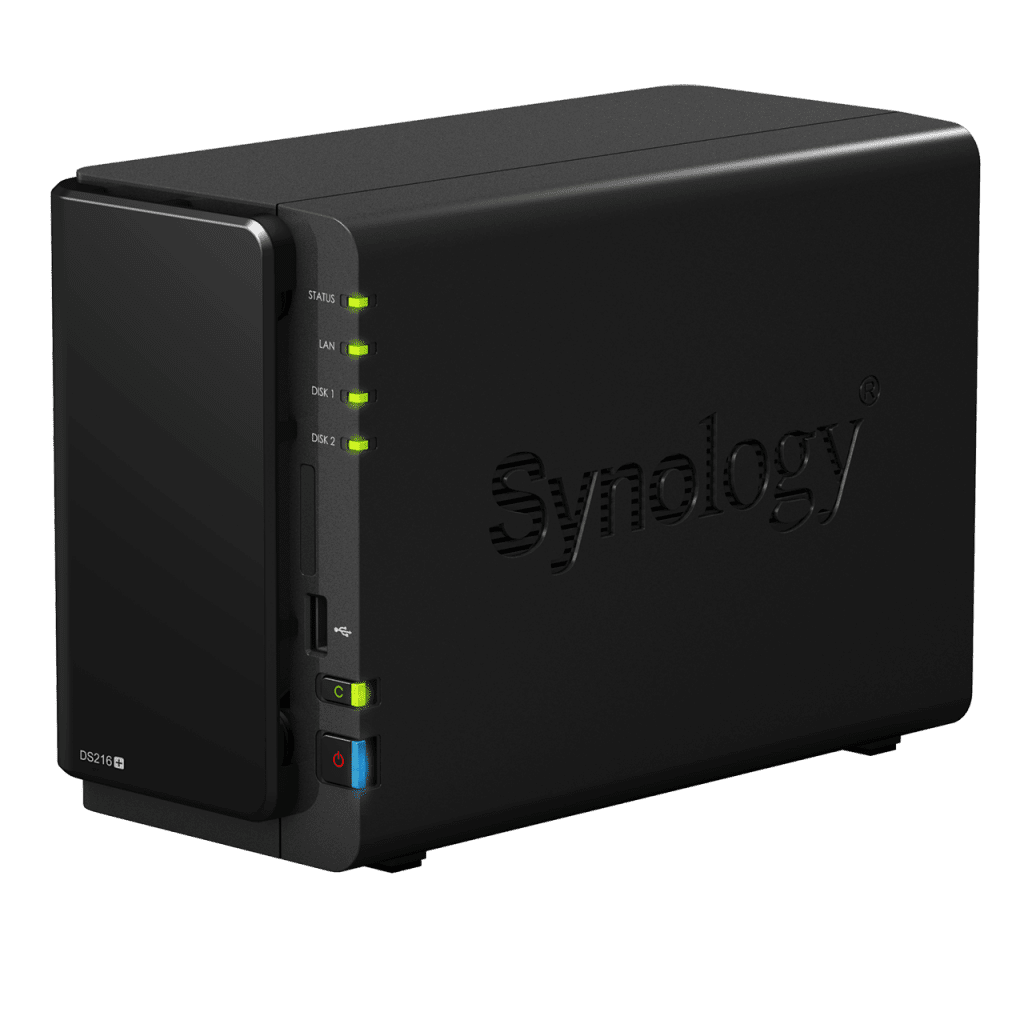
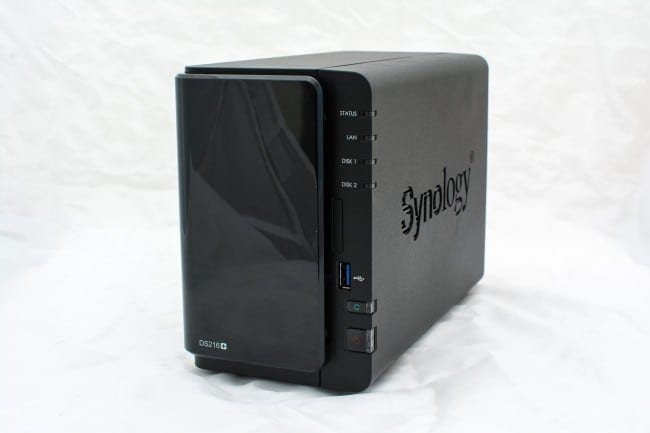
The Synology DiskStation DS216+ features a similar enclosure as the DS216se, though black in colour, it will fit esthetically among a home or small business environment without drawing too much attention to.
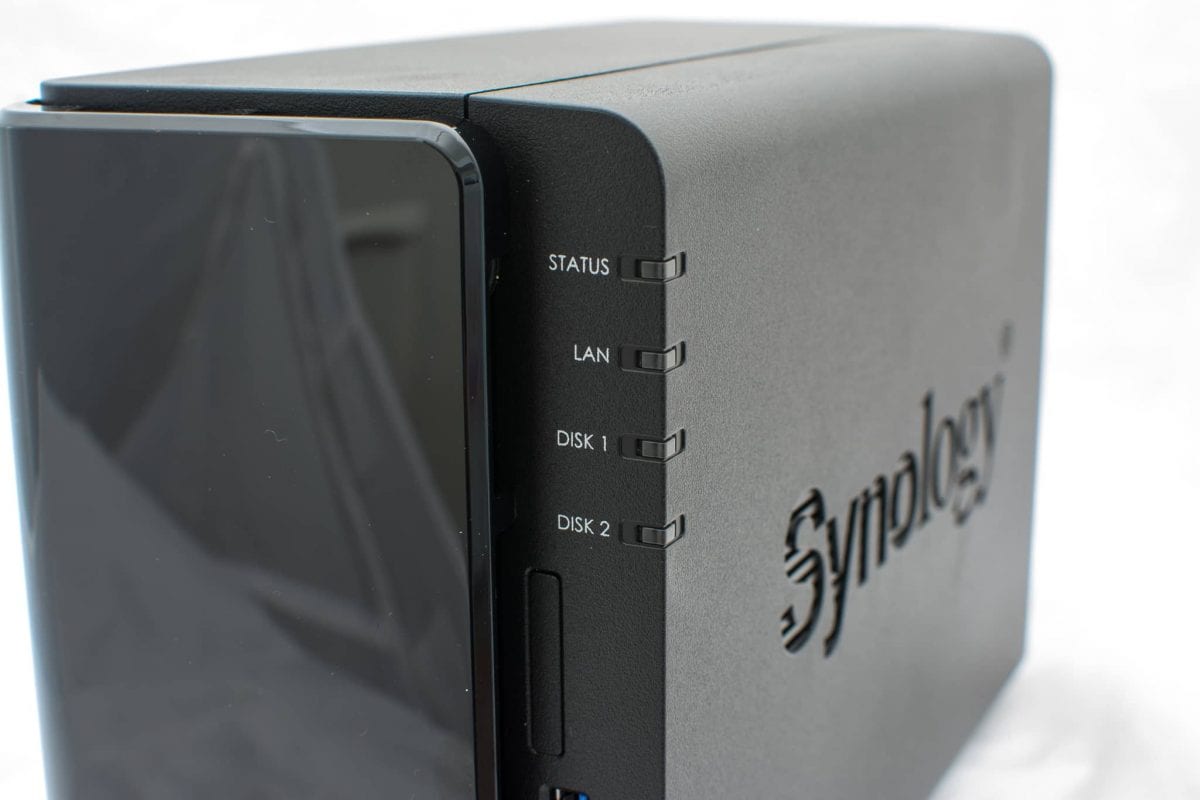
The front of the DS216+ as the status LEDs, USB3.0 port, the USBCopy button as well as the power button. The LEDs show you system activity, activity of the network to the DS216+ as well as any disk activity that may be going on at the time. When the hard drives go into hibernation mode, the LEDs will turn off.

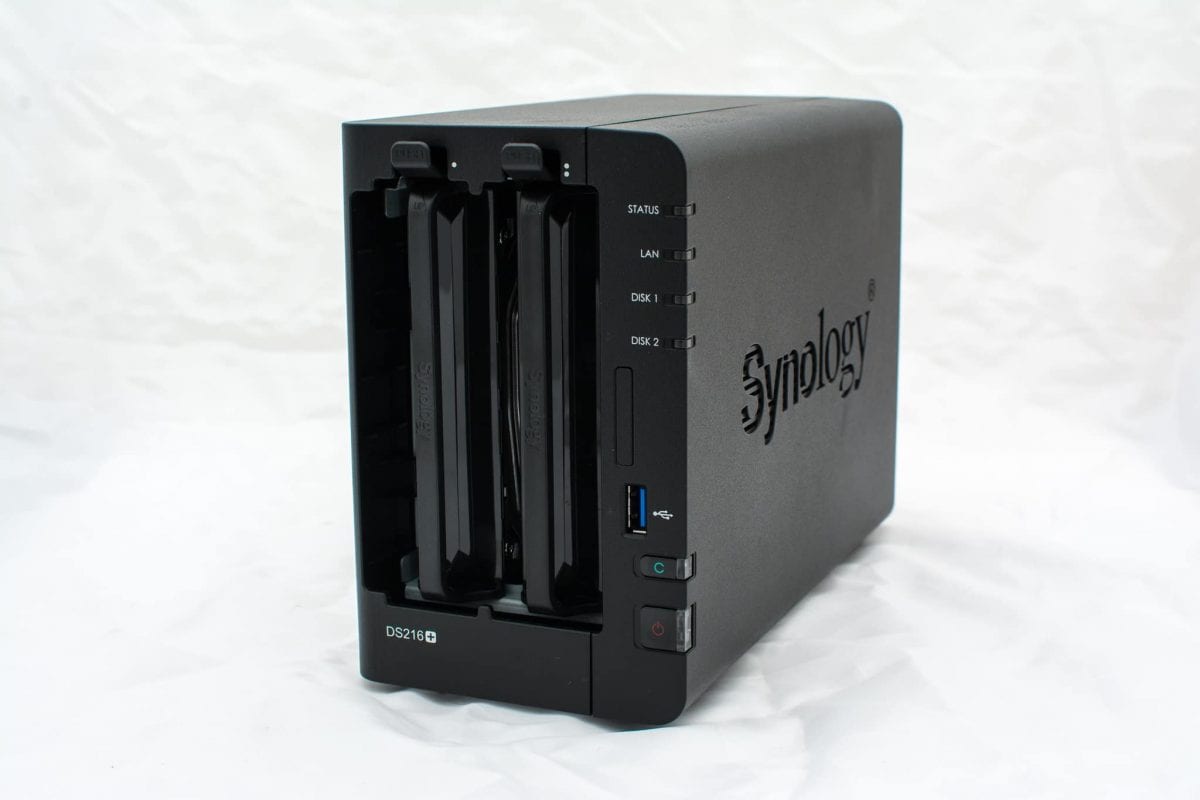
The front panel is also removable without much fuss as it is held in place by 4 rubber grommets. Once you have removed the panel, you have easy access to the 2 drive bays. Both drives are enclosed with their own easy to install, tool-less hot-swappable SATA cage. The cages support 3.5 inch or 2.5 inch drives as well, so if you want to use SSDs instead of regular mechanical drives, you are able to without having to modify anything. To remove either drive, you push the small tab at the top in which pops the drive out. Slide the drive out along its rail and you can easily slide it back in when needed to.


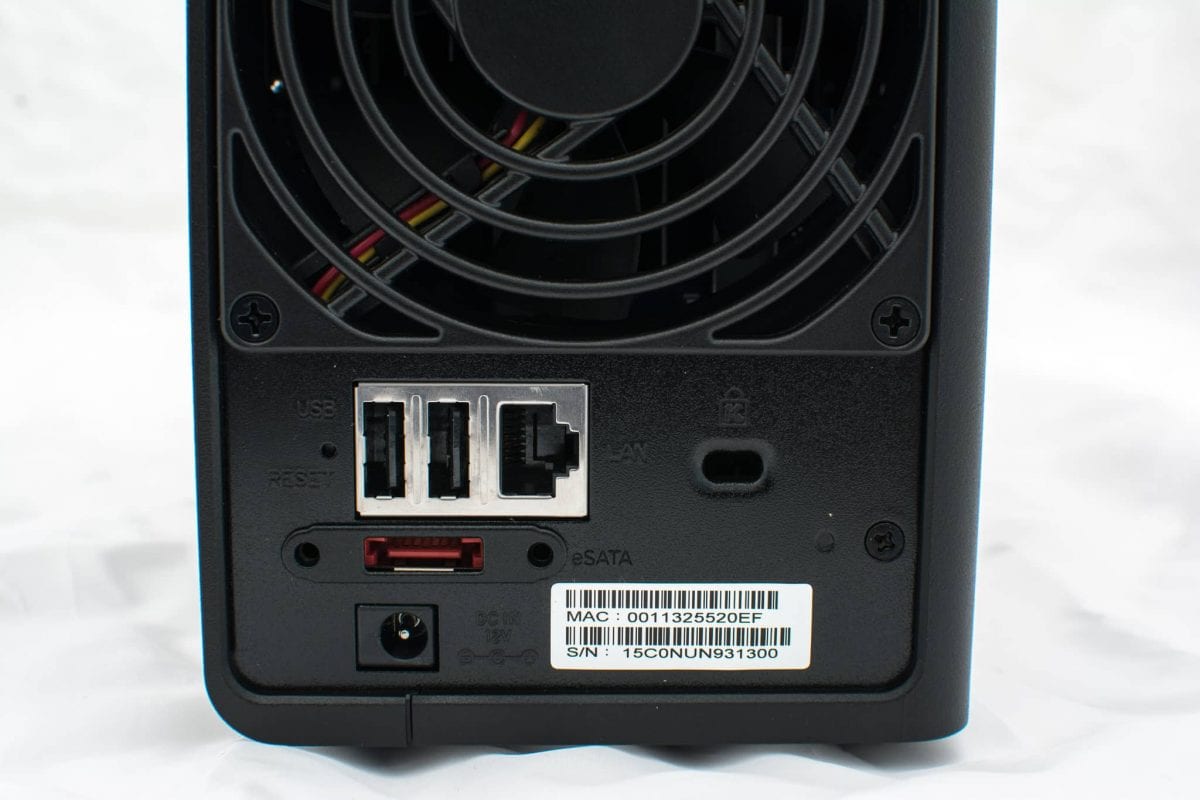
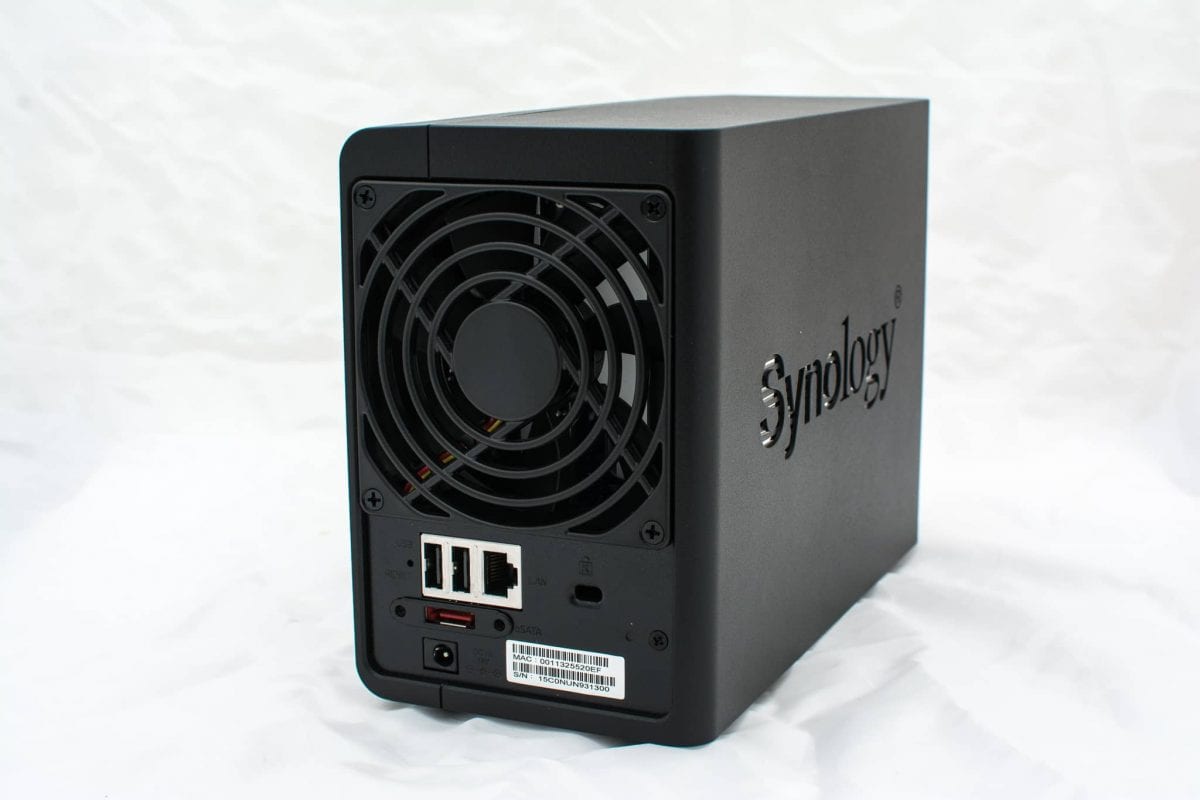
Around to the back of the DS216+ you can see the 92mm exhaust fan, Gigabit Ethernet port, eSATA port, the 2 USB 2.0 ports and of course the 12V power input. It would have been nice to include USB 3.0 ports in the back instead of USB 2.0 but if they want to keep the cost down a little bit, perhaps that is the decision to exclude USB 3.0 on the back.
Setup and Configuration
Setup is fairly easy. Ensure you have an available Ethernet port on your router or switch or whatever network device you want the Synology Disktation DS216+ to be attached to, power it on, and then use your favorite browser to navigate to “find.synology.com”. It will auto-detect the IP address for your device and present you with the setup screen.
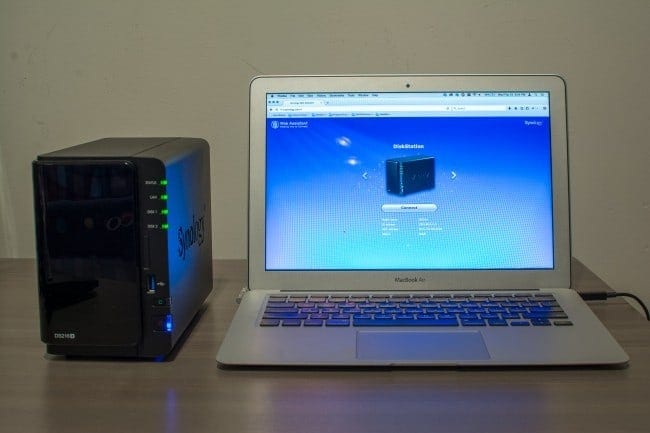

Once you click on “Connect” and navigate through some fairly straight-forward setup options (such as manually installing a previous version or downloading the latest) it will take about 10 minutes to do the install.
You will then be prompted to create your Administrator account, set the DSM Update settings, set up a QuickConnect ID, and then finally install recommended packages.
Once that is all done, you will be presented with the login screen and your first glimpse into DiskStation Manager aka DSM.
Performance and Usage
To test the Synology DiskStation DS216+ we will make use of the Seagate NAS 4TB drives using RAID1. The device itself is connected through a Gigabit switch between a Windows 10 Desktop and a Macbook Air with MacOS X (El Captain).

Synology’s own Product Overview states that the DS216+ should be able to obtain 111 MB/s read and write so let’s dive into the benchmarks and see how it performs in our home environment.
Windows 10 with CrystalDiskMark
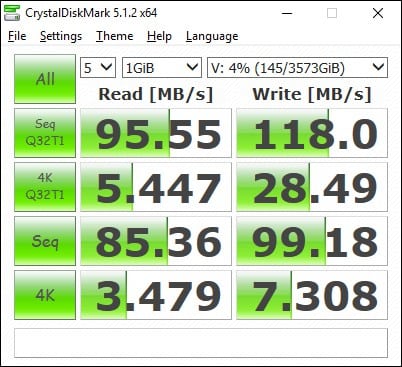

We map one of the folders as a network drive and go to town. We see that the sequential read and writes within a Windows 10 environment come pretty close to what it stated on Synology’s website. I ran it a few times and got similar results each time.
MacOS X (El Captian) with BlackMagic
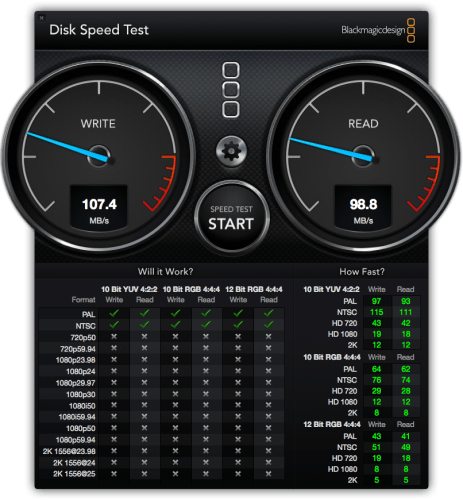

We make use of the same network mapped folder to test under the MacOS too. The test on the MacBook Air (13″ mid-2011 model) had similar speeds even though its setup is a little different from the Windows 10 Desktop. The MacBook Air is connected via Gigabit, but it does go through a Belkin Thunderbolt 2 HD Dock which could account for a smidgen of slower speeds in both Reads and Writes compared to the values seen by CrystalMarkDisk.
Streaming Videos
One main feature of the Synology DiskStation DS216+ is the ability to transcode video streams on the fly with the help of hardware encoding. To check out how this works I made use of the two locations we typically stream video to in our home; the living room and a bedroom.
The living room has a Sony PS4 connected to the home network via Gigabit and movies and TV shows are streamed from the DS261+ via the Synology DSM apps Video Station and Media Player. Previously with the PS3, MKV files were not supported and the DS216+ has the hardware capabilities of transcoding them to a format the PS3 can handle. Though since the introduction of the PS4, most video formats are now supported natively. Browsing to the DS216+ was as easy as loading up the Media Player app on the PS4 and selecting the correct device.
The back bedroom’s TV has movies and TV shows streamed to it (wirelessly) via a Roku 3. Now, the Roku isn’t as forgiving with what video files it supports and I’ve spent a bunch of time reformatting video files to allow the Roku to play them properly, or actually to even acknowledge the existence of them. With the introduction of the Synology Diskstation DS216+ to our home, I have not had to worry about formatting issues as the DS216+ handles the transcoding without issues.
General Usage
It was mentioned that the DS216se would be used a bit as a comparison. Over the course of the two weeks that the Synology Disktation DS216+ has been sitting next to the Synology BeyondCloud (DS216se) there has been some noticeable differences in performance. These differences in performance can be attributed to the fact that the DS216+ has a dual-core Intel Celeron running 1.6GHz with 1GB of RAM where as the DS216se runs a Marvel ARM processor at 800MHz with 256MB of RAM. Not really an apples to apples comparison.
When doing daily tasks on the DS216se it is easy to pin the CPU at 100% utilization (accessing the web UI, files transfers to and from etc). Those sames tasks that pinned the DS216se’s Marvell Armada ARM-based CPU, only got up to at most 15% CPU utilization on the DS216+. What does this mean? A lot of the tasks that are done day to day on the DS216+ can easily handle other things thrown at it throughout the day. Noticeable was the use of Photo Station both on the web version as well as the mobile version. The photo albums in Photo Station are displayed much quicker on the web version. This included the generation and display of thumbnails (which are created when photos are added to /photo or even /video) as well as the rendering of the full-sized images themselves. Viewing the photos on a mobile device was almost instantaneous with the DS216+ over the DS216se.
A co-worker asked me about the sound of the DS216+ when it was under a heavy load or spinning up or down from hibernation. It sounds like their NAS drive (a different manufacturer) sounds like a jet-plane starting its engines on takeoff. As with the DS216+ there wasn’t any significant noise under any circumstance that was ever noticeable.
For those who dislike blinking LEDs from devices, especially at night. A neat feature of the DS216+ is the ability to dim the LEDs all the time or during certain times of the day.
We haven’t mentioned the included eSATA port on the back of the unit yet nor have made use of it and we’re looking quite forward to utilizing this with an external 5-disk RAID array that is collecting dust in the corner. Being able to utilize that RAID enclosure by attaching it to the DS216+ via eSATA will be something we’ll look at to the future.
What would I change? Going from the Synology BeyondCloud Mirror (DS216se) to the DiskStation DS216+ there is not too much I would change. I would have liked to have seen the two USB 2.0 ports on the back updated to USB 3.0 as a lot of the external drives that are laying around the house are USB 3.0 these days. Perhaps a bit more memory (RAM) in the device. The DS216+ has 1 GB of DDR3 and the underlaying system is 64-bit based so it could handle a lot more.
There is an article out there on the web that explains that you can upgrade the RAM but it will void your warranty and is not the easiest to do (ie go slow and be careful when removing portions of the chassis). They did manage to find a stick of 8GB DDR3 Crucial that would be recognized by the DS216+. Perhaps down the road I will look at voiding the warranty and installing 8GB of RAM as I could see a benefit of adding more to the DS216+.
Final Thoughts
I believe that the Synology DiskStation DS216+ is definitely a NAS solution a home or small office environment. It would perform well and keep up with daily tasks. The small footprint, easy setup and use make the DS216+ a great experience.
The 2-bay design allows for a lower cost, but some redundancy for your data. With the hot-swappable tool-less design for the hard drive cages, it allows for easy removal and insertion of drives if you ever experience a failure or need to upgrade to larger sizes. Someone once mentioned recently there are 2 states for hard drives; dying and dead. Being able to easily access and replace drives is a great feature.
Those who want a bit more out of a NAS solution can easily make use of the DiskStation Manager (DSM) environment to download and run applications such as Video Surveillance, a Git Server, or an Audio server.
The ability to easily upgrade the RAM would be a nice feature also but that would take away from the DS716+ which is the quad-core model with 2GB DDR3 onboard. It also has the ability to add 5 more drive bays via an expansion unit. However, the Synology Diskstation DS216+ does have that eSATA port we mentioned which could fulfill a similar purpose.
It is really hard to say anything negative about the Synology DiskStation DS216+. In fact, the only two negative things that can be said about this particular NAS product is that the RAM is untouchable by regular users and the lack of USB 3.0 ports. Other than that this unit comes highly recommended.