

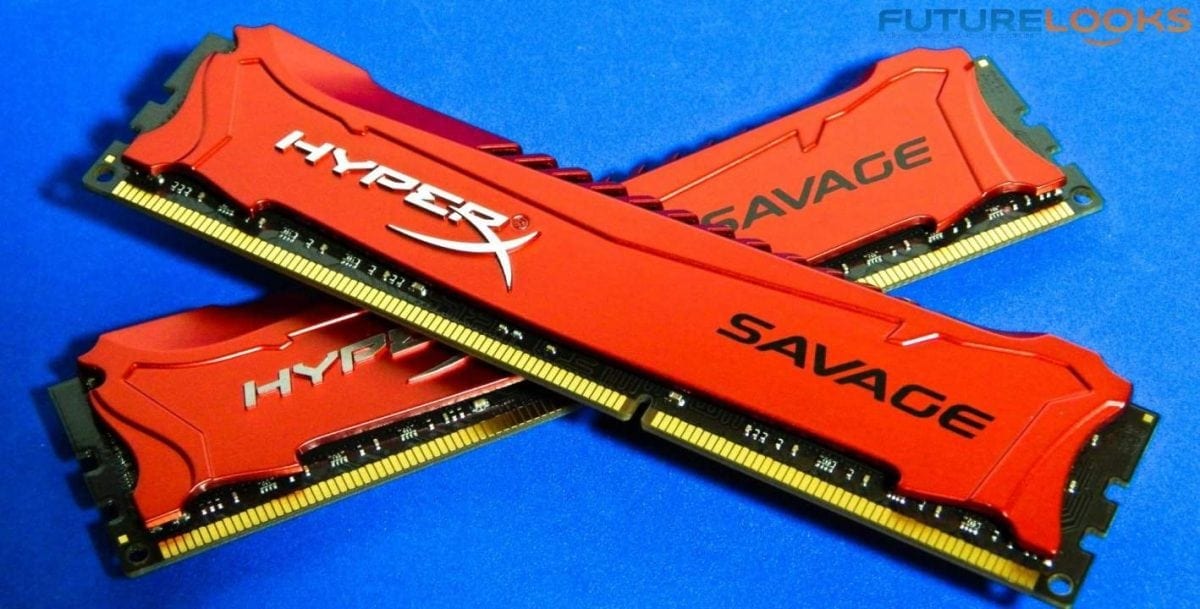
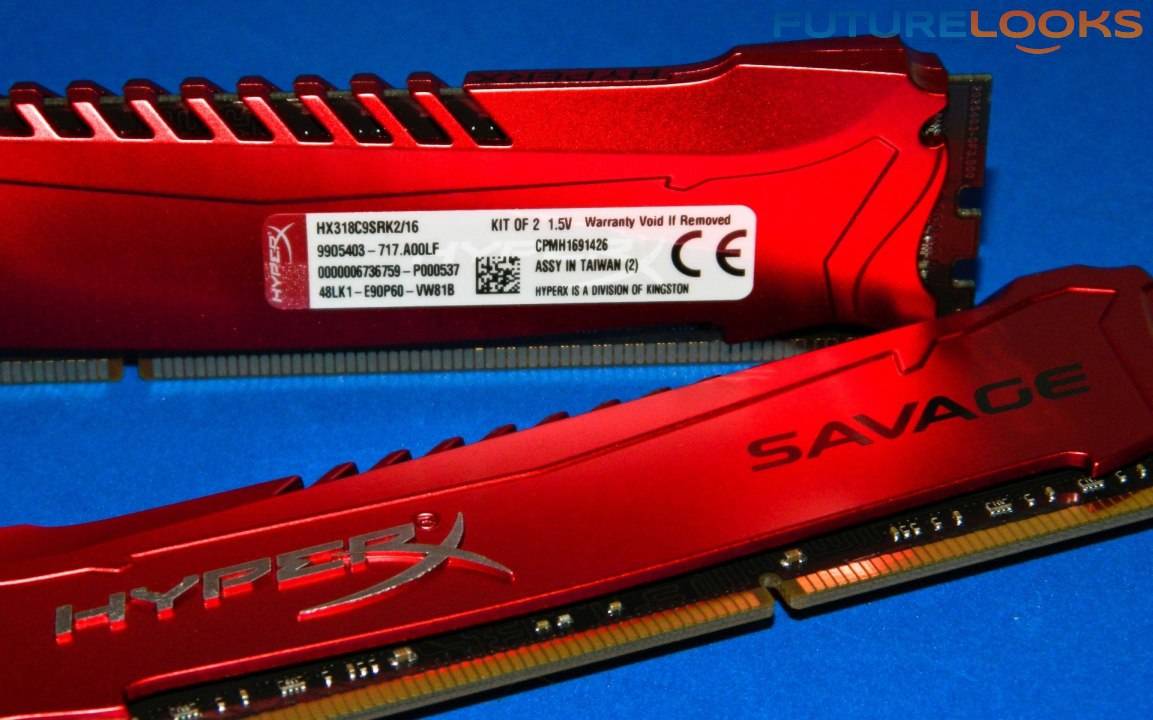
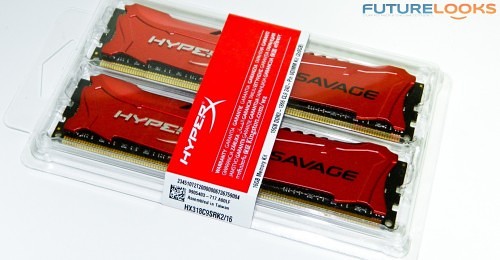
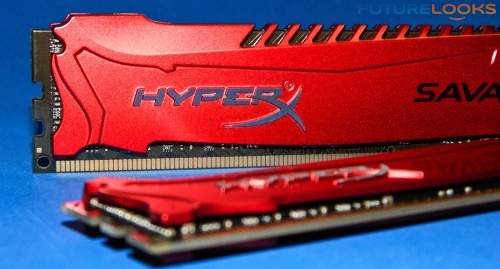
- Crimson red Savage heat spreaders with Black PCB
- Excellent Overclocked and Stock (XMP) Performance
- Lifetime Warranty
- Premium price for premium looks and performance
In our last memory review, we took a look at the Kingston HyperX Fury 1600MHz 16GB DDR3 memory kit. While Fury is a fantastic looking, and highly compatible, memory kit, it’s considered a mainstream series for entry level systems. However, the HyperX Savage series takes performance up a notch, boasting higher quality modules and improved timings. Savage sports a candy apple red aluminum heat spreader that hints to its speed. We took the Kingston HyperX Savage 1600MHz 16GB DDR3 memory kit for a spin around the lab track to find out how much speed!
Features and Specifications
Unlike some of the other HyperX series, Kingston’s HyperX Savage comes in one low profile color: crimson red! The single module comes in 4GB and 8GB. Kits start at 8GB (2 x 4GB), and max out at 32GB (4 x 8GB). Speeds of the kits are from 1600MHz, 1866MHz, 2133MHz and 2400MHz, which are all pre-programmed XMP profiles in each kit.
CAS Latency timings range CL9-11. The frequencies coincide with the timings: 1600-CL9, 1866-CL10, 2133 and 2400-CL11. These timings genuinely benefit CPU processing power. The lower the CL timing the greater the performance especially for rendering projects.
The last feature of course is the price. The Kingston HyperX Savage 16GB 1866MHz DDR3 Dual Channel kit retails for around $180 US.
Test System and Installation Notes
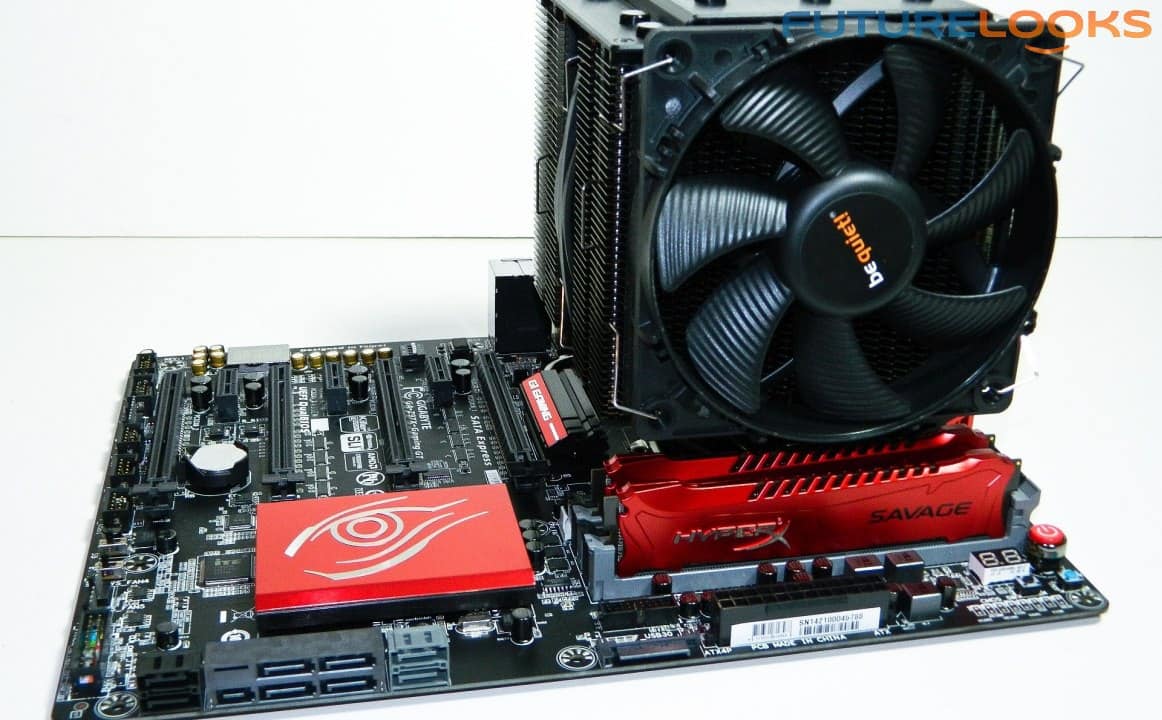
The same system we tested the Plug’n’Play HyperX Fury on, was also used in this review, to reveal any system benefits, subtle or not. The BIOS and drivers are exactly the same as well, so definitely have a look if you need more details.
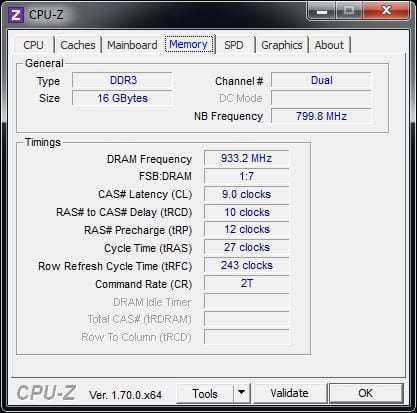
CPUZ was used to verify whether or not memory frequencies and timings are correct. The SPD tab will communicate the programmed frequencies within your memory kit. The memory tab verifies what frequency you’re actually running on your motherboard. If your CPU supports 1600 MHz DDR3 by default, but you’re running at 1333 MHz, you can change the frequency for more performance in the BIOS.

XMP setup is very easy on the GIGABYTE GA-Z97X-UD5H. The Tweaker Mode BIOS’ Memory tab contains the pertinent settings which include the XMP Profile, memory timings, and manual frequency options. After you apply an XMP Profile 1 or 2, simply save and exit. It’s that easy.

Starting in frequency order, Profile 2 automatically configured the memory to 1600MHz frequency with appropriate aggressively programmed 9-9-9-timings. If you’re using your system for multimedia projects, this is your best option as timings improve CPU-memory communication.
Selecting Profile 1 automatically set the memory frequency to 1866MHz with 10-11-10 timings. As long as the first number (CL) 10 is correct, your motherboard and memory are properly communicating. Here, regular desktop use like games can load quicker thanks to more bandwidth. However, Savage still has some extra bandwidth to offer when overclocked.
Extra Performance Settings
The Kingston HyperX Savage 1866MHz memory can support better timings and overclock relatively well. First, the CL timing was manually adjusted to CL 9 at 1866MHz. Second, we pushed HyperX Savage to 2133MHz using CL 10 timings.
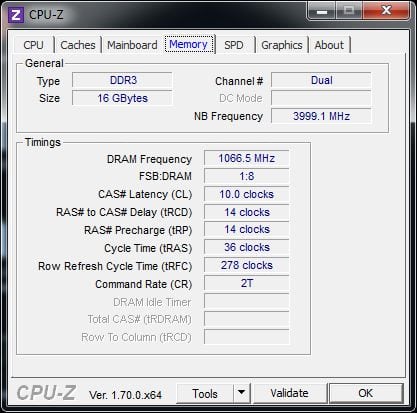
The kit topped out at 2400MHz frequency using CL 11 timings. Memory voltage was left to auto which the GIGABYTE GA-Z97X-UD5H motherboard managed perfectly. At all three settings, the HyperX Savage remained stable benchmark after benchmark.

Does all this extra bandwidth help overall system performance? Lets find out.
GraySky 5.0 – H.264 Benchmark
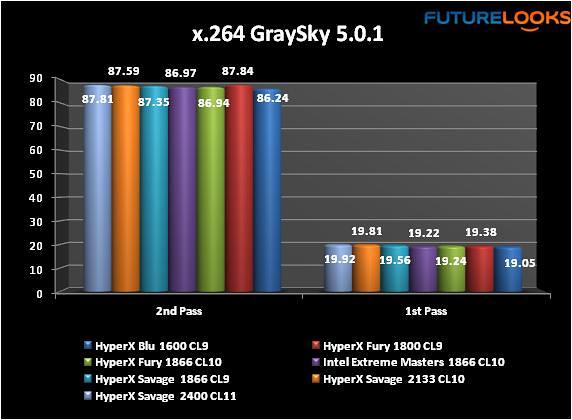
We can see that both timings and frequency can have a beneficial effect on rendering times. Even though one frame doesn’t seem like much, that’s an extra frame every second which can equate to hours of billable time in the course of a project.
SANDRA – Memory Bandwidth
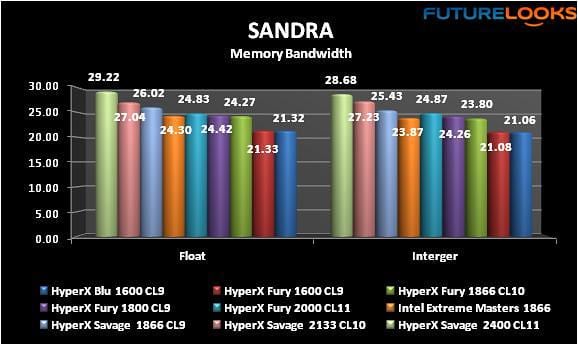
What kind of bandwidth gains are there frequency wise? It’s comparable to any other kit at 1600MHz, but easily outpaces the pack in higher frequency ranges.
PCMark 7 – Frequency Benefits Performance

It turns out that memory frequencies benefit overall system performance. However, it’s computation that gets the largest boost since it has everything to do with communication between the CPU and memory.
Final Thoughts

The scores show that the Kingston’s HyperX Savage 1866MHz DDR3 16GB Dual Channel Memory Kit can help improve system performance. Not only is Savage slightly more efficient thanks to lower CAS Latency (CL) timings, it’s also capable of maintaining relatively good timings as well when overclocked, up to 2400MHz , which was unexpected.
The Kingston HyperX Savage XMP profiles worked as coded into the modules. XMP profiles 1 and 2 both set up properly which is great since many users aren’t very comfortable navigating the BIOS to set up memory manually. Just make sure your Z87 or Z97 motherboard is a good quality board to see all the XMP performance benefits.
The Kingston HyperX Savage DDR3 dual channel kits start at 1600MHz 16GB, and go for $165 US, 1866MHz 16GB for $180 US, 2133MHz 16GB for $190 US, and 2400MHz 16GB for $203 US. Comparable to the competition and only about $10 more than the aggressively priced HyperX Fury.
While there aren’t many Haswell and Haswell-Refresh (LGA 1150) processors that can go beyond 2400MHz, we highly recommend getting the Kingtston HyperX Savage DDR3 1866MHz 16GB Dual Channel kits as your best bang for buck in this high performance line up.


Help Improve Our Reviews By Leaving Your Comments!