
Today ‘s most elite PC systems feature elaborate custom cooling systems to manage CPU, GPU and occasionally even chipset temperatures. While the process has come a long way in the last 10 years, it still takes a bit of home work to choose the right parts and patience in assembling them a system properly. Fortunately, all in one liquid cooling systems have also come a long way and can can save a lot of time and money as well.
Not too long ago, I installed a Thermaltake Water 2.0 Extreme LCS in a GIGABYTE demo system for Intel Lanfest Infernalan. The goal was simple: cool the CPU as quietly as possible without sacrificing overclocking or gaming performance. Even though past experience has taught me that a custom liquid cooling system works better, I’ve discovered that even the science in these all in one loops have progressed too. If you’re considering liquid cooling but don’t won’t to deal with custom liquid cooling, then our review of the Thermaltake Water 2.0 Extreme might offer you another option.
Features and Specifications
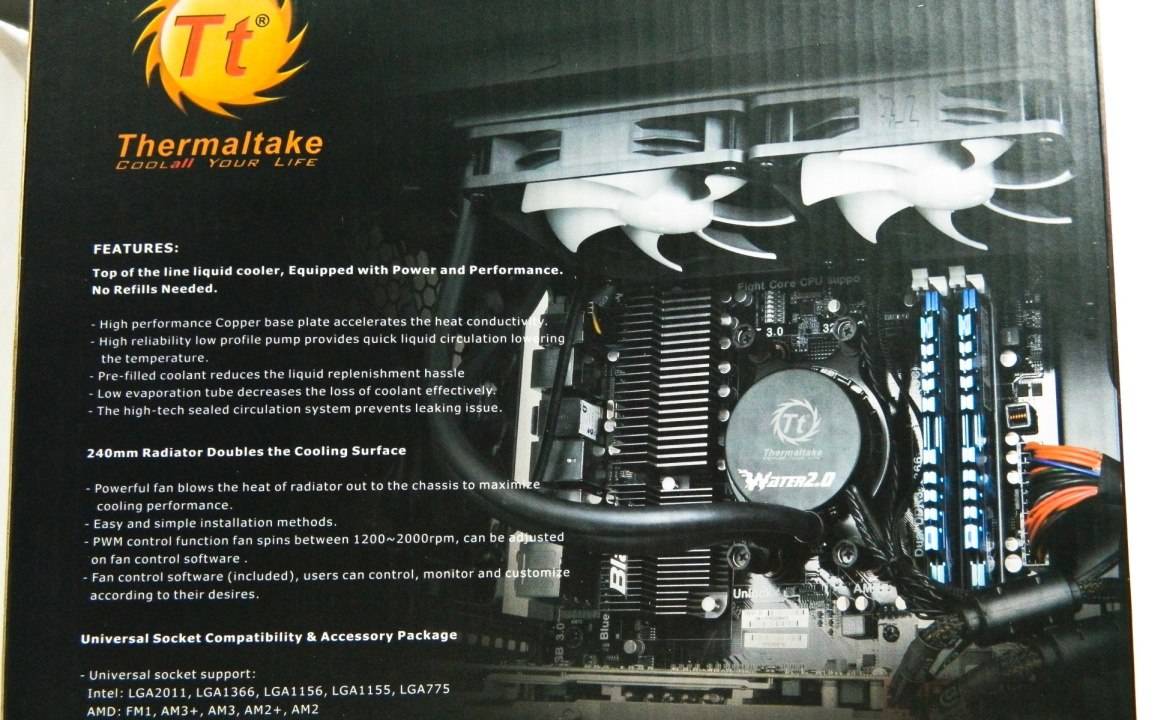
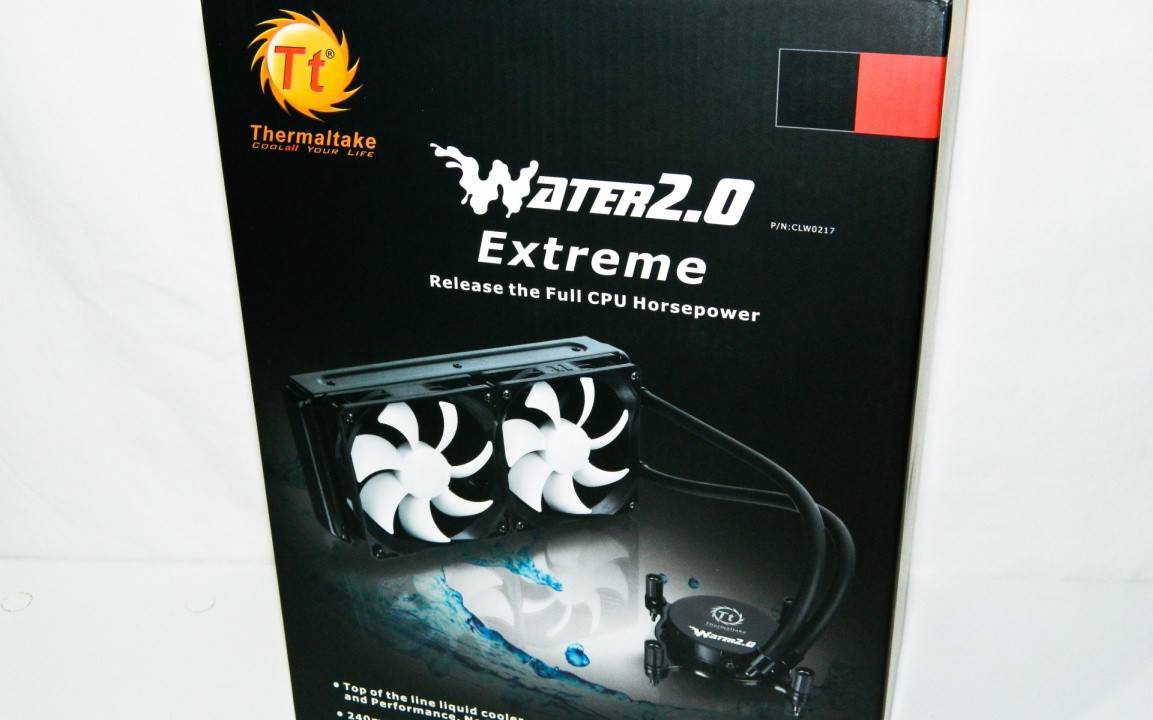
We easily get the idea of exactly what the Water 2.0 Extreme offers from the box information alone. Highlights include the use of a a 240mm light weight black aluminum radiator that is cooled by two 120mm fans that produce a maximum of 81.3 CFM in airflow, within an RPM range of 1200 to 2000. Rated noise levels top out at about 27.5 dBA.
The fans themselves are 4pin PWM fans which means they can be automatically controlled via the motherboard’s BIOS or with the Water 2.0 Thermal utility which is included with the unit. Control is done via a USB header connected to the motherboard.
The Water 2.0 Extreme actually weighs about as much as a performance level air cooler but doesn’t share all the shipping risks when installed. That’s one of the nicest features in my book especially if you’re a system integrator or move your system around a lot. It is also Thermaltake’s top of the line in their Water 2.0 series. You can see a quick snap shot of the differences at th bottom of the product page.
Pricing for the Thermaltake Water 2.0 Extreme is in the range of $117.95 – $139.99 according to our pricing engine.
What’s in the Box?

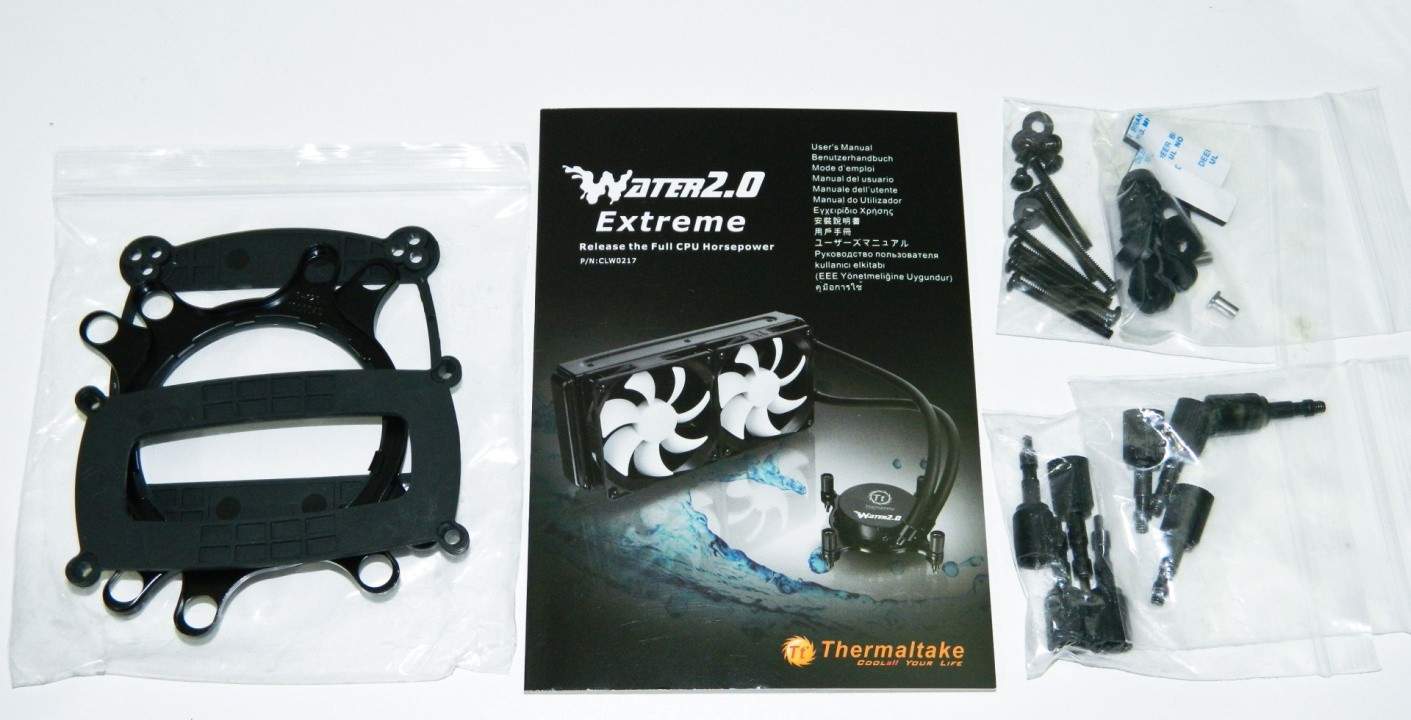
To the novice, the bundle may look intimidating especially in regards to the mounting parts in the bag. You don’t have to use all of them. There are parts specifically intended for Intel (LGA2011, LGA1366, LGA1156, LGA115) or AMD (FM1, AM3+, AM3, AM2+, AM2) processors commonly found on the market. The manual is easy enough to follow to install the system in a computer enclosure with proper dual 120mm fan ports at the top of the case. We’ll touch more on that in the installation notes to save you some time.
In the box are two 120mm Thermaltake 4pin PWM fans. These are temperature and Thermal 2.0 software controlled fans rated 1200 to 2000 RPMs producing a maximum of 81-82 CFM with a max 27 dB(A) noise level. They are mounted on the 240mm radiator pushing air through it rather than pulling. Machined screws are also included to mount inside your cases. In a sentence, everything is here that’s needed for complete installation.
A Closer Look at the Water 2.0 Extreme
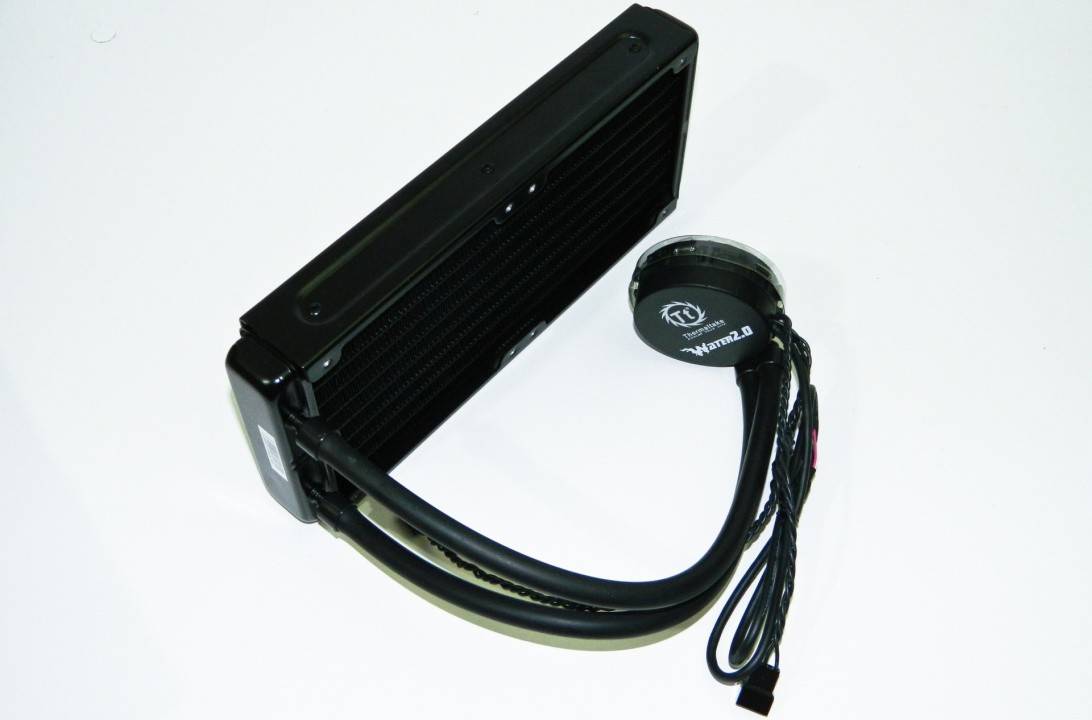
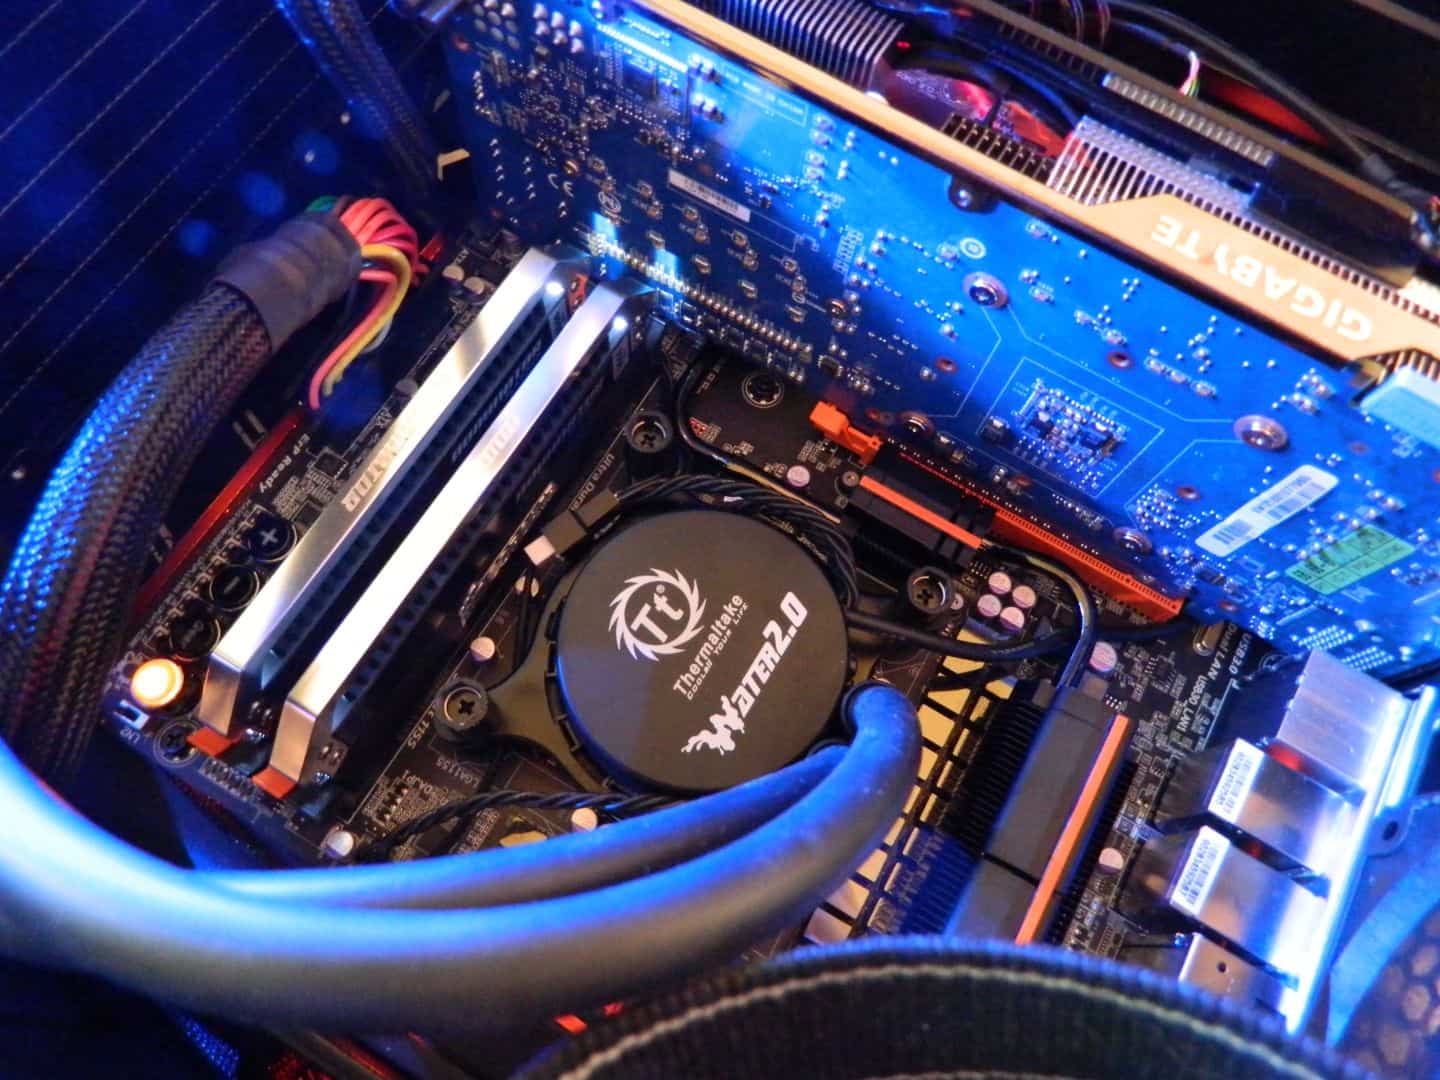
While you can’t tell from the photos, the 240mm radiator is made with very light weight aluminum. The chassis itself is rigid enough to handle installation without bending but you have to be more careful with the internal fins which bend very easily. The actual pump unit requires a simple USB motherboard header for power which also allows for control of the unit using the aforementioned software. The fans need a single 4pin CPU fan header off the motherboard. Most motherboard BIOS like to see something plugged in to the CPU otherwise you’ll have to disable that fan control function to avoid issues.
The tubing connected to the cooler is very pliable and is about 326mm or about 13 inches long which makes it easy to position or contort to your computer enclosure. The base copper cooling unit has a built-in pump so there’s nothing that needs connecting other than power wires.
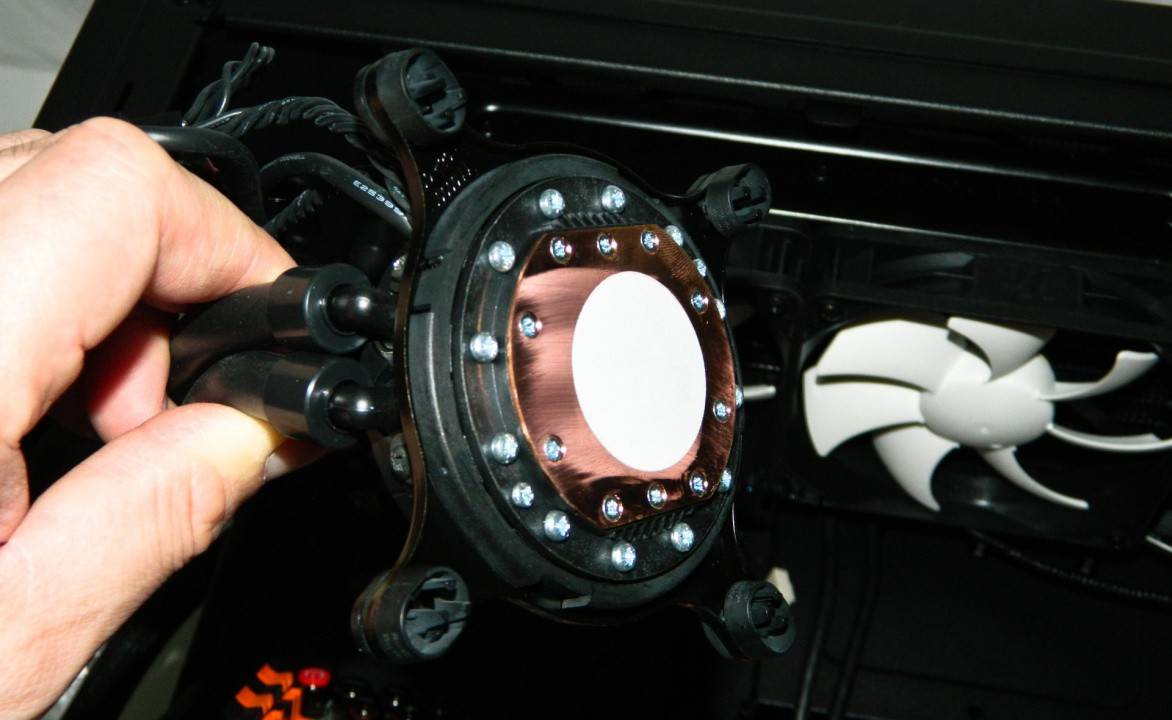
The copper base is smooth for the most part. You can’t feel the ridges to the touch but it’s apparent a a circular machine surface was used to achieve the desired finish. Redundant screws have been used to fasten the copper plate as well as the strong black plastic base housing. There is absolutely no chance of leaks without intentional abuse.
Test System Setup
I’ve used just an Intel Core i7-980X processor in the past to test coolers. But this time around I installed the Water 2.0 Extreme on both that chip and a Core i7-3770K which is a cool running chip at stock speeds but an unusually hot chip when overclocked. Here’s the test systems broken down:
- Processor 1: Core i7-980X Gulftown LGA1366
- Motherboard 1: ASUS X58 Black Edition Extreme
- Memory 1: Patriot Memory Viper II Extreme 12GB 2000MHz DDR3
- Processor 2: Core i7-3770K Ivy Bridge LGA1155
- Motherboard 2: GIGABYTE GA-Z77X-UP7 “OC”
- Memory 2: Corsair Dominator Platinum 8GB 2666MHz DDR3
- Graphics: GIGABYTE GTX 670 OC Edition
- Power Supply (both systems): Rosewill Tachyon 1000 Platinum
- Storage (both systems): Kingston HyperX 240GB SSD
- Mounted in an Epic Case Tech Station
- Windows 7 Pro 64bit
Prime95 and Furmark were both used to push all functions of the CPU to maximum thermal output. Keep in mind that most processors, or systems for that matter, don’t run at 100% maximum load unless you’re using CPU intensive programs regularly. Ambient temps vary region to region so your results will vary.
Before getting to testing, let’s cover any installation issues first and our notes for getting out of them.
Installation Notes
Unlike custom liquid cooling, all in one systems like the Thermaltake Water 2.0 Pro or Extreme simply need an enclosure’s existing single or dual 120mm fan ports to be installed. No tube cutting, custom parts ordering, or special effort is required. Don’t misunderstand, I’m in no way knocking custom liquid cooling simply because it can look so elite and cool multiple hot components better all at once. However, it does require a certain level of technical prowess which most DIY enthusiasts don’t have the time to hone. That’s why all in on systems have become popular and are getting better all the time.
Thanks to a complete range of installation components and a helpful manual, installing the Water 2.0 Extreme was as easy as any other CPU liquid or air cooler. The manual has detailed enough pics making it easy to follow. The system easily installed into an NZXT Switch 810, Fractal Design R4 Define, a Coolermaster HAF XB, and a Danger Den Tower 21. Keep in mind custom enclosures like the DD 21 may require your own screws for proper fit.
The default installation method has the chassis airflow blowing through the rad and out the top. If your case has poor air flow, I suggest flipping the fans so that they blow or pull cool air through the radiator. Another option is to mount two additional fans for a push and pull configuration and will require additional hardware not included in the box. But it can be done easily.
I’d like to also point out the cooler’s base can be orientated to just about any position thanks to the very flexible rubber tubing. The mounting bracket actually has a bottom clip to lock the top fastening ring in place so you don’t have to hold it all together. This is a very nice touch and something other competitors should consider.
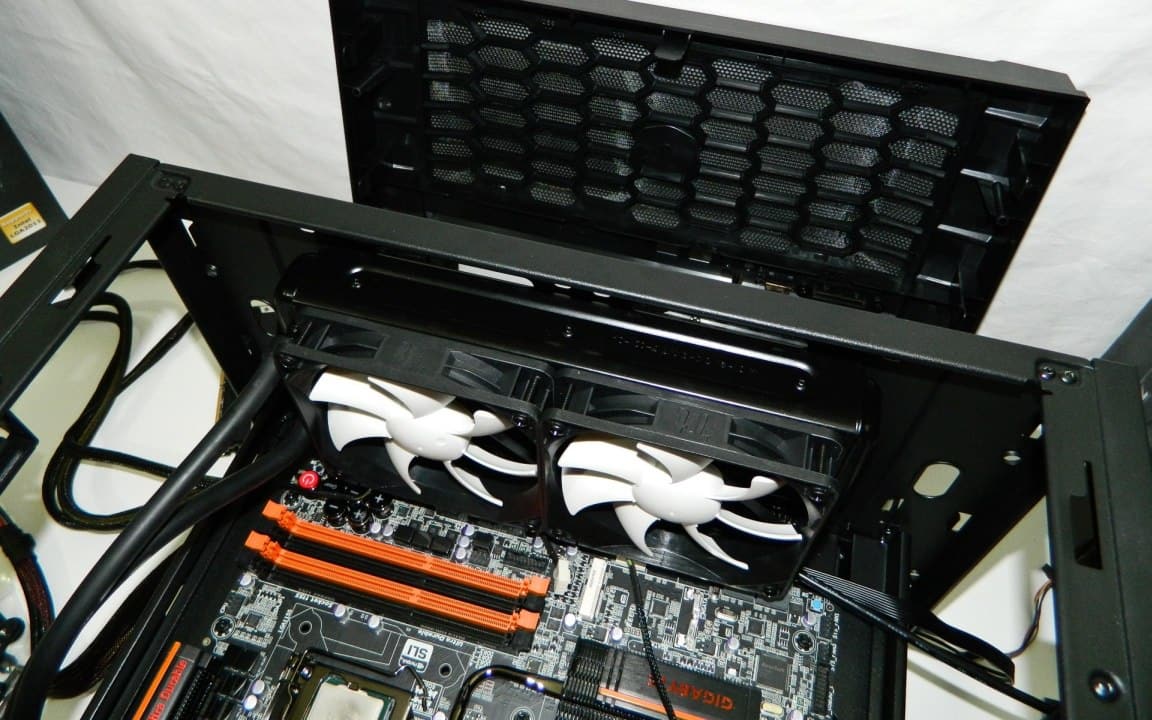
The Water 2.0 Extreme required a little thinking and tinkering when mounted in a Coolermaster HAF XB chassis, which is a flat, shorter tech station of sorts. The very long GIGABYTE GTX 670 OC video card took up too much space. I simply removed the two front Coolermaster case fans and used the Thermaltake fans and four included long screws to mount the Extreme radiator. The dual 120mm fans were installed drawing cooler air inside through the radiator in to the enclosure and there was no measurable performance penalty. Now, the system really rocks.
Now let’s get on with testing!
Cooling Performance and Noise Examined
Low, high, and automated PWM control fan speeds were set while monitoring the processors’ temps. Ambient temps were 70 F or 19 C. Noise was also measured from three feet which is about a common distance we typically sit from the computer. Keep in mind my tech station is wide open and not enclosed like a regular cases so depending on how good the airflow is in your enclosed chassis, your results may vary.

First, let me say, o m g! The Water 2.0 Extreme really controls the heat produced by both the Gulftown and Ivy Bridge processors. The unit handles the heat almost as well as the best air cooler(s) I have in the lab. And, the Water 2.0 Extreme is surprisingly quieter than expected.
Compared to the HAVIK 140, which generates about 26dBA, and the Venomous X, which generates around 35dBA, the Water 2.0 Extreme seemed in audible. In fact, it was actually generating less than 24dB of noise almost all the time which is something high performance single tower coolers just can’t compete against.
Final Thoughts
Ever since all in one liquid cooling systems first arrived, I’ve honestly not seen one cool as well as the Thermaltake Water 2.0 Extreme and that’s why we’ll be seeing even better units hit the market soon. In this system, most of the magic happens inside the unit between the internal coolant and radiator’s thermal dissipation surface. Their engineers did a great job of finding the truly optimal cooling level. And, they made sure to include every major accessory needed for a successful installation. The Water 2.0 Thermal Control software software is equally super easy to utilize and most importantly, works well. But you don’t have to use it if you don’t want to.
There’s not really anything that over shadows the product from installation to use. Now that they have a solid base line to work with, perhaps engineers will give us some white tubing next time to make it really pop especially for enthusiasts. But of course, thanks to our CES 2013 coverage, we already know that the new Water 3.0 Extreme will receive updated fans and an even better pump, and pricing is said to be the same. It’s hard to imagine performance being any better with this configuration.
Finally, let’s look at pricing. At between $117.95 – $139.99 according to our pricing engine, the Water 2.0 Extreme may seem expensive. But it’s a far cheaper and easier to install solution over custom liquid cooling. However, with the competition heating up with new entries from NZXT and CORSAIR coming down the line, we’ll have to see how it holds up, even with it’s 3.0 revision on the horizon. But today, you really can’t go wrong with this system and I highly recommend it.
Pros
- Dual 120mm fans and 240mm radiator
- High performance cooling
- Surprisingly quiet
- Bundled software works well
- Easy installation
- Good compatibility with many cases/configs
Cons
- Costs about $20 more than competitors
- USB header required
Overall Rating: 9.0 / 10.0


Help Us Improve Our Reviews By Leaving a Comment Below!