

Thermaltake is a well known contender in the high-end cooling market, making products that keep our overclocked CPU’s nice and cool while we attempt to drive them to the brink of oblivion and back – – often doing so in style. Naturally then, one who overclocks seeks out such a vendor in hopes of finding a device to cool his fiery passion. So what does Thermaltake have to offer today?


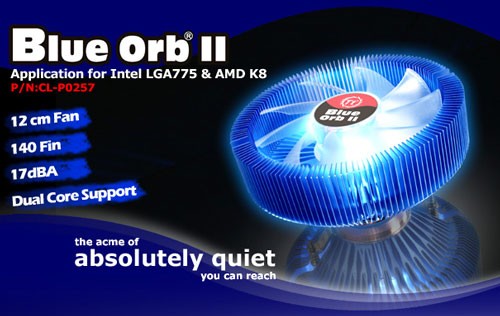
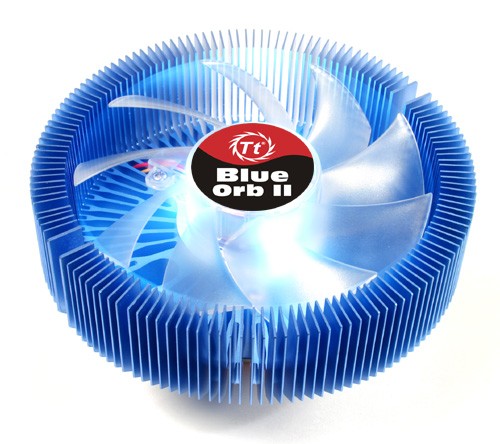
Enter the Thermaltake Blue Orb II, sporting a amazing 140 alluminum fin count, near-silent operation, universal socket support and abnoxious blue light. How well does it work you ask? Stop with this marketing spin, you whine? Well, let us move on then and get to the nitty gritty details of how this bad boy works. First and foremost, let’s get the technical specifications of the product out of the way!
Specifications
|
Heatsink Dimensions |
140 x 66 mm |
|
Fan Dimensions |
113 x 24 mm |
|
Heatsink Material |
Copper Core & Aluminum Extrusion (140Fin) |
|
Fan Voltage |
12V, 7V startup |
|
Power Input |
3.00W, 3 Pin connector |
|
Fan Speed |
1700 RPM +- 10% |
|
Air Flow |
Max. 77.85 cfm, max. 1.80 mm H2O |
|
Noise |
17 dbA |
|
Weight |
869g |
|
Lifetime |
30,000 hours (= ~ 3.5 years) |
Now that the formalities are out of the way, let’s put a face to those specs!
Real-Time Price and Stock Check
Packaging


As I’ve said in previous reviews, I’m really a fan of this type of packaging. It’s easy to see the product inside while displaying all the main product features and it doesen’t tear your hands to shreds trying to open it either. A simple tug on both sides of the plastic brings the package apart. Kudos to Thermaltake for saving my digits some trauma. So, what’s inside the package?
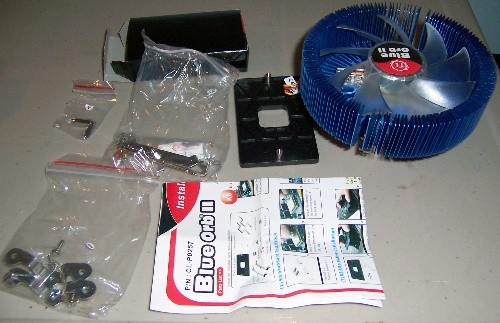
You should have found:
- Blue Orb II Cooler
- Socket LGA775 Mounting Parts
- Socket 939 Mounting Parts
- Heatsink Paste
- Instruction Manual
One of the first things I noted as I was pulling those componants out of the box was that each bag has an individual label on it, making it really easy to find the parts you need. I can’t begin to tell you how many times I’ve had to compare parts against a manual, since all of the different socket parts were jumbled together in the same package. Not anymore!
Assembly

On that note, the documentation included with this heatsink is very easy to understand and follow. Thermaltake seems to really stress an easy-to-install and use approach to their products and that is only accentuated by their excellent documentation and labelling. However, the questions still remains – – is this heatsink easy to install?
The overall process did not take much time and it was quite easy. However, there are two things that I would like to note:
- When you are mounting the heatsink you need to put quite a bit of pressure on the screw to compress the spring far enough to make the screw have contact with the riser. I found the best way to get the heatsink mounted was to torque down one screw just a little bit and then move to the other, and to go back and forth as neccessary.
- You will need an extension bit or a long screwdriver to get at the screws as a standard multibit screwdriver is too large to fit through the openings on the fan.
Other than those two things, installation was a breeze and should you follow the instruction manual correctly you will end up with something that looks like this:
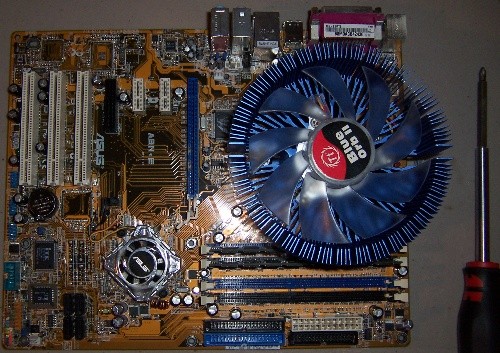

Now that we have our shiny new heatsink installed, how well does it perfom?
Let’s find out!
Real-Time Price and Stock Check
System Setup
Our system for this review was setup as follows:
- Asus A8N-E Motherboard
- BFG GeForce 7300 GS Video Card
- AMD Athlon 64 3800+ Socket 939 CPU
- 2 x Transcend 512 MB DDR PC-3200 Memory Modules
- MGE 500 Watt PSU
- Maxtor Maxline Pro 500 Hard Drive
Our operating system of choice was Windows XP Pro SP2. I’m still a little shy to pull the trigger on Vista. Let’s go over our testing plan.
Test Setup
In this test there are three factors which we want to determine: Idle running temperature, maximum stable temperature and time-to-idle. How we came about all three values is described in detail below.
Computer is started from a cold-boot into a Windows XP Pro SP2 install at room temperature (19 degrees Celsius here) and is then subjected to 30 minutes of a 2 x CPU-Burn in to get the CPU nice and toasty. We then allow the CPU to idle for thirty minutes to get it’s running idle temperature. To monitor temperature levels, we used AMD64 CPU Assistant.
After we’ve recorded the running idle of the machine, we start two instances of CPU-Burn in and run the machine for an hour. After that hour is up, we continue to run the machine under load until we can pinpoint a stable maximum CPU temperature and record it. We then stop CPU-burn in and start a timer to record how long it takes for the processor to return to it’s idle running temperature from it’s maximum temperature. This allows us to have a very good idea of the heat dissipation abilities of the heatsink.
So, how did the Thermaltake Blue Orb II fare? Read on to find out!
The Results Are In!
In this section we’ll be directly comparing the performance of the Thermaltake Blue Orb II with the Stock AMD 3800+ cooling system. Here is what we found:
Temperature Results:
|
|
Idle (C) |
Loaded (C) |
Time to Idle (min) |
|
Stock AMD |
34 |
42 |
4:19 |
|
Blue Orb II |
30 |
39 |
1:05 |
As we can see, the Thermaltake clearly outpaces it’s stock partner, showing off it’s cooling prowress. However, those of us who sleep in the same room as our computers know that while we could go ahead and stick a Honeywell (fan) to the side of the case, what good is cooling if it’s so loud you can’t enjoy what your doing? Let’s see how the Thermaltake fares on the good ol’ decibal scale.
Noise Level Results:
|
|
Idle (dB) |
Loaded (dB) |
|
Stock AMD |
34 |
42 |
|
Blue Orb II |
24 |
25 |
Looks like you can put that honeywell away and sleep soundly now! The Blue Orb II definately beats the stock AMD cooling and the Honeywell in this catagory giving it a flawless and substantial victory over stock cooling options.
Real-Time Price and Stock Check
So…What Did We Think?

The Thermaltake Blue Orb II gets points for it’s quiet and cool operation, for it’s great documentation and for it’s simple but noteworthy design that screams “I am all that is heatsink, I am here to cool”.
Although we would have liked to see the device come with some good thermal grease and have a slightly more intuitive mounting procedure (Less powerful springs, or higher risers!), it did attach securely and provide excellent cooling. Overall, I would have to say that the device has performed very admirably. Editor’s Choice!
Pros
- Quiet operation
- Excellent cooling capability
- Great documentation
Cons
- Mounting requires substantial force


Real-Time Price and Stock Check