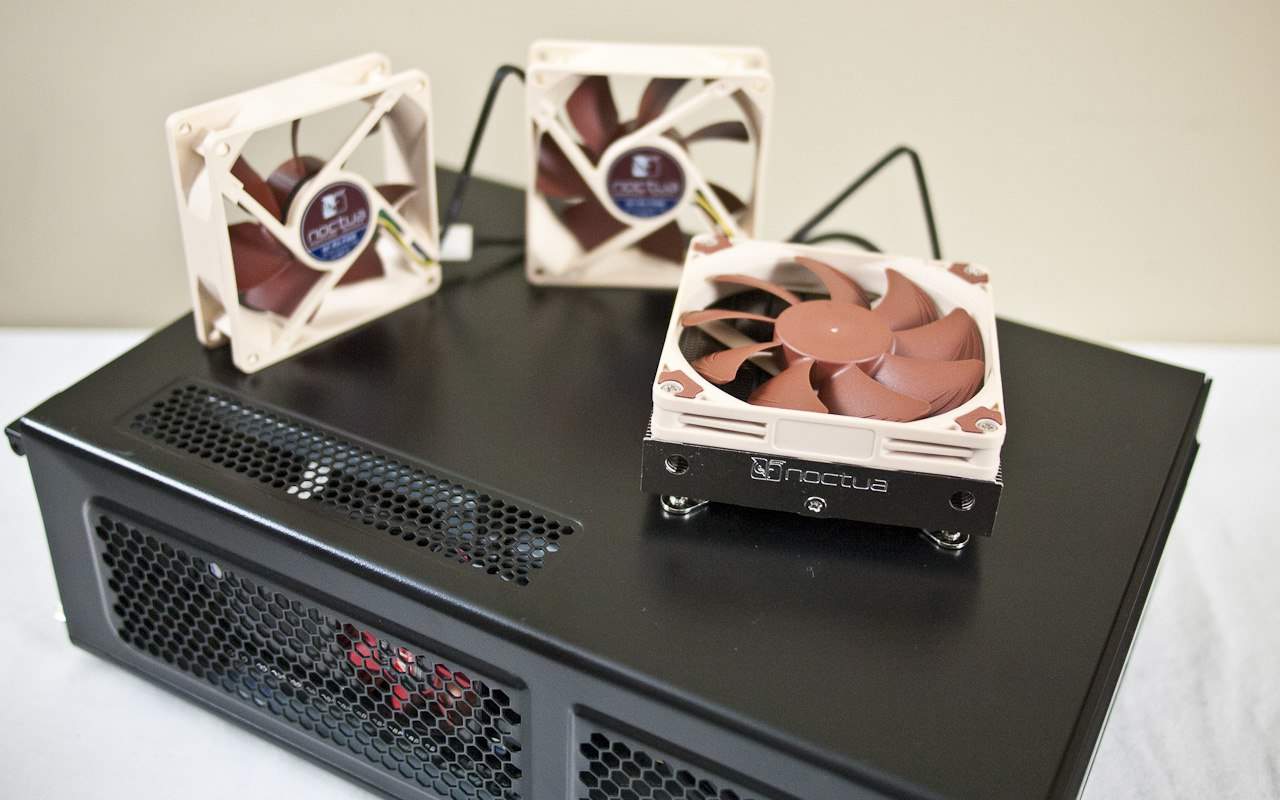
Installation Notes – Noctua NF-R8 80mm PWM Fans

The challenge of installing the Noctua NF-R8 fans was minimal. Where the challenge lay was in the complete disassembly of the system required to get at the dual 80mm fan holder. However, once we got the fan holder out, we went for the screw installation method. I had tried to mount the fans with the rubberized fittings, but I couldn’t get them to pull through, and ended up tearing them instead. You may have more luck on cases that mount the fans to the case, but the holder in the ISK300 proved to not be viable with this mounting method.
Installation was completed very quickly and I chose to use the Y-Adapter as the GIGABYTE Z77N-WiFi board only had one other fan header besides the CPU fan header. No extension was needed, but had this been a larger chassis, the option to extend the cable was welcome. Compared to the original fans that used standard four pin MOLEX connections, I was actually able to tidy up quite a bit of cabling thanks to the smaller connectors and the fact that they were headed towards the motherboard instead of into the rats nest of cables already hidden in part of the chassis. There really is only so much you can do in such a confined space so I appreciated any advantage I could gain.
Noctua NF-R8 80mm PWM Fans – Temperatures and Noise Levels
After installing the fans and reassembling the system, we followed our set procedure and recorded the following results…


First we recorded the stock temperatures of the system without the new Noctua fans which is represented by the results on the left. Then we installed the Noctua fans and took measurements again which give us the results on the right. To summarize, temperatures did indeed go up overall both at idle and at load, represented by the min and max values. TMPIN0 went from 33C to 38C at idle and from 37C to 43C under load. TMPIN1 took us from 20C to 26C at idle and then from 34C to 40C under load.
CPU package temperatures also followed suit, going from 32C to 37C at idle and then from 46C to 50C at load. GPU temperatures also increased from 31C to 36C at idle and from 55C to 59C at load. SSD temperatures seem a bit more relaxed with SSD2 recording an increase of one degree but load temperatures increased by 4 degrees over both drives. The results might paint this supposed upgrade as a disaster, but that’s not the entire story. I was actually expecting some sort of temperature increase. So was there an upside?
When it came to noise levels, which I stated specifically as one of the areas that this system needs to improve upon, the new fans certainly improved that area dramatically. Under idle conditions, the noise levels went from a very noisy 53.5 dBA under idle and load conditions to a very noticeably quieter 39.5dBA and 41.5dBA respectively. The tone of the noise also smoothed out and was far less noticeable than the whirring that was generated by the original fans. Noctua has a reputation for very quiet bearings and a more pleasing noise profile so I wasn’t surprised that something dramatically acoustic took place.
Now that we’ve found out what the fans have done for our system, let’s see what a new cooler will do.
Installation Notes – Noctua NH-L9i CPU Cooler

Once again, out came everything in the case and on went the NH-L9i Cpu cooler that replaced our stock Intel cooler. You can see in the photo above just how small the new generation of INTEL CPU coolers are and the Noctua NH-L9i is even shorter than that. You can also see just how much more metal there is in the Noctua. But our installation didn’t go on without issue.

We discovered that the Noctua would only fit on the board if the fins were running perpendicular to the memory slots. The reason for this was because of the tall chokes around the CPU socket making contact with the NH-L9i’s mounting bracket and kept it from sitting down. We wanted to run the cooler with the fins parallel with the memory slots because the exhaust fans on the case are at the top right of the motherboard, which would draw hot air through the fins and out of of the case. This was not possible to achieve unfortunately. However, after orienting the cooler 90 degrees so that the fins were perpendicular to the memory slots, the cooler did finally sit down and allow the screws to pull it down, but we noticed another issue as illustrated above.
The gray choke was now in contact with the NH-L9i’s mounting bracket and we confirmed this visually be noting the scuffing on top of the choke, and the fact that the thermal paste was biased towards the back two thirds of the mounting surface, away from where the choke made contact. Although over time, this might correct itself, currently, the cooler doesn’t seem to be making complete contact with the CPU as a result of this. Noctua does maintain that the cooler was made to spec with 10.1mm of height to prevent issues like this, but for what it’s worth, the choke is taller than the capacitors on either side of it.

Nonetheless, we did our best and got everything bolted down and ready to go. This is a good time to make sure you double check that the board you are buying for this cooler, or vice versa, will mount properly and it looks like any board with chokes taller than the capacitors probably will have some sort of clearance issue. On the bright side, the height of the cooler did create a nice air space right through to the exhaust fans and we were able to tidy up a bit more as well. Since cable management is such a challenge in a small system, any advantage is a good one.
Let’s move on to the test results to see what kind of performance we can expect from the addition of this CPU cooler in this mini ITX system.