Build Log and Design Notes
The first thing I noticed about this case is the shear size and weight. As a budget full tower case I expected Rosewill to cut some corners like using lighter aluminum, thinner walls, and lots of plastic. Weighing in at just over 30 pounds empty, thin and lighter material is the last thing you will find here.
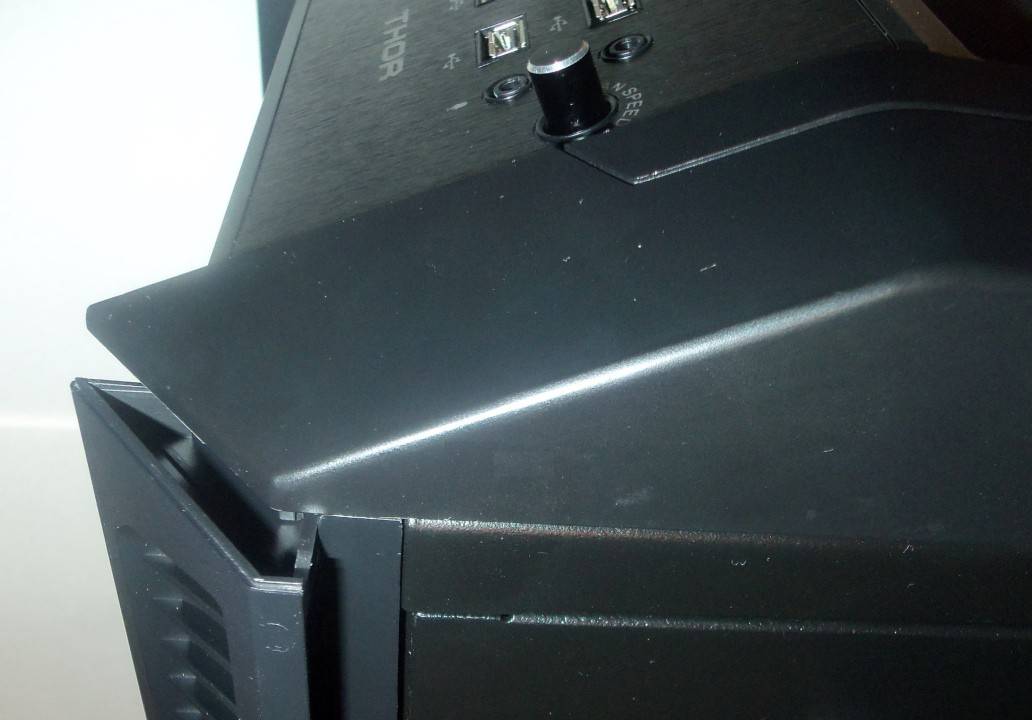
The overall look of the case is generic. This is not helped by the basic design for this case being the same as the Akasa Toxic. These cases share a core build, but the accents on the Rosewill Thor V2 are more understated. While the Thor V2 is not visually appealing to me, it makes up for this shortcoming in spades in the functionality and features department.
Working with Thor V2 was a breeze. I started the build as I always do by placing the motherboard standoffs in place. While normally labeled in the case on the tray, this time I found numbers 1 through 16. You find the numbers you need to place a standoff for your motherboard size listed in the instructions. Not the best solution, but it works just fine probably saved a few nickels in production time.
Once the standoffs were in place I installed the PSU in its lower mounting slot. The PSU slot has foam padding on the back of the case and four rubber stands over a very large vent. This should easily accommodate any size PSU with a vent that will work with any size fan or fan location. Some Extremely large PSU’s like those in the 1500 Watt range will fit but will obstruct the bottom fan slot. After the PSU was in place and all the cables I needed were attached to my modular Antec HCP Series PSU, I threaded them through to the back via the wire cut outs.
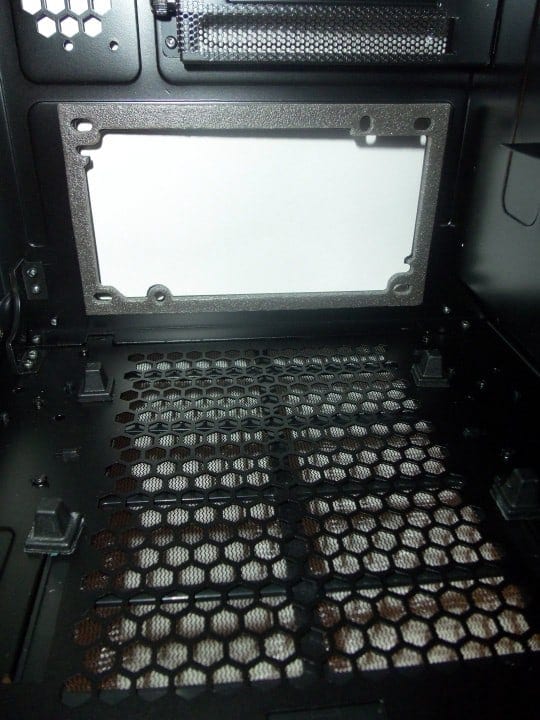
At this point I did several things including installing the motherboard, back I/O shield, and removed the top HDD tray. To install a HDD/SSD, you simply use the provided screws to attach the drive to the HDD tray. This can be done with the SATA connectors facing either direction. Once this is done the drive can be installed or removed without tools.
At this point in the build I recommend you follow my lead and do your wire management and connect your fans to the channel you want. You will notice channel A has 2 wires and channel B has 3 wires as it provides more power to the fans. I recommend you use “B” for the intake to create some positive pressure to reduce dust at the intake point.
You will notice the wires from the front I/O are not all black. This does not clash with the completely black case since I managed to hide all of the wires behind the motherboard tray. After all, the wires are routed and connected and now you are ready to install the finishing touches.

I installed the CPU, cooler, and GPU into the motherboard at this point. The very large cutout allows you to install the CPU cooler using the case to help with some of the more awkward installation methods. The expansion slots on Thor V2 all have thumb screws so you only need your screw driver to loosen them because they are close together. The PCI slot covers are also vented and replaceable.
Once everything was in place I installed the optical disk drive. This is done by removing a plastic side panel, sliding the ODD into the case and then locking it with tool-less latches on both sides.
Now that I had everything in place I put both doors back in place and secured the four external thumb screws. There is nothing to complain about here. Even though there is no removable mobo tray, the case is so large working with the tray is easy. Cable management was easy since there is plenty of wire cut outs and space behind the motherboard tray.
Design Shortcomings
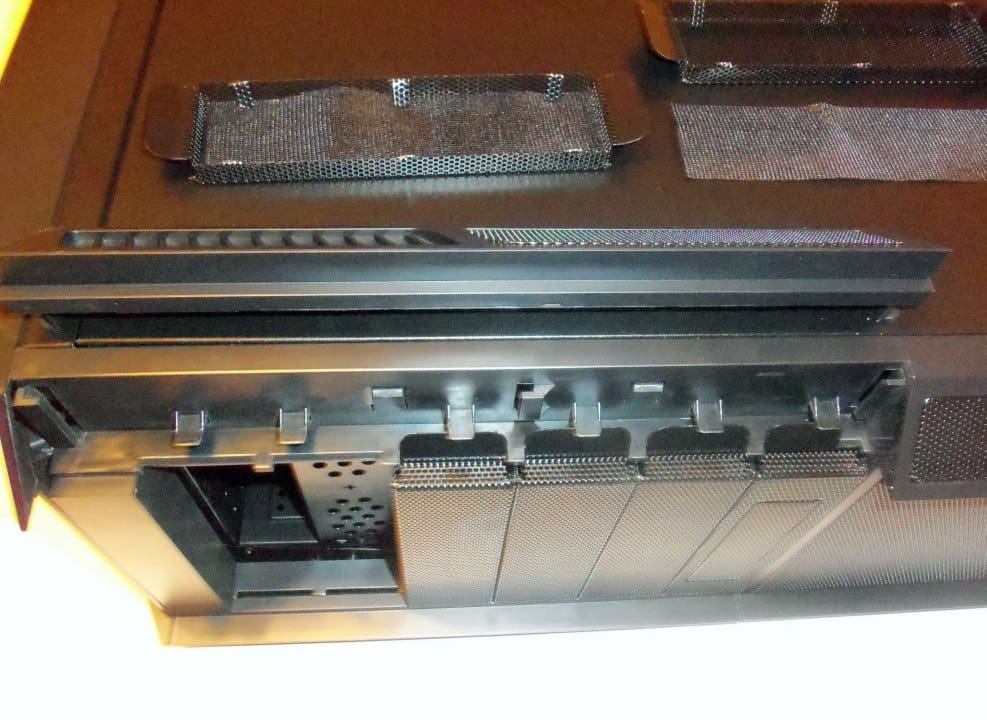
While I do like the Rosewill Thor V2, there are some weakness to the design I need to address. There are filters in place for the entire front panel including the removable 5.25″ covers. The issue is these are just filter screens cut out and held in place with the most rudimentary method. While functional, they will be a chore to clean on a regular basis.

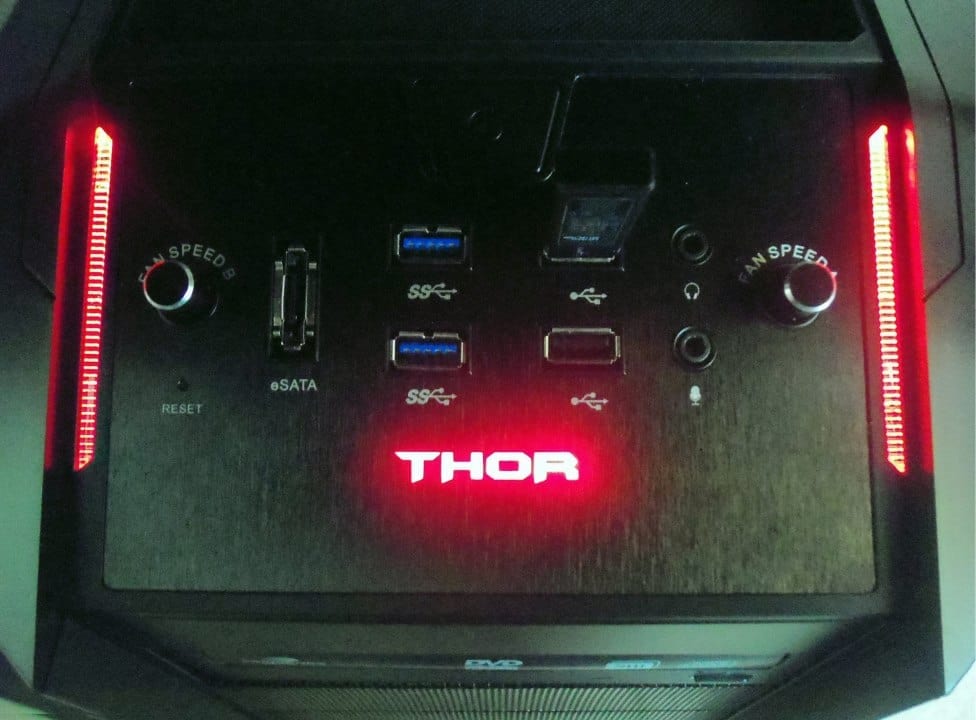
The front fan has red LEDs that can be turned on and off with the press of a button. A button that is well hidden in the plastic side rails. Reaching down to press this button is just irritating enough to not want to bother. As I expect a case this large to be place below the desk, you can’t really see the red LED anyway. It would have been better to have the button on the front I/O plate, especially since the wire from the fan is more than long enough to reach as you can see above.