Phantom 630 – Inside Cont’d
A dual 120mm radiator can fit between the hard drive cages attached to the front where a 200mm cooling fan does the job. Extra long screws included in the case bundle for mounting. Just make sure you pre-attach your 90 degree nozzles and/or tubing ahead of time for easiest installation.
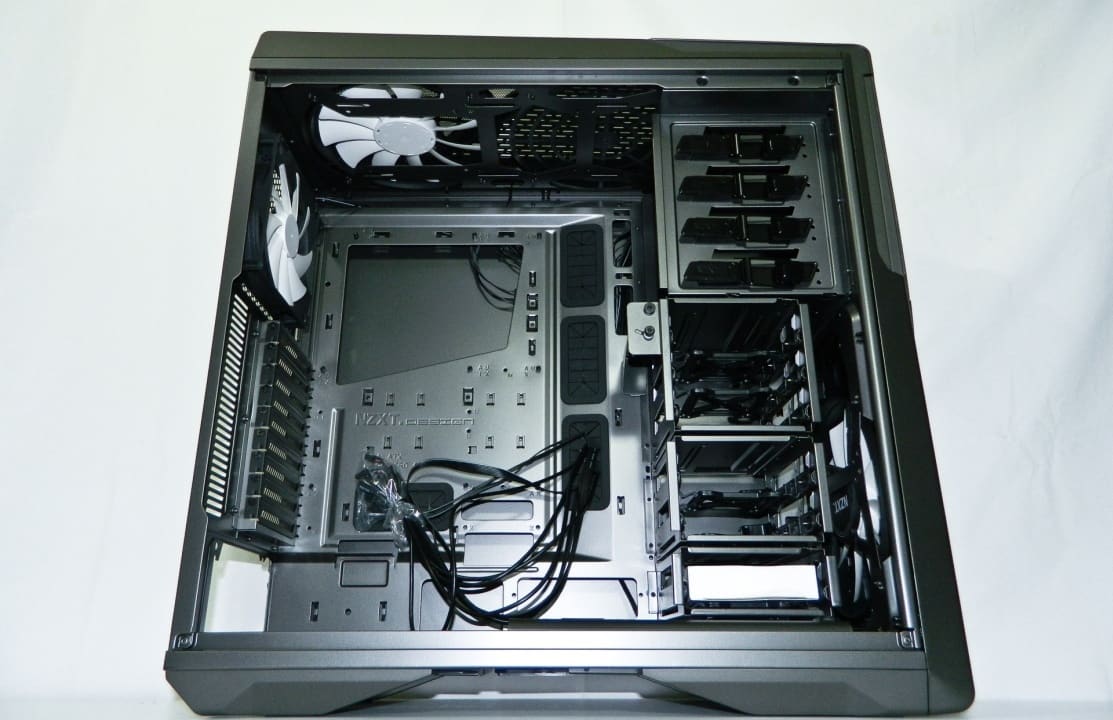
Similar to the Switch 820, the back 140mm fan slides up and down or could be swapped for a smaller 120mm. It accommodates single radiator all in one liquid coolers nicely. The front and top 200mm fans are stationary. The downside to this is the limited numbers of replacements available. If you happen to need another, hopefully NZXT has them readily on hand for purchase.
Of course, the top fan area will also accommodate a custom or all in one dual 120mm or 140mm liquid cooling system. NZXT’s Kraken series liquid coolers fit perfectly. Or you can go completely custom and toss a fat 360mm radiator up top and the Phantom 630 (like the Phantom 820 and Switch 810 before it) can easily accommodate those needs.
Phantom 630 – Behind The Motherboard Tray

It’s not often the backside of the motherboard tray, or left side of any case, has something worth checking out. In addition to the usual extra wire space behind the motherboard tray, the Phantom 630 has an extra 10-channel fan hub screwed in to the upper tray. The fan hub that is controlled through the top fan controller is also now secured with two screws so there’s no chance of movement. The two back side SSD mini-trays can be removed via a single thumb screw each. Extra small screws are provided in the bundle for installation. This is both an innovative an added security feature in our opinion.
I can’t help but wonder if another controllable LED on the backside of the hard drive trays would help enlighten system maintenance. It would keep us from having to try fidgeting with wires while holding a flashlight. Right now, I’m using one of the NZXT Sleeved LED kits which aren’t necessarily the cleanest (or cheapest) options.
Phantom 630 – Some Customizable Options
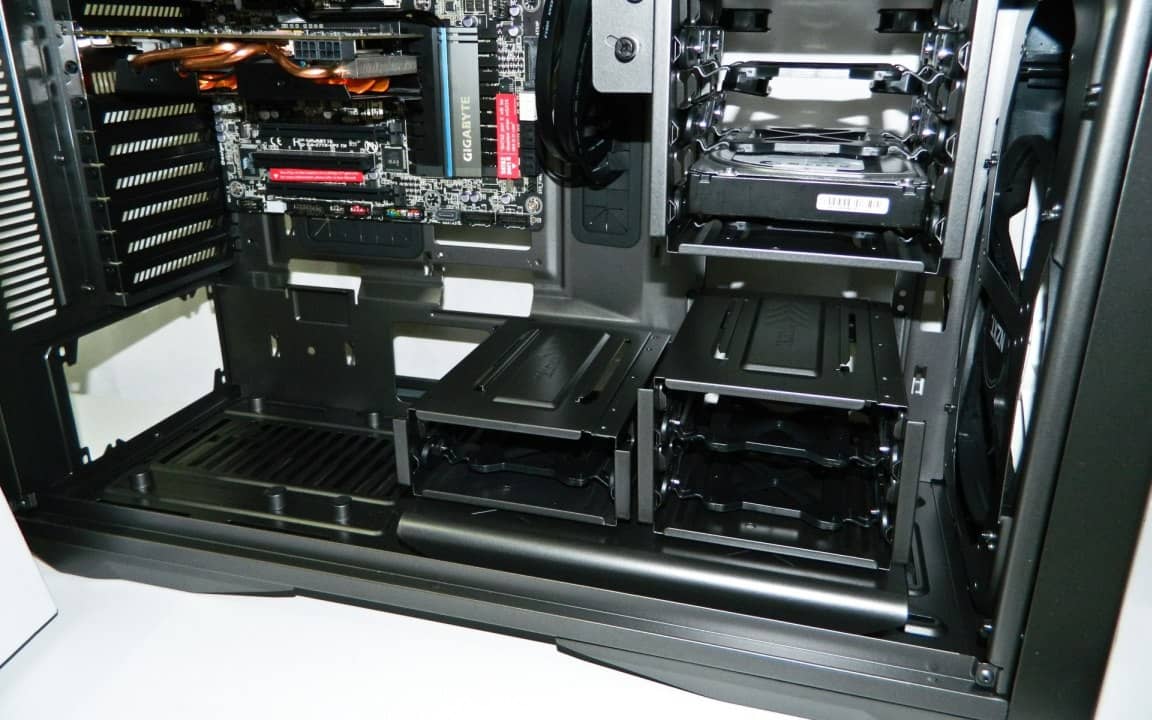
That lower fan shroud and cage support offers some unique options. The shroud isn’t necessary to support the cages per say. It can be removed if you want to add a dual 120/140mm radiator whether custom or all in one system. Also, the three hard drive cages can be unstacked and installed side by side on the shroud. There is an additional cut-out so you know where to place the single cage. Both still fasten to the back via thumb screws. This is pretty darn unique and opens up the front for even better air flow. Especially if you utilize the two SSD spots behind the motherboard tray.
Phantom 630 – Installation Examined
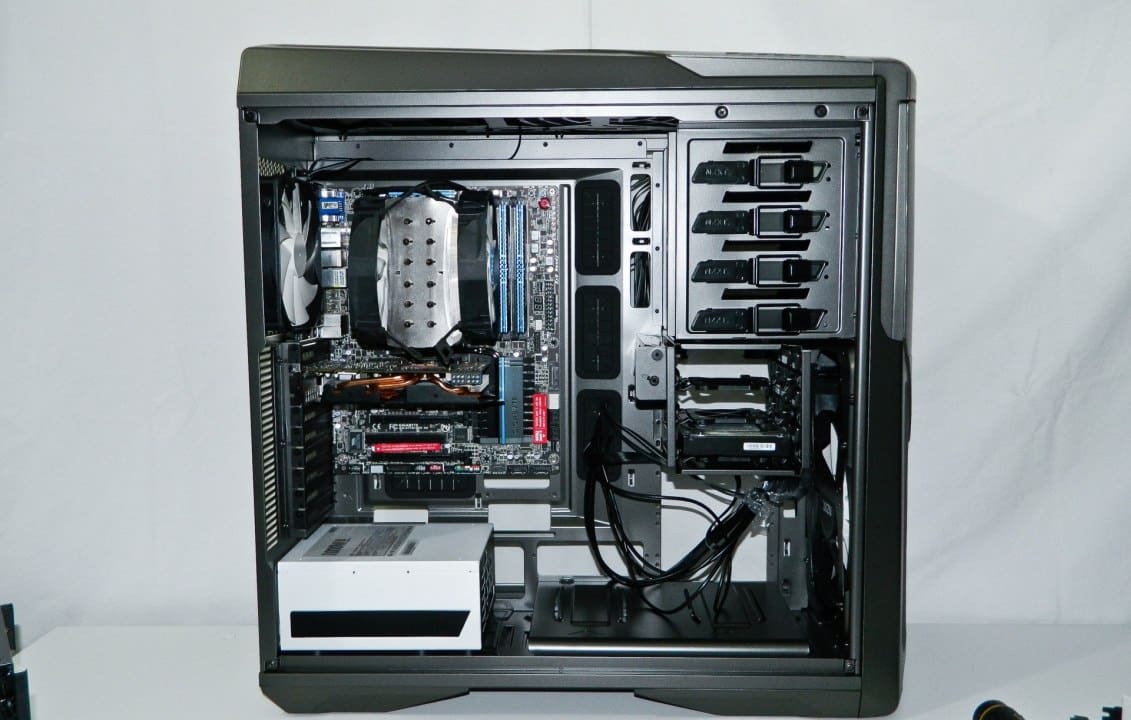
Were there any issues getting the system installed? Not one problem arose during installation which counts as a 1/3 of my scoring method. Wire management was especially easy given all the grommet placement. Since I keep 8 pin EPS extensions on hand to route behind the board tray, it was cleaner and easier still. The cabling can get a little jumbled up behind the hard drive cages unless you keep it wrapped up. Most of it you can’t see anyways unless you unstack the two bottom hard drive cages.
Attaching a CPU cooler or water cooling block was super easy due to the size of the CPU cut-out It was a great idea to make it so large. Installing a large video card still leaves room to orient the extra pivoting fan. A Kraken X40 and X60, or any dual fan radiator liquid cooling system in the lab fit overhead perfectly well. The extra mounting screws were especially helpful (+1). Unfortunately, the bottom of the chassis is reserved mainly for custom liquid cooling radiators. I still have a few elite DangerDen and Koolance radiators that work best.
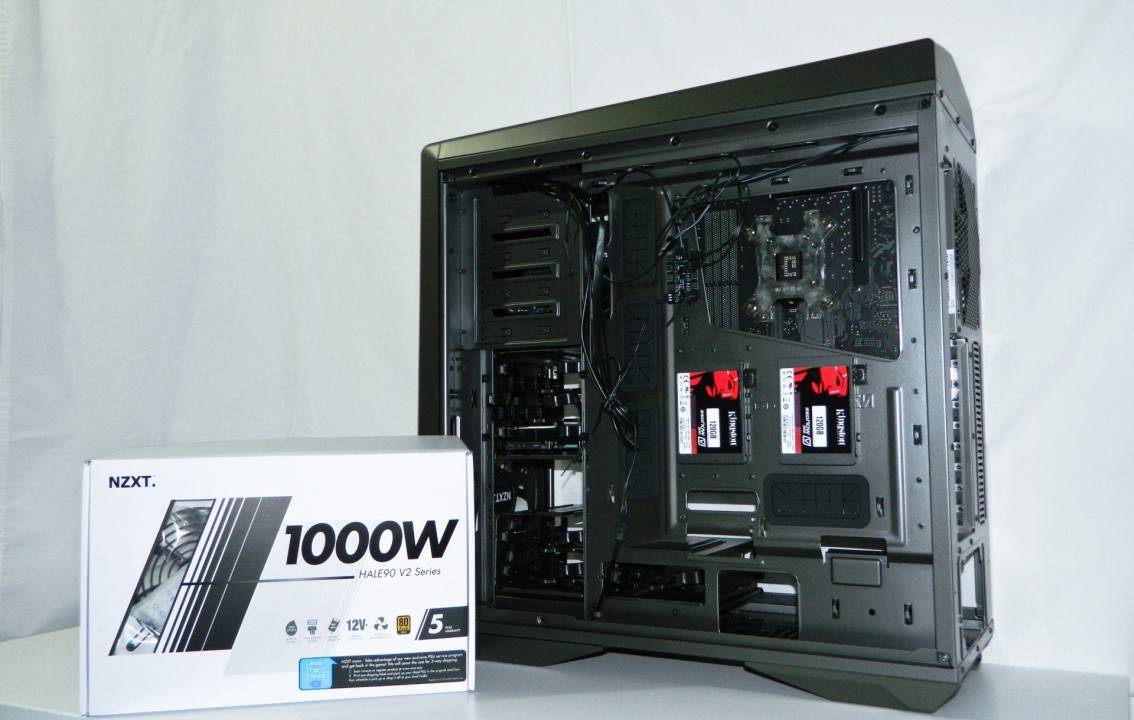
The ever so elite white HALE90 V2 1000 fit perfectly within the Phantom 630. As expected, if you install the single hard drive tray/cage toward the PSU on the fan shroud, space can get a little tight so plan accordingly. Now speaking of the HALE90 V2, let’s have a closer look at it before we get to the performance testing of both units.
HALE90 V2 1000 – Cabling Examined
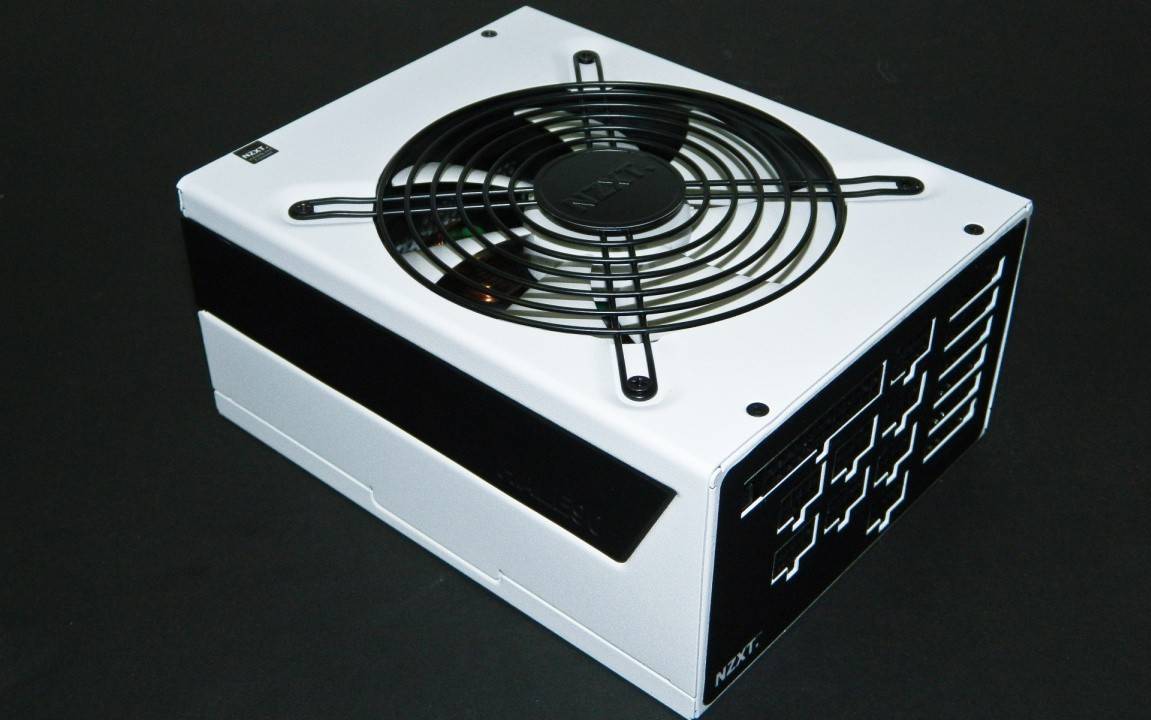
The PSU is quite nice. The white paint really contrasts well with the gunmetal and would be even more stunning in the white version of the Phantom 630. Modders and enthusiasts should be able to couple this PSU with some really impressive designs. As mentioned, the construction of the connectors and overall chassis is quite strong. There’s no cable play at all which is important. And, the unit isn’t really unnecessarily heavy. Some machined racing vents on the side would really say this thing is powerful. But instead you get a set of black ones that are actually part of the shell, not just a sticker.
We don’t want you ordering a PSU that doesn’t have enough or the right cabling. Nothing is more frustrating than an incomplete installation because you’re missing a much needed cable, or adapter. So the contents of the white cable bag were compared to the NZXT site. Oddly, the cabling count is consistent but the length size is not as we identified earlier in our revised cabling chart.

The cables are all just long enough for a standard build. However, the 8 pin EPS will definitely be short if you route behind the motherboard tray. The 24 pin was plenty long enough for the Phantom 630 but other cases with less optimal wire grommet cut outs may have issues. It would be great if an extension cable was included for the 8 pin EPS cable which we’ve seen some years ago from other manufacturers. In fact, this is standard issue on the Phantom 820 so we’re wondering if maybe for cost, it was excluded on the Phantom 630.
Now it’s time to check out the measurable performance of the case and the power supply. Let the measurements begin!