Test Setup
The test system I used for the GA-990FXA-UD7 is the exact same as the one one used for the GA-990FXA-UD3 review and will become my standardized test bench moving forward. This time I did use a different chassis, but we will get around to that very soon as well. For now, the new case has very good cooling and will not affect overclocking performance.
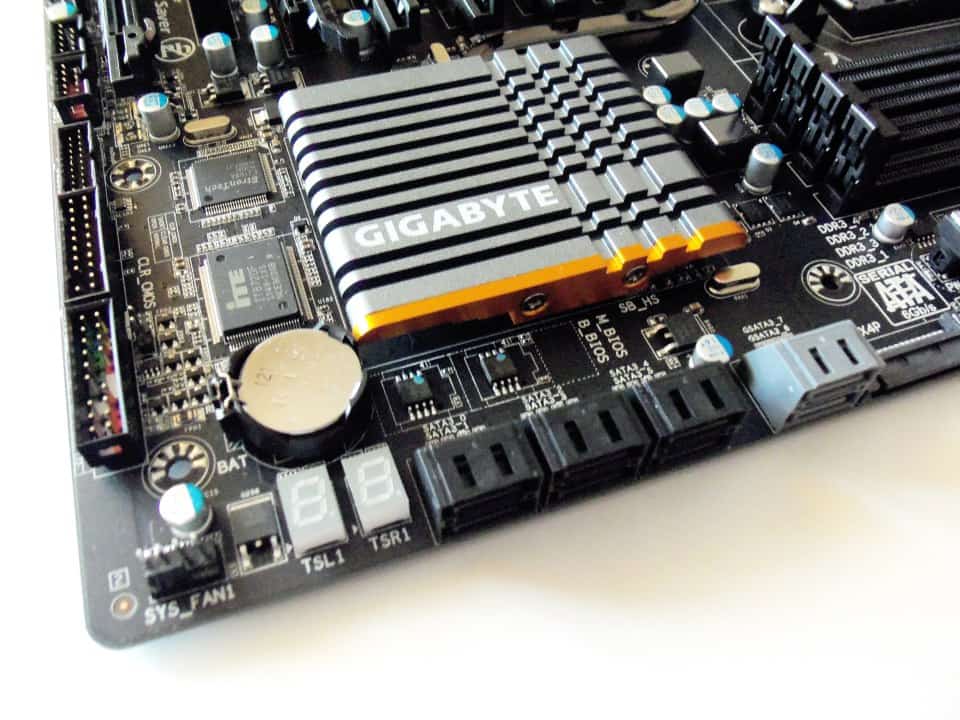
- Motherboard: GIGABYTE GA-990FXA-UD7 Rev. 1.0
- CPU: AMD FX-8150 AM3+
- CPU Cooler: Noctua NH-D14
- Memory: G.Skill Ripjaws X 2133 MHz (9-11-10-27) @ 1866 MHz (9-10-9-27)
- Power Supply: Antec High Current Pro 850W 80PLUS Gold
- Graphics Card: AMD Radeon HD 6850 1GB Reference Card
- Case: SilverStone TJ04-E Evolution
- SSD: Patriot Pyro SATA III MLC 60 GB (Sandforce 2281 controller)
- HDD: Seagate Barracuda XT 2 TB
- Sound: Realtek ALC889 (Integrated)
- OS: Windows 7 Ultimate 64-bit
- USB 2.0 Test: Corsair Flash Voyager 16 GB
- USB 3.0 Test: Rosewill USB 3.0/eSATA Enclosure + Samsung SpinPoint F3 1 TB
Now that we have the hardware out of the way. Lets move on to software.
Test Software
For this review, here are the applications we’ve selected for testing.
- PCMark07
- 3DMark11
- Alien Vs. Predator DX11 benchmark
- Resident Evil 5 DX10/DX9 benchmark
- FRAPS
- Metro 2033
- Battlefield 3
- CrystalDiskMark 3.0.1
- OCCT’
- ATTO Disk Benchmark
- FurMark Burn-in
- RightMark Audio Analyzer 6.2.3
This is pretty much the same software I have used in all my reviews thus far. I did have to add a new piece to the collection in the form of ATTO Disk Benchmark for testing the true performance of an SSD on this motherboard. I have also included benchmark testing for Battlefield 3 which I will be using to replace Metro 2033 as it is a more up-to-date game.
BIOS, Overclocking, and Installation Notes
We will start with the BIOS as it is often the first thing the user interacts with during the build process. GIGABYTE still uses the true blue Award BIOS they use on all of their motherboards. You do have the option of installing the GIGABYTE TouchBIOS which the GA-990FXA-UD7 fully supports, but it is important to first update the BIOS to the latest version first. The latest stable version of the BIOS for this motherboard is F7 which has one major difference between it and the F6 BIOS used on the UD5 and UD3.
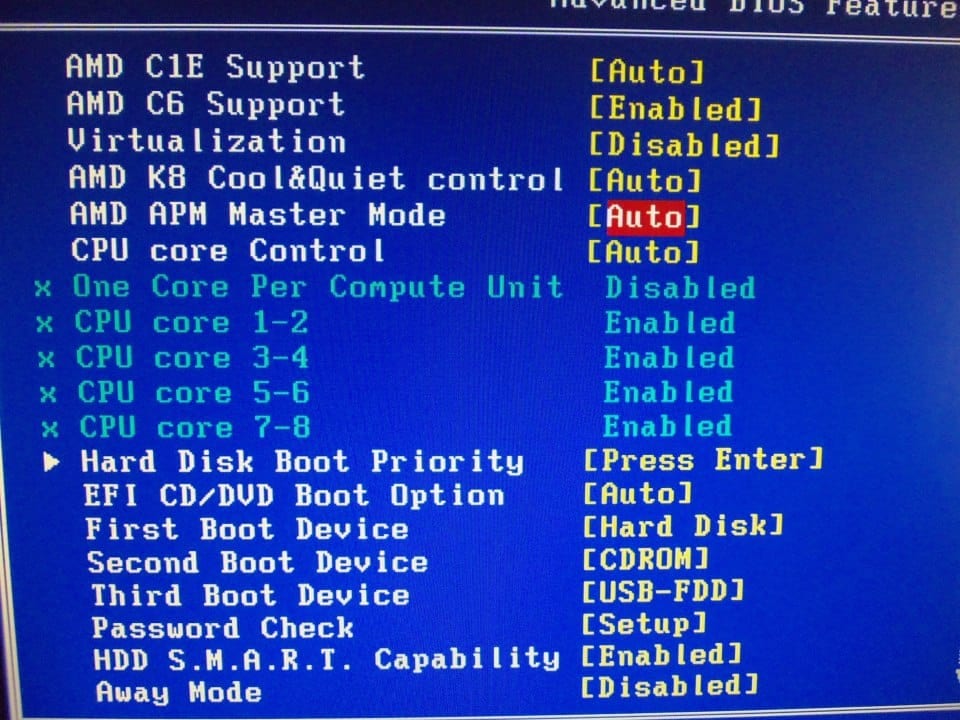
In the BIOS you will find an extra AMD feature called AMD APM (Application Power Management) which goes one step further with power control. I will be honest and say I was unable to find much information about this feature. From what I gather, it is the same technology as the TDP capping feature found on AMD Bulldozer Server chips. It allows the chip to push individual cores into lowest power states when not being utilized. This is designed to save even more power as the shift to these states is controlled by current demands of the applications being run by the OS. We will see how well it works very soon.
Next on the agenda is overclocking on the GA-990FXA-UD7. This time I had very few issues with the overclocking process, but was a little disappointed by my final results. I could only match the 990FXA-UD5 in maximum stable overclock of 4.73 GHz. After two motherboards and two different approaches to overclocking I believe this may simply be the limit of my FX-8150 chip.
In subsequent attempts, I was once again able to get the FX-8150 to POST and boot into the operating system up to 5.0 GHz, but was not able to do much beyond that. Not only does this require redlining several power options, it would also crash the instant any application was started. Bringing the clock speed back down to 4.73 GHz allowed me to play my games, run any application, but does show some instability in CPU intensive applications such as Folding@Home and Intel Burn Test. In other words, it wasn’t 100% rock solid stable.
To get the GA-990FXA-UD7 to 100% stability in all application including torture test I could not go beyond 4.62 GHz. Much like the UD5, any time the POST would fail, my system would simply restart with default settings. To reach a stable overclock at 4.62 GHz and the 99% stable OC at 4.73 GHz I had the CPU running at 1.475 V, 1.65V memory, and other options tweaked within the safety zone, with some red numbers as needed. This obviously increased power use due to the increase in power through components, but also because many of the power throttling features had to be disabled to ensure fluctuation in power did not cause instability issues.
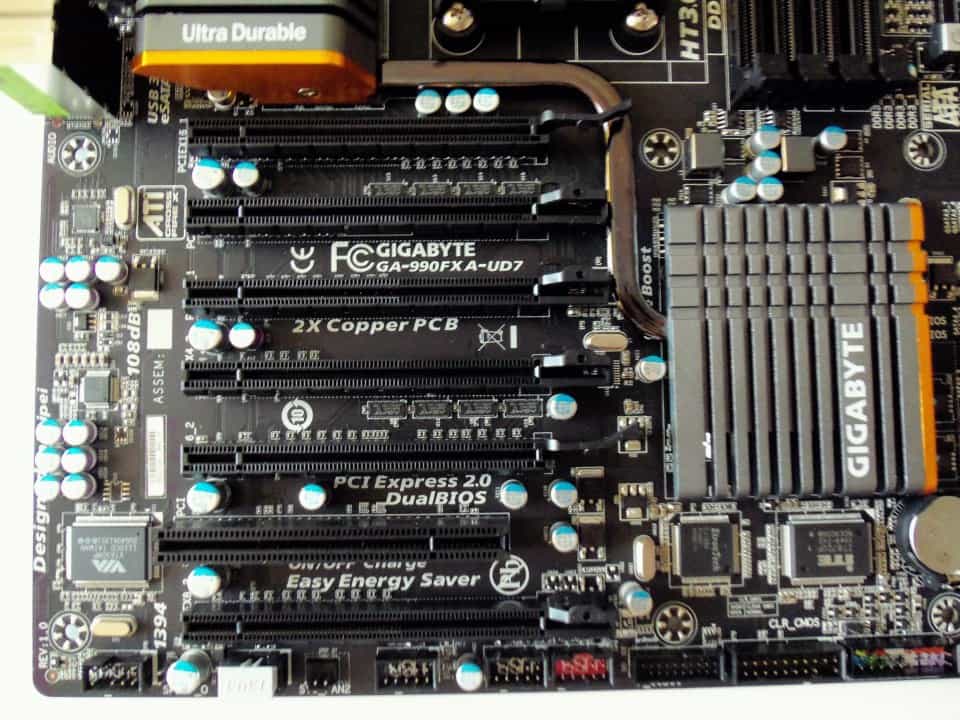
I normally don’t include a section with information about installation with components. This is because the issue is almost always related to the design of the case being used and not the component itself. I just need a place to bring up this one glaring flaw with the layout of the GA-990FXA-UD7 PCIe slots.
The primary slot, PCIEX16_1, is the first PCIe slot and entirely too close to the CPU socket. When you are using an aftermarket cooler such as the Noctua NH-D14 I use for testing, the area between the cooler and primary GPU is too cramped. This does not affect installation or airflow, but does make it very difficult to remove either component.
When you have to remove the GPU or coolers with fans held by metal clips, you will need to use a flat metal object to slide between the two components. In my case I used a knife to reach the metal fan clips and/or PCIe release clip. Its not a big issue, but it just seems so easy to avoid by simply placing the PCI slot here. The few legecy PCI cards still in use by consumers like myself are single slot cards with minimal cooling requirements. The PCI slot also has no retention clip, so its removal would not need additional clearance. There could be some other reason this was done the way it is done, but this is something one should be aware of.