Max Gaming Performance Requires Max Power
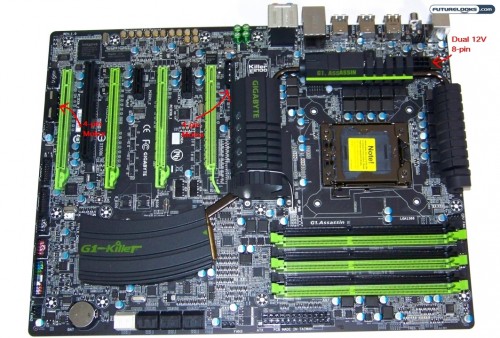
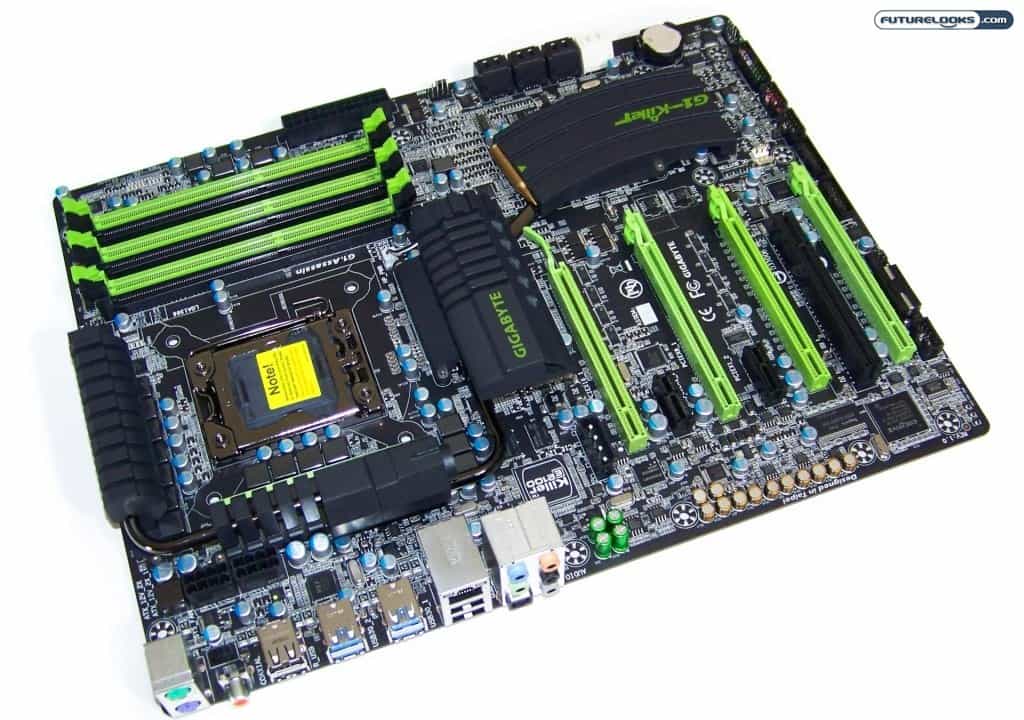
All that the G1 Assassin requires to annihilate your enemies is plenty of power. And as we showed you in the video, the board has some pretty interesting tweaks to make sure it gets it. The heart of the board is 16 Phase VRM power dual circuits and Driver MOS components that derives its power from two 8-pin 12 volt auxiliary power connectors behind the pistol barrel heat sink. Per Intel, only one 8-pin is required to operate at base levels. Per the manual, the second 8-pin is recommended for 130 watt Intel 6-core Extreme Edition processors but also for overclocking stability.
There are also two 4-pin power connectors located above the top and lower PCIE slots. Their purpose is to ensure stability by getting ample power to the multiple graphics cards as some of them have been known to mysteriously need more than the maximum 75 watts power allocation from the board’s PCIE slots. However, it isn’t necessary for mainstream single and 2-way SLI configurations like a pair of GTX 560 Ti video cards.
Test System and Setup Notes
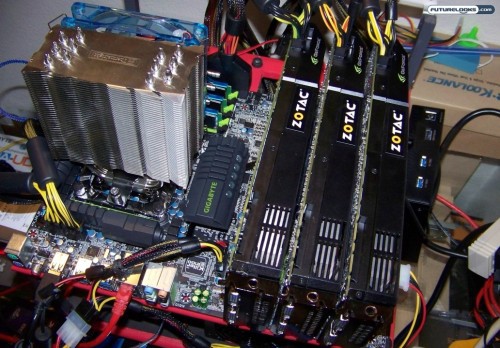
A motherboard like this purchased by the most hardcore gamers is probably going to be paired up with a quad core processor and at least 6GB of high performance DDR3 memory. Chances are, SLI or triple SLI will be part of the deal. Here’s a test setup that should give the G1-Killer a good run for its money.
- Processor: Intel Core i7-975 “Gulftown” Extreme Edition
- Motherboard 1: GIGABYTE GA-X58A-UD5
- Motherboard 2: GIGABYTE G1 Assassin Killer (as tested)
- Memory: Kingston HyperX H20 6GB 2000MHz DDR3
- Graphics: 3 x ZOTAC Geforce GTX 580 1536MB
- Power Supply: Antec TPQ-1200 Watt Tough Power Quattro Series
- OS Test Drive: Seagate 500GB 7200.12
- SATA2 Test Drive: Kingston 128GB V+ SSDNow
- SATA3 Test Drive: Seagate 2TB Barracuda XT
- USB 3.0 Test Drive: Rosewill RX-358-U3B (WD 2TB Black Caviar)
- Monitor: LG W2600H (26″ LCD)
- Operating System: Windows 7 Professional 64-bit SP1
- Processor Cooling: Thermalright Venomous X (1 x 120mm 82CFM)
We test both single and SLI configurations to confirm any advantages the G1 Assassin may have and work some overclocking in to see if the GIGABYTE heritage is still part of the board’s make up.
Overclocking the G1 Assassin
Since Easy Tune 6 comes on the driver-utilities disc. I tested the software’s highest 4.1GHz setting which it happily obliged. Be patient as it takes both the Assassin and UD5 a little extra time to apply those options and boot up. The memory settings of ET6 still need some adjustment to work properly with XMP profiles. Otherwise, the board has no problem supporting XMP capable 2000, 2133, and 2250MHz DDR3 memory kits through the BIOS.
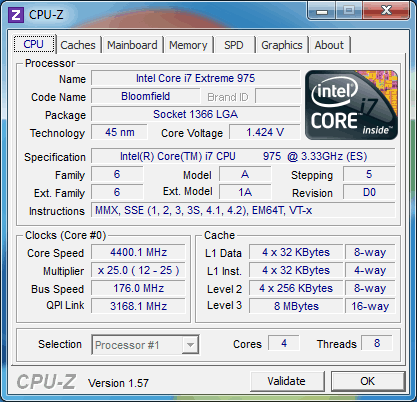
Manually tuning 1.45 volts to the CPU produced a stable 4.35GHz overclock. But, the CPU needed a little extra PLL and VTT voltage to resulting in a 4.4GHz core speed, or else the system was SOL. The cost of the extra power caused the temps of the board’s biggest heat sink to hit 140F which is typical of performance X58 motherboards. The UD5 wasn’t entirely as eager to keep up using ET6 or the BIOS.
We confirmed stability using Sysmark 2007 which is fairly capable of causing an unstable system to blue screen as it uses real world applications to produce benchmark results. And of course, when it comes to overclocking, your results may vary.
Software and Benchmark Settings
Typically, we use Sysmark 2007, Cinebench R11.5, Right Mark Audio, SANDRA and Crystal Disk Mark to test a motherboard’s entire range of capabilities. But since this is a “pro-gaming” motherboard, we’re adding 3DMark11, Batman: Arkhum Asylum, Metro 2033, Unigine Heaven 2.0 Demo, and Battlefield Bad Company 2 to the mix.
Monitor resolution is at 1920 x 1200 throughout and NVIDIA 266.58 drivers were used for all our benchmarks. We left default installation settings on for all applications unless noted in the graph results. The G1 Assassin currently ships with the latest F2 BIOS which was used in our testing.