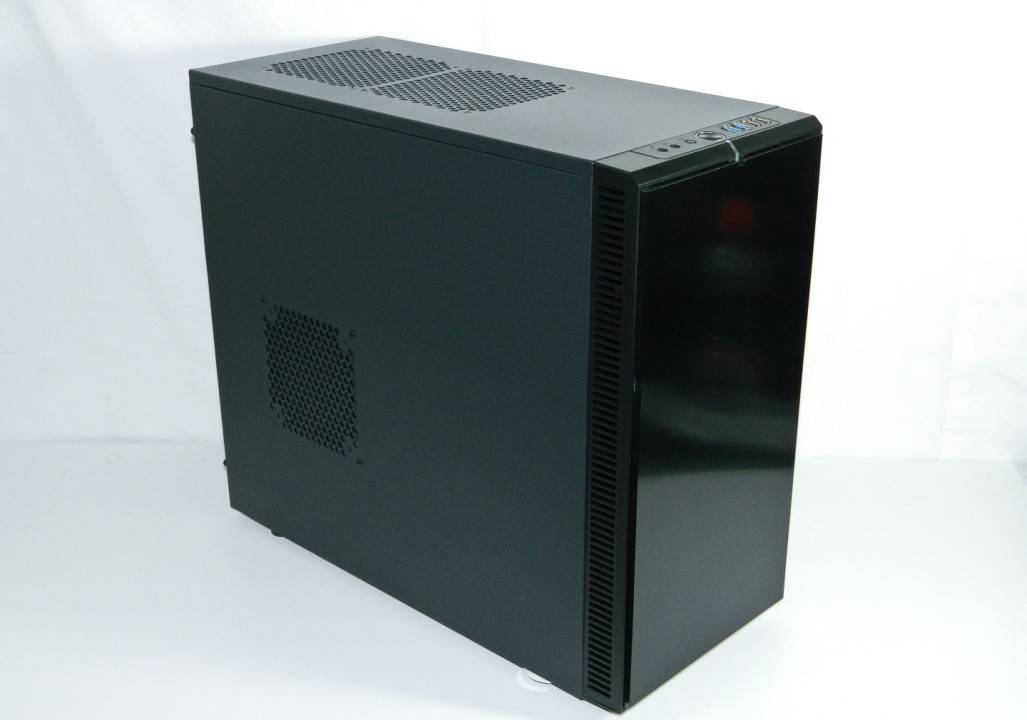
Fractal Define R4 – Interior Features
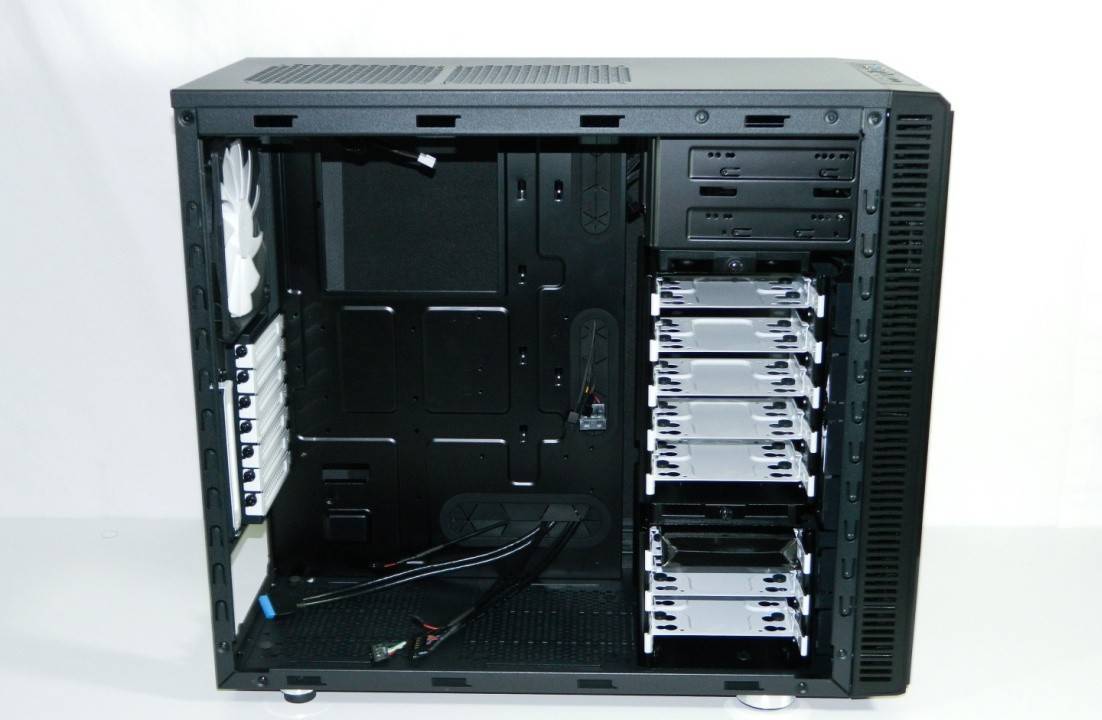
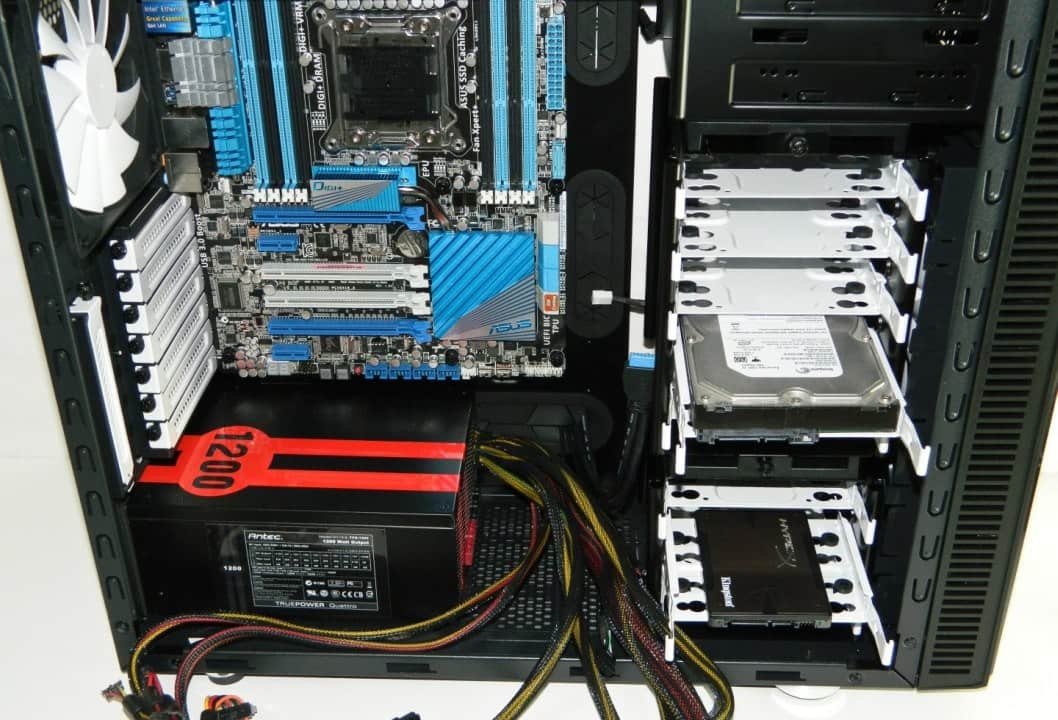
Black thumb screws secure the left and right solid panels. Once inside, you can better see the white painted removable hard drive trays with locking tabs. Special long neck screws are included to secure drives through the bottom rubber grommets. There are also four holes in every tray that work for securing SSDs also with included screws. Simple and clean. The middle drive cage is removable if you need more GPU space or want better air flow from the front 140mm fans. Interestingly, the 5.25″ are not tooless.
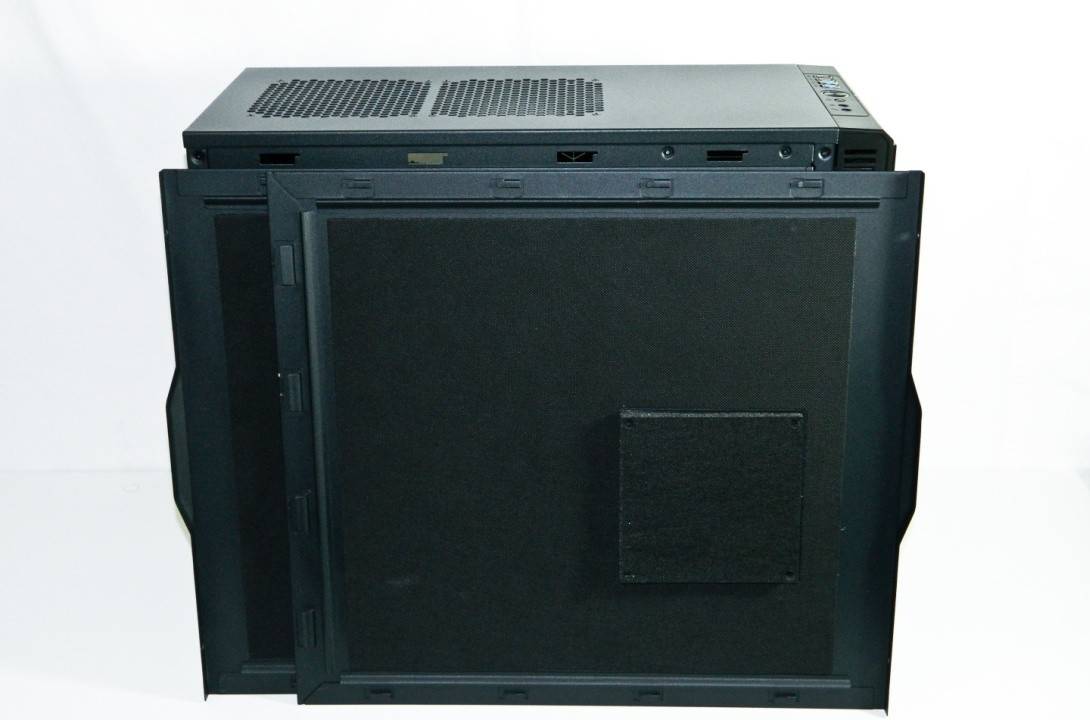
The side and top panels are lined with a noise cancelling insulation comprised of bitumen and fabric. Bitumen is an organic tar like substance that appears naturally in Sweden and is similar to California’s La Brea Tar Pits. This is the first time I’ve heard of the material used for this application. And additional benefit is its ability to absorb and limit vibrations as well. I guess this is why it’s also used in road surfaces.
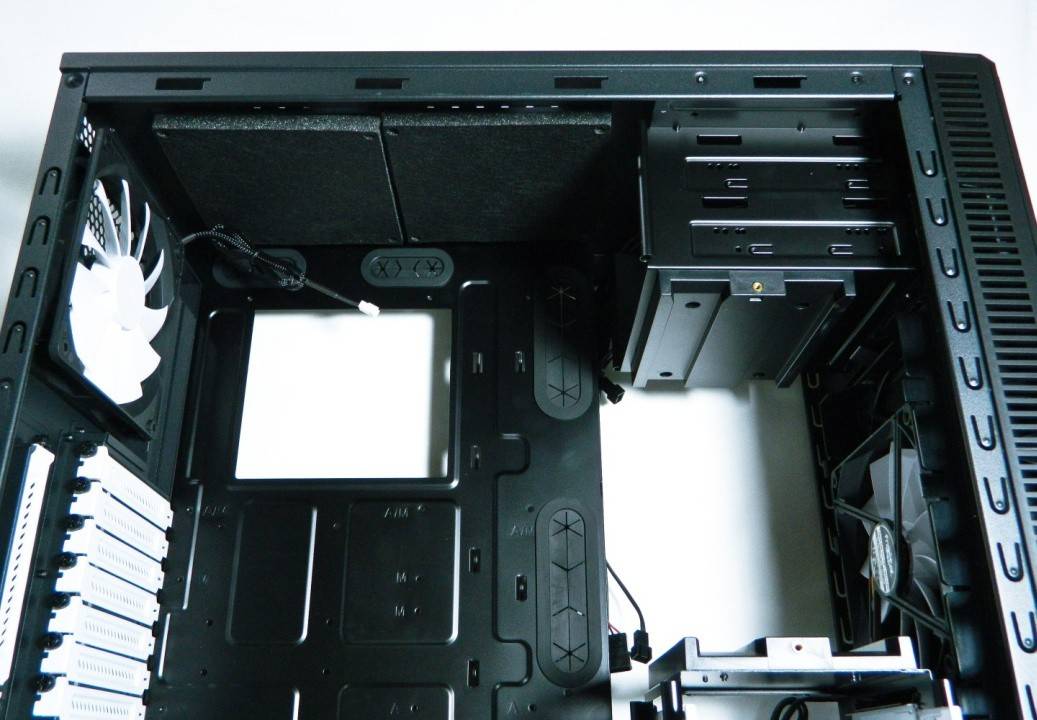
The two top 140mm fan ports use a Moduvent system which is essentially more noise cancelling foam but also seals off the top which helps to create a wind tunnel, ensuring cool air coming from the front reaches the components, then gets exhausted out the back. This is still the most efficient method for keeping things cool while allowing fans running at lower RPMs to create less noise. Unfortunately, the top fan ports only support 140mm fans which kind of complicates attaching more common dual 240mm radiators.
The rest of the features are what we consider standards in $100 level cases. This includes a large motherboard tray cut out, three rubber lined wire routing grommet holes, and two 140mm bottom fan ports if you need more cooling. The PSU area has rubber case feet to support even the largest power supplies and also keeps them from getting scratched up from bare metal contact.
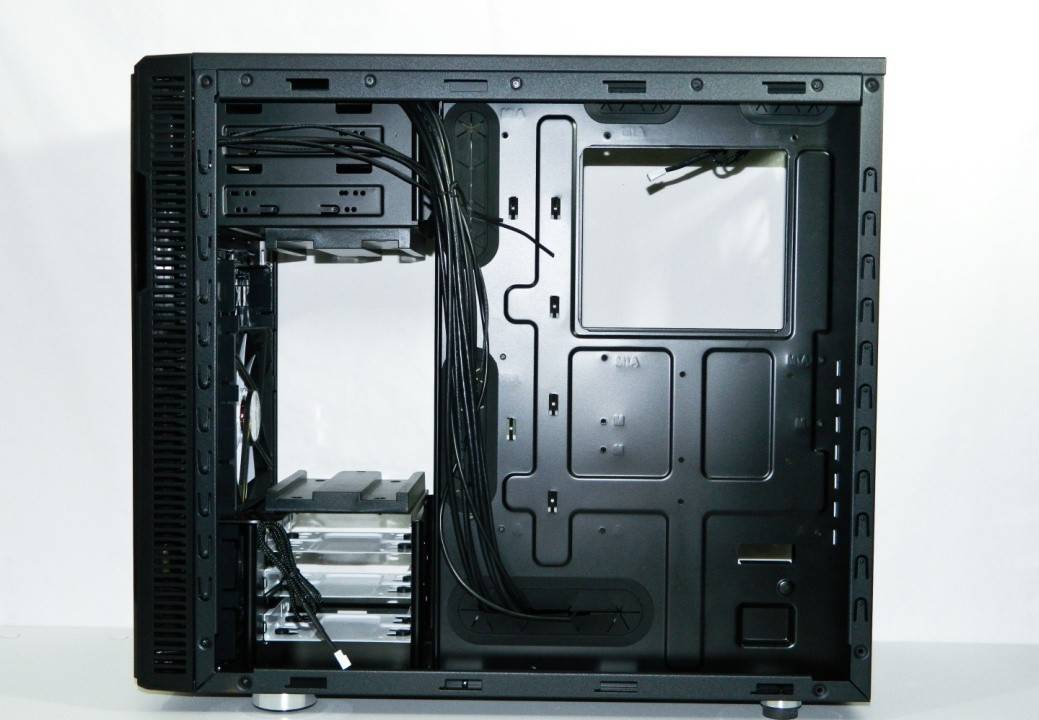
Behind the motherboard tray is about 1″ of space for wire management. This means there is ample space for large cables, making it one of the easiest cases to build a system in while keeping it clutter free. Those pesky 1″ wide and extra thick PSU connectors fit easily.
Test System Setup
When I see a new case design, I like to examine how well the features function and how efficient the air flows throughout the case. This is done using my tried and true loud test system. The test includes an AMD Phenom II X6 1100T, ASUS M4A89GTD PRO/USB3 motherboard, Corsair Dominator 4GB 1600MHz DDR3 memory, NVIDIA 8800GTX Ultra, Antec 1000 Watt High Current Pro power supply and Seagate 500GB SATA2 hard drive.
Four sensors connected to the NZXT Sentry LX were attached to the side of a stock Intel CPU cooler, Southbridge PCH (chipset), and center most back PCB of each video card. Temps and system noise were monitored with the fans off, low, medium, and high. Both Prime95 and Furmark were used to fully load the system so that all the important components would heat up. This represents somewhat of a worst case scenario, but should also help us cover broad spectrum of environments this case my end up in.