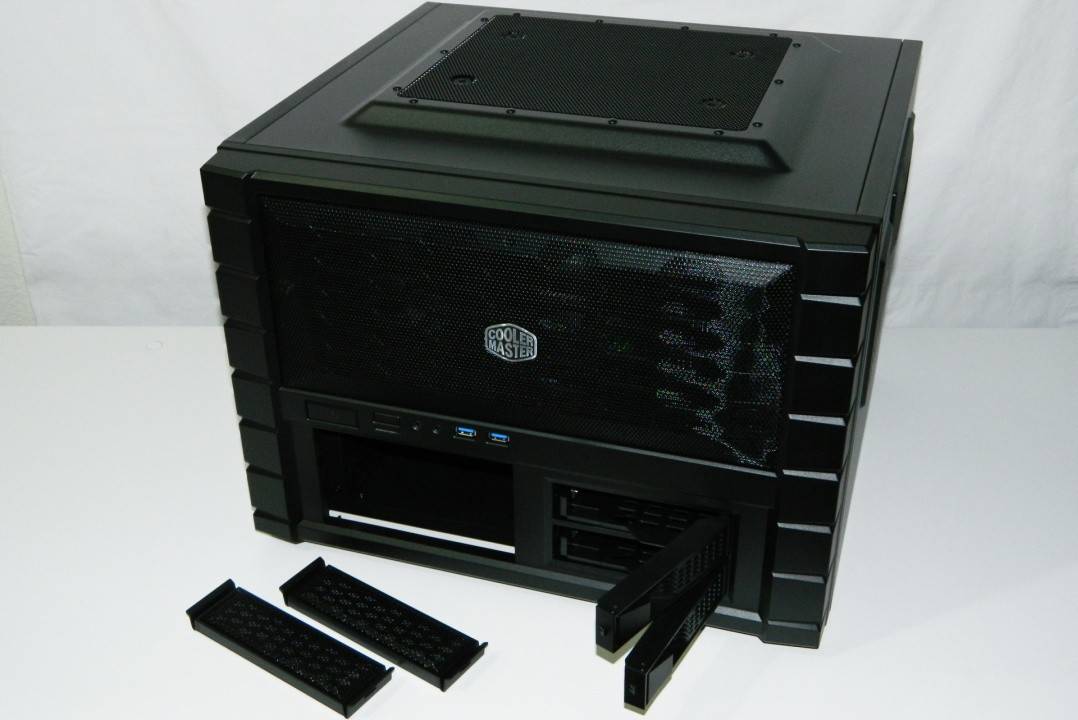
HAF XB – Pulling the Motherboard Tray
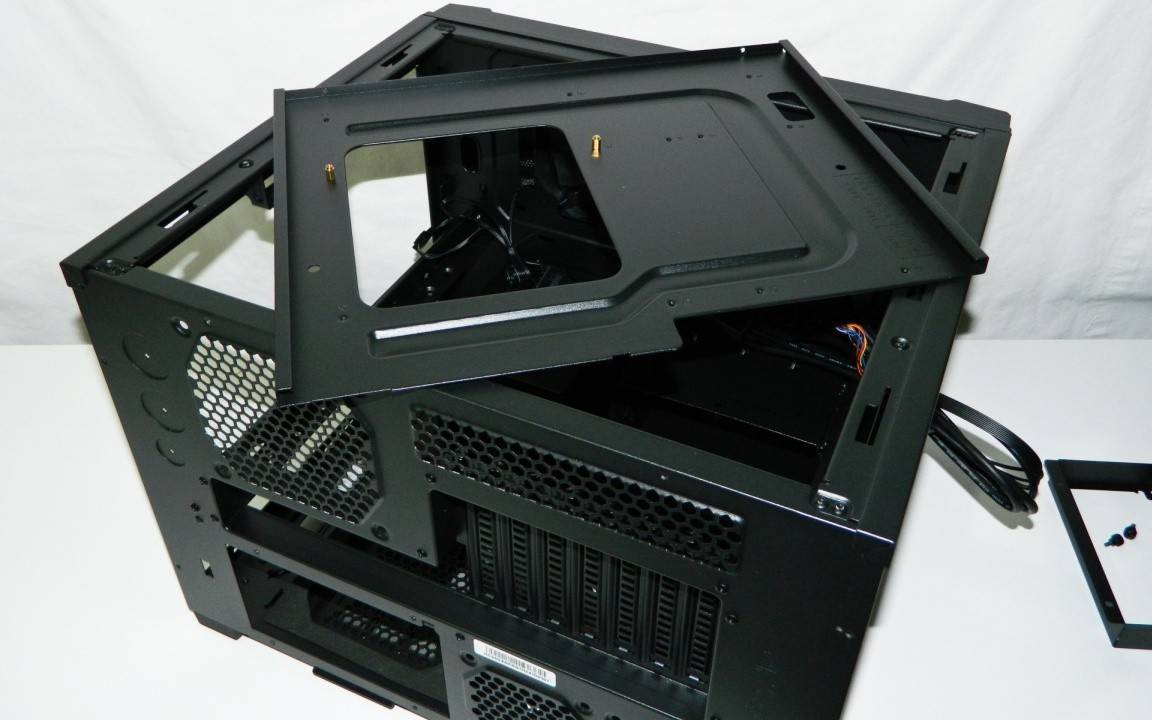
Two thumb screws on the left and right fasten the motherboard tray in place. The holes ensure it lines up with the back PCI brackets. You don’t have to pull the motherboard but I did in order to install some LED lights underneath the motherboard for an added effect. It takes a little dexterity to get the tray out out but even more patience putting it back in if you pre-installing the CPU cooler and RAM which is a common practice.
Since the motherboard cooler cut out is so large, I recommend you leave the tray in place for most conventional installations.
HAF XB – Peaking Underneath
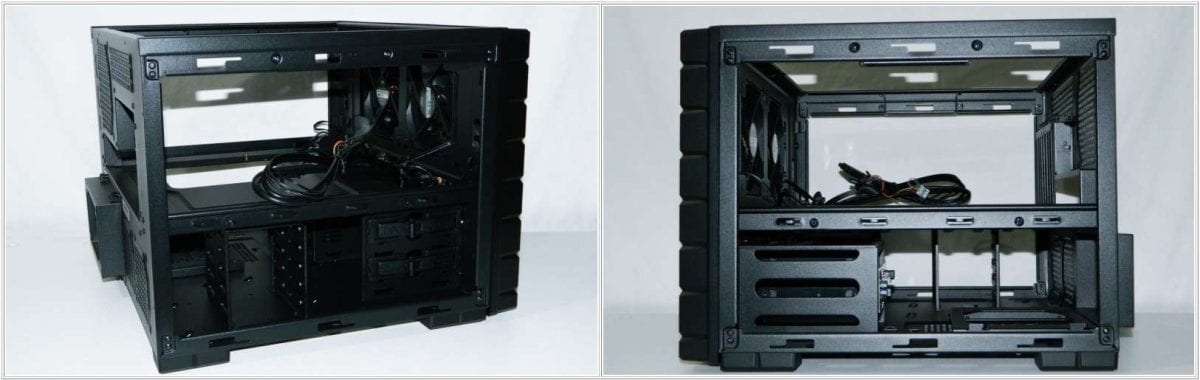
You’ll find a lot of cut outs in the right places to creatively run your wiring. Especially if you want to organize it well. Most of the PSU wiring will be underneath any ways and hidden well from plain sight. The front chassis area will actually accommodate a dual 120mm radiator if you feel so inclined to install a liquid cooling system. Just make sure your video cards aren’t too long.
HAF XB – Power Supply Placement
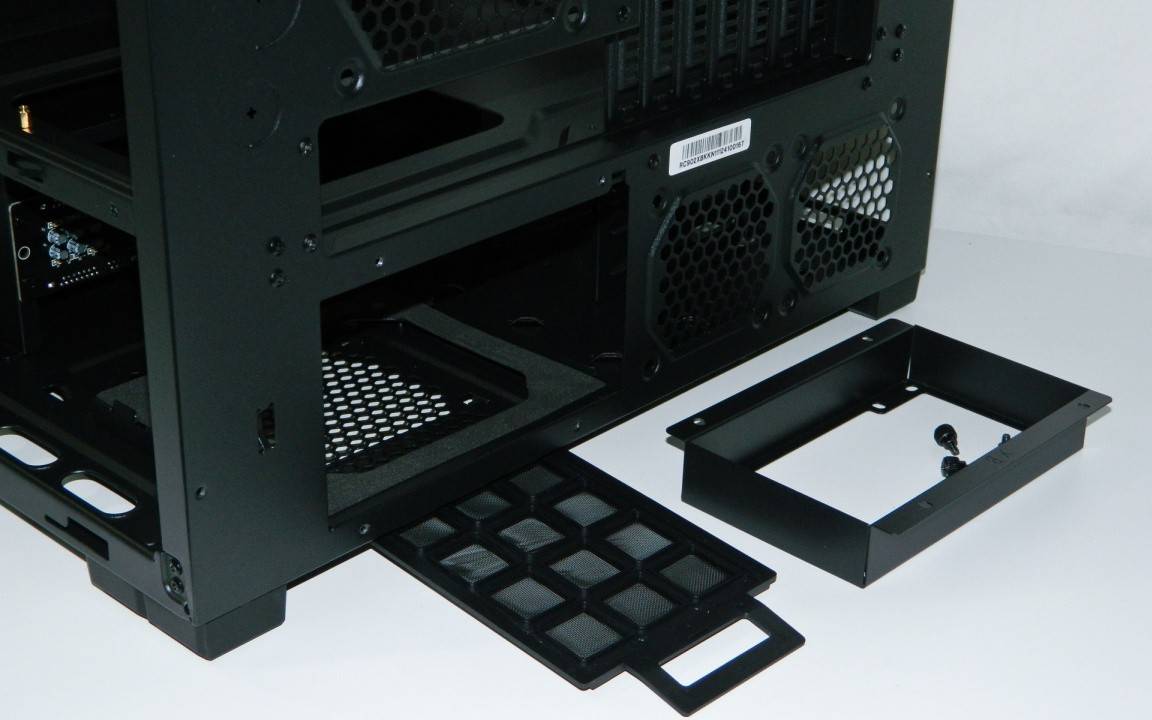
The power supply doesn’t actually sit completely inside. About an inch of it will stick out the back, covered with a rear chassis extender. This is a similar feature that the Cosmos II employs, allowing the largest of power supplies to be installed without impeding the installation of modular cables. The PSU sits on rubber feet inside the case to prevent vibration and of course scratching.
When completely open, the HAF XB is a real open air test bench or tech station if you’ve owned one of HighSpeedPC’s original designs. Let’s see how the chosen components did with the build.
Test System Setup and Installation Notes
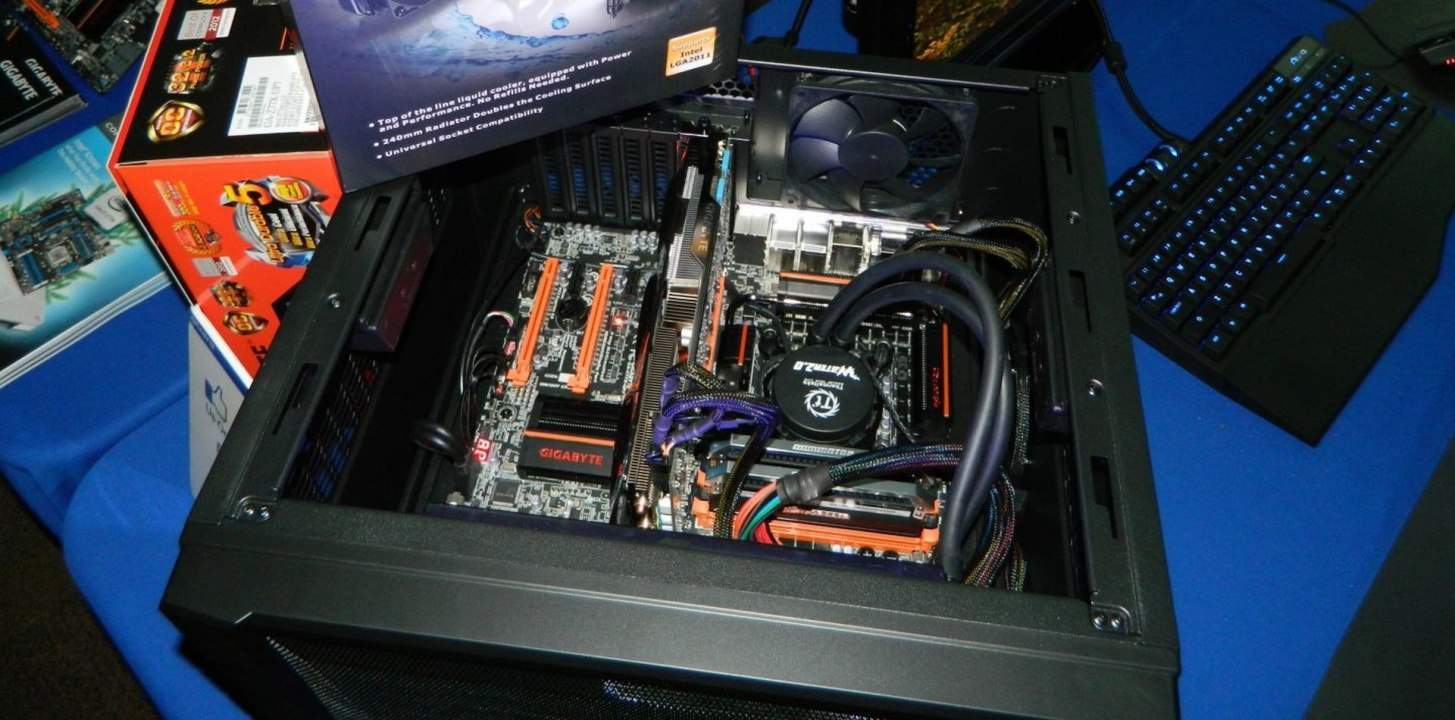
My Cooler Master HAF XB was used for a GIGABYTE demo system at the InfernaLAN LANfest back in November of 2012. I’ve since continued to use it for other events and demos. A liquid cooling system was installed for the CPU but no extra fans were installed except for what it came with. Here’s the break down:
- Processor 2: Core i7-3770K Ivy Bridge LGA1155
- Motherboard 2: GIGABYTE GA-Z77X-UP7 “OC”
- Memory 2: Corsair Dominator Platinum 8GB 2666MHz DDR3
- Graphics: GIGABYTE GTX 670 OC Edition
- Power Supply (both systems): Rosewill Tachyon 1000 Platinum
- Storage (both systems): Kingston HyperX 240GB SSD
- Enclosure: Coolermaster HAF XB
- Windows 7 Pro 64bit
I ran into a couple issues when installing a dual 120mm radiator on the Thermaltake Water 2.0 Extreme CPU cooler. Here’s where the HAF XB really adapts to any dual 120mm really well.
It’s the long GIGABYTE GTX 670 OC or ZOTAC GTX 680 AMP! that would collide with the radiator, or the fans depending on how you mounted it. The HAF XB front bezel is easily removable via a few locking tabs. Once the face was off, I mounted the radiator using four long included screws through the front 120mm fans. Everything lined up perfectly and was quite secure. That left me with a couple extra 120mm fans to use on the top panel or wherever else was needed.
Thermal Testing and Noise Cancellation
A computer enclosure should manage any installed computer system whether high-performance or not. The HAF XB has plenty of ventilation and operating system temps were quite low. The CPU didn’t top 42C under maximum load and was as low as 11C at idle using the Thermaltake BigWater 2.0 system. The factory overclocked GIGABYTE GTX 670 OC didn’t top 68C which resulted in a quiet card that didn’t have to spin up at all under heavy gaming. The GIGABYTE Z77X-UP7 OC chipset also didn’t top 45C which is good since I was running KINGSTON HyperX 3K 240GB SSDs in RAID 0.
Even though the HAF XB is pretty exposed and open, the good direct airflow keeps the fans from spinning up at all. During Assassin’s Creed III or Battlefield 3 gaming, the system noise was around 24dB. It takes artificial load programs to get the cooling fans to reach 32dB in this chassis, but under real world loads, the Coolermaster HAF XB was cool and quiet.
Final Thoughts

There are some cool aspects that make the Cooler Master HAF XB well worth the average price of $99. One of which is that it’s really neat change from the typical enclosures on the market and it’s different enough from the BitFenix Prodigy that it’s really a matter of personal taste. But unlike the Prodigy, it’s an open test bench too, even if it’s just a bit tight working around inside. But it’s no smaller or larger than an old school DangerDen Torture Rack open test bench.
Setting a system up won’t be a problem and the chassis is easy to customize if you need to adapt an installation. The enclosure worked quite well with any of the all in one integrated liquid cooling systems, even the larger 240mm Thermaltake BigWater 2.0 unit we used. It also keeps air moving efficiently, cooling the system well right out of the box. With just a couple LED fans installed, your HAF XB will turn plenty of heads.
Overall, Cooler Master included everything that really matters whether you need a tech station or a LAN party friendly system. The Cooler Master HAF XB has many enthusiast and modder possibilities waiting to exploited. This is why I can’t help but wonder what it would look like in white, or two tone black with NVIDIA green. Tired of the usual enclosures? Grab the Cooler Master HAF XB.
Pros
- Doubles as an Open Air Test Bench
- Modular construction adapts easily to installation challenges
- Accommodates 240mm and 280mm radiators
- Very portable for LAN parties
- Reasonably priced between $94.07 – $130.94
Cons
- Windowed panel only available at additional cost
- As a test bench it could be fairly tight to work within
Overall Rating: 9.0 / 10

Help Us Improve Our Reviews By Leaving a Comment Below!