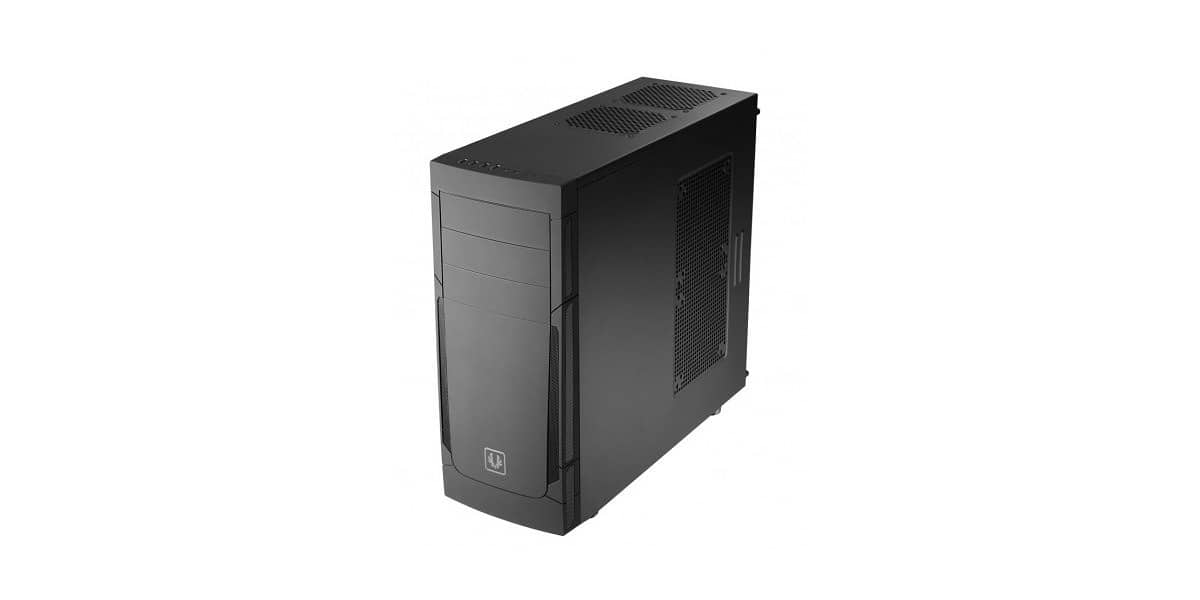
Potential Installation Issues
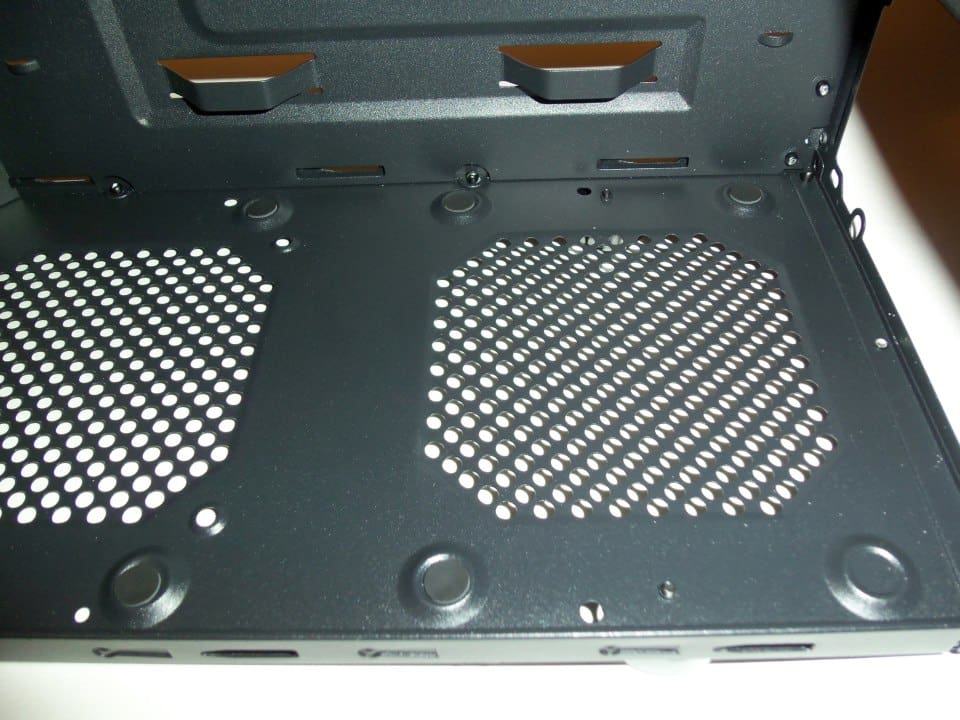
The next thing I think that was a bit odd is the PSU lower venting area. There are 6 thin foam pads to prevent scratching the paint of the case and your PSU due to vibration. These pads are too thin to absorb the vibration and reduce noise. Second it implies longer, non-standard power supplies were thought of in the design of this case. The issue with this is the vent is cut to a standard 120 mm size. When longer power units are used with a large fan near the PC connection panel, this vent will not work. That was the case with my Antec power supply. The vent was blocked too much to work properly.
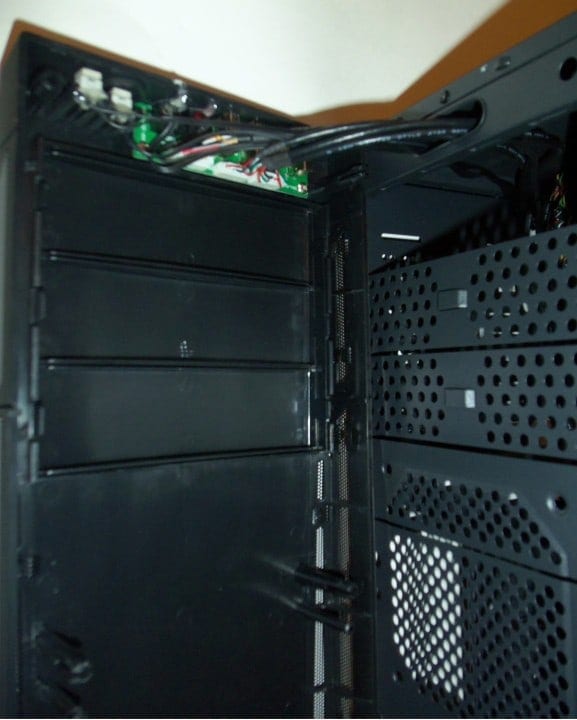
Once I removed the front face plate, I could see one other minor issue. The last 5.25” tray has a detachable metal stamp out like the others; however this stamp out doubles as part of the are where the 120 mm fan optional fan mounts to. While designed in a way that you can secure it for use with a 120 mm fan, it means you have to choose between a second fan or use of this forth slot for a drive. As this slot is the one that will most likely be blocked by a larger GPU, it will not be an issue for those users.
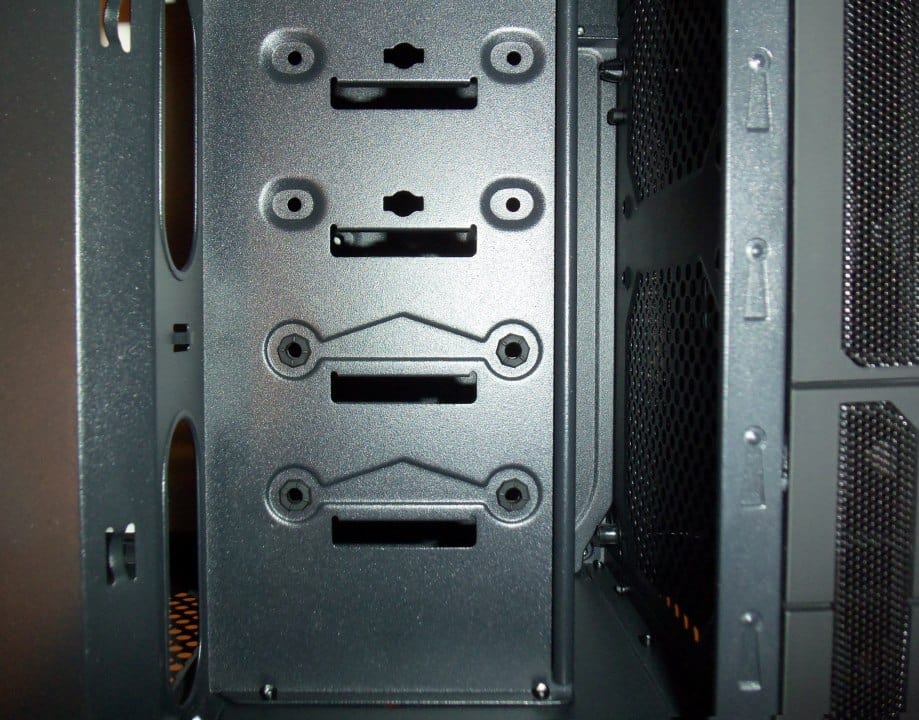
Finally, there is a short coming to the HDD mounting area. It is clear the top two slots and the bottom two slots use two completely different manufacturing techniques. The top two seem to be cut with a tool-less locking mechanism in mind. A tool-less mechanism that does not come with this case. The bottom two slots have rubber grommets and are to be used with the longer thumbscrews provided. This should absorb some vibrations from the HDD and reduce noise during drive spin-ups.
Test System
To test the BitFenix Outlaw case, we had to install a system into it. This will help us not only figure out if there are any installation issues one may run across, but also allow us to comment on thermal performance and noise. The test system setup is as follows.
- CPU: AMD Phenom II X6 1100T
- CPU Cooler: AMD 125W stock cooler & Noctua NH-D14
- Motherboard: Gigabyte 890FXA-UD5 (rev. 3.1 AM3+ socket)
- GPU: AMD HD 6850 1GB Reference Card
- RAM: G.Skills Ripjaws 2x4GB 2133 MHz RAM @ 1600 MHz 9-9-9-24 CR1
- HDD: Seagate Barracuda XT 2TB
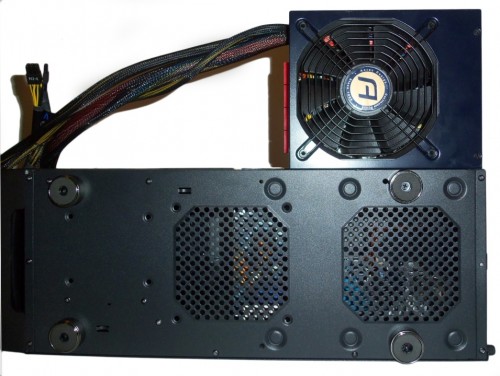
- PSU: Antec HCP 850W
- Sound: Onboard Realtek ALC889
- OS: Windows 7 Ultimate 64-bit
Software Used to evaluate noise and temperature levels include.
- OCCT
- FurMark Burn-in
- AIDA64
- AMD Overdrive
The Build

Let me start by stating this is the easiest PC build I have done to date. The layout, very roomy interior, and some noteable features in the BitFenix Outlaw made this build a breeze. There were only two brief moments when I had to stop to figure out how to approach something with the Outlaw. The first was the individual bags of thumbscrews (three in total) which have three distinct designs.
There are eight HDD thumb screws which are long and have a flat end to work with the rubber grommets included with the case. The next set are shorter with pointed ends for the rear expansion slots and additional HDDs. Finally you have the thumbscrews for the optical bay which are also short, but have the flat tips. At first the only way I could tell the ODD and expansion slot screws apart was by counting them as there was 16 ODD thumbscrews and only 15 PCI expansion ones.
The second time was when I was considering the airflow for additional fans. The reverse ATX design alters the normal convention of case airflow. When building in the Outlaw case, you should take careful consideration to what needs air the most and how many additional fans you wish to use. The slots you use as intake and exhaust make change depending on the design of your CPU cooler, GPU heatsink, or number of components. For my build I was only using the included fan and I did not move it. Personally I think this fan would have better served my build as an intake fan since the PSU would act as the exhaust.
I started the actual build by adding the 8 other standoffs for the motherboard. BitFenix included a special standoff in the center already that had an edge on top. Once I sat the motherboard into the case, I realized the pressure from the rear IO panel spring arms and that standoff perfectly centered the motherboard in place. This made placing in all the screws a breeze as the case was holding the motherboard in place for me.
The next thing I installed was the 5.25” DVD drive and my HDD. The HDD and SSD are in the lower section of the computer and could be very hard to reach once the RAM and CPU cooler have been installed, so you want to get those in after the motherboard is mounted. If you reach inside the case as I did and pop out the front panel covers, you can complete the entire build without ever removing the front panel. Once these items are in place it is just a matter of using the correct thumbscrew to secure them.