First Impressions
The enclosure itself has a very rugged professional look, with enough shine and polish to stand out as elegant, but not enough that you need fear touching it and destroying its divine luster.
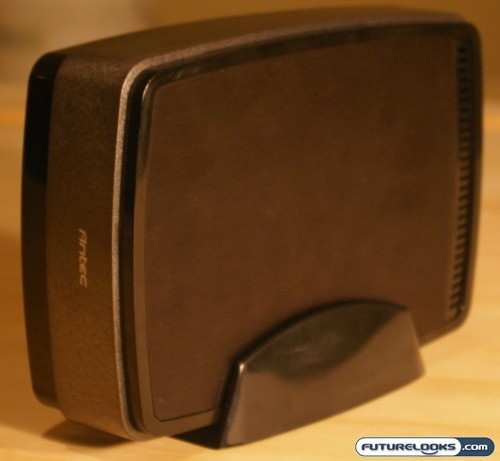
If you prop the case up using the included stand, it definitely brings out the better features in the case, such as the carbon-fiber frame and front LED which can be quite hard to see if the case is laying flat on it’s back. If I had to sum up this case’s looks in one short sentence, I believe it would say “I am about business” and from what we’ve gathered so far, that’s what it’s here to do. Let’s find out if it keeps to it’s word.
Install Time
The manual that comes with the device is useful, but would be easier to understand if it had pictures too. That being said, the install is straightforward with the exception of a few steps that we’ll go into a bit more detail and clarify for you below. This will also serve as a quick interior tour of the case for those that are curious.
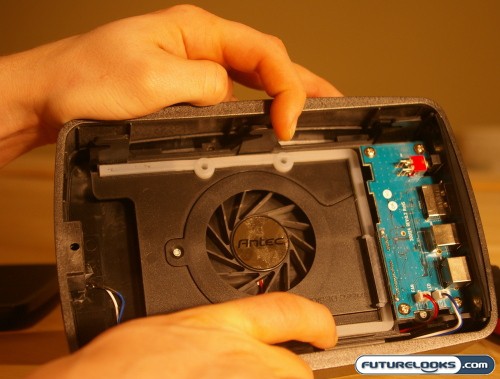
1. Remove the single long screw from the bottom front side of the enclosure, as shown. You will then be able to slide the cover off:
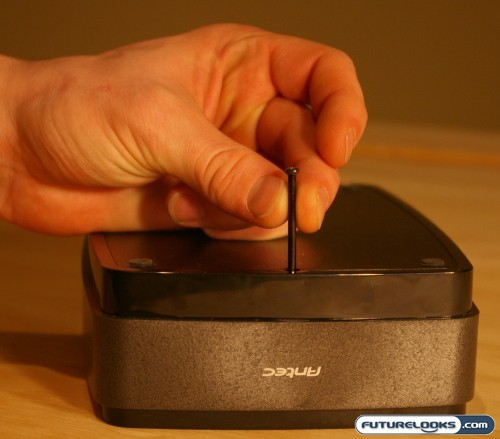
As you can see, the design is relatively simple, however again we can see where the quality comes in on this product. First off the silicone ring the hard drive will sit on is very nice, as it will reduce noise. It will also function to give some seperation between the fan and the drive to allow more adequete airflow.
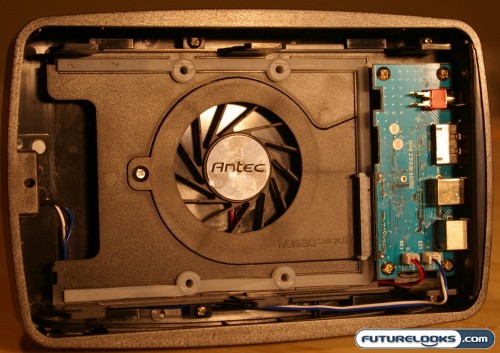
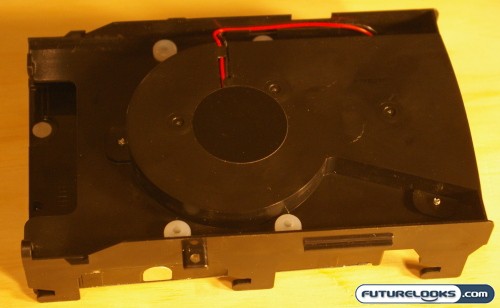
2. The next thing you should do is remove the two side screws near the middle of the case and disconnect the blue jumper cable. This will allow you to take the fan/PCB section out of the enclosure for hard drive mounting, like shown below:
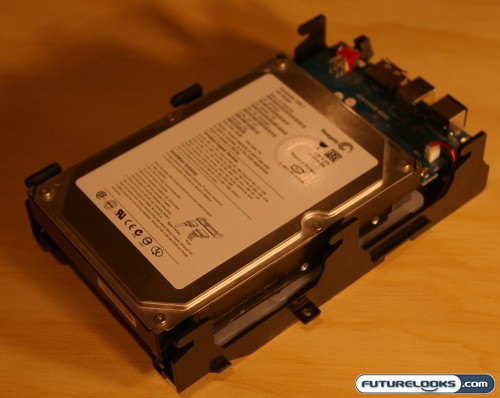
3. Place the hard drive in the carrier and flip it over holding the drive to ensure it does not fall and break a connector in the process:
4. Populate the screw-holes and flip the tray back over.
5. Repeat step one and two to put the casing back on and you’re done!
I found this enclosure process to be a little more lengthy than most I’ve reviewed, however the time impact is negligible and would not be an issue unless you were consistently changing the hard drive that is in the enclosure.
Real-Time Price and Stock Check – Shop Like a PRO!